

After far too long, I have finally got around to writing about this costume. It was honestly one of the largest projects I have attempted, besides Lady Three, and taught me just as much about time/money management! I also learned a good deal about both historical and modern construction and learned to fit better in general.
Today’s post will be about the undergarments– the corset, cage crinoline, and petticoats (I made the chemise too, but it isn’t very nicely constructed or finished so I won’t be talking about it).

I began this costume the day after Fanime 2015. I was still riding high on the feeling of having won something (as I was certainly not expecting to), so I was super motivated and got right to work on my next adventure!
This costume actually evolved as I went along. Initially I was inspired by Cinderella; after seeing the live action movie I knew I needed to make myself a huge elliptical 1860s ballgown. I ordered fabric and notions in March, but didn’t have time to work on it in the mad dash to get Three done.

The first piece I started was the corset. The pattern is scaled up at 400% from Corsets and Crinolines and mildly altered to my shape. I used two layers of domestic coutil from corsetmaking.com with a super thin Indian silk-cotton blend as the fashion fabric.

I left generous seam allowances in order to flat-fell all the seams, though I wouldn’t recommend doing so since it added a lot of unnecessary bulk. In all honesty, I only needed one layer of coutil anyway! 
I was super nervous since this was my first time inserting a busk, but I followed Sidney Eileen’s tutorial (and gathered advice from a variety of corset making forums) and it turned out perfectly! I just used a normal tapered awl to make the holes for the pin side of the busk, and there hasn’t been any fraying thus far.

I used ¼” spiral steel bones in the curved seams and ¼” flat steel in the straight seams. I did use proper boning tips, but it wasn’t worth the trouble for the flat steels. I prefer using tin snips to cut the ends into a rounded shape, wrapping them with several layers of medical tape, and dipping them in clear nail polish! It’s cheaper, easier, and plenty durable for light costume wear.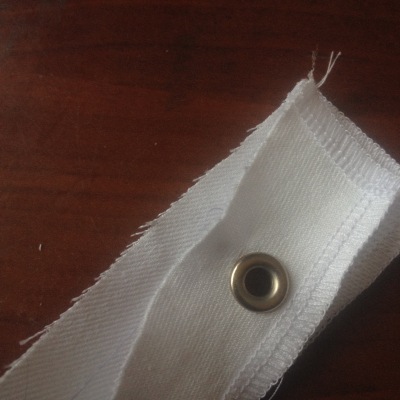
Since I’d never used two part grommets before, only those awful Dritz eyelets, I made sure to do several tests. I used this grommeting kit and it worked beautifully! Instead of cutting the holes, however, I made them with my awl– since using an awl doesn’t cut the fibers, the fabric surrounding the grommet is sturdier and won’t weaken over time.

I did get so carried away that I forgot to put the back on one of the grommets before hammering it in! It’s pretty much impossible to remove a grommet without cutting the fabric, so I left it, but it still irks me.

Here it is all boned and laced up. I used this corset lacing and laced it in the bunny ears style which facilitates self-lacing. The loops are located at the waist so I can easily reach behind, pull the corset tight, and tie the loose ends into a bow.

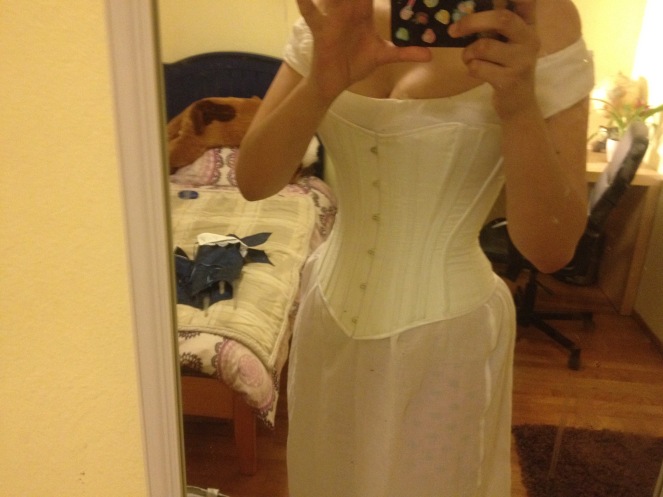
And this (blurry, awful) photo is my first fitting! I really loved the shape it had, so I forged ahead. All that was left at this point was the binding.

I used premade satin bias binding– it was actually too wide, so I just stitched it closer to the edge and tucked the rest of it under. It doesn’t look that nice from the inside, but it’s a okay from the outside (and that’s what counts). 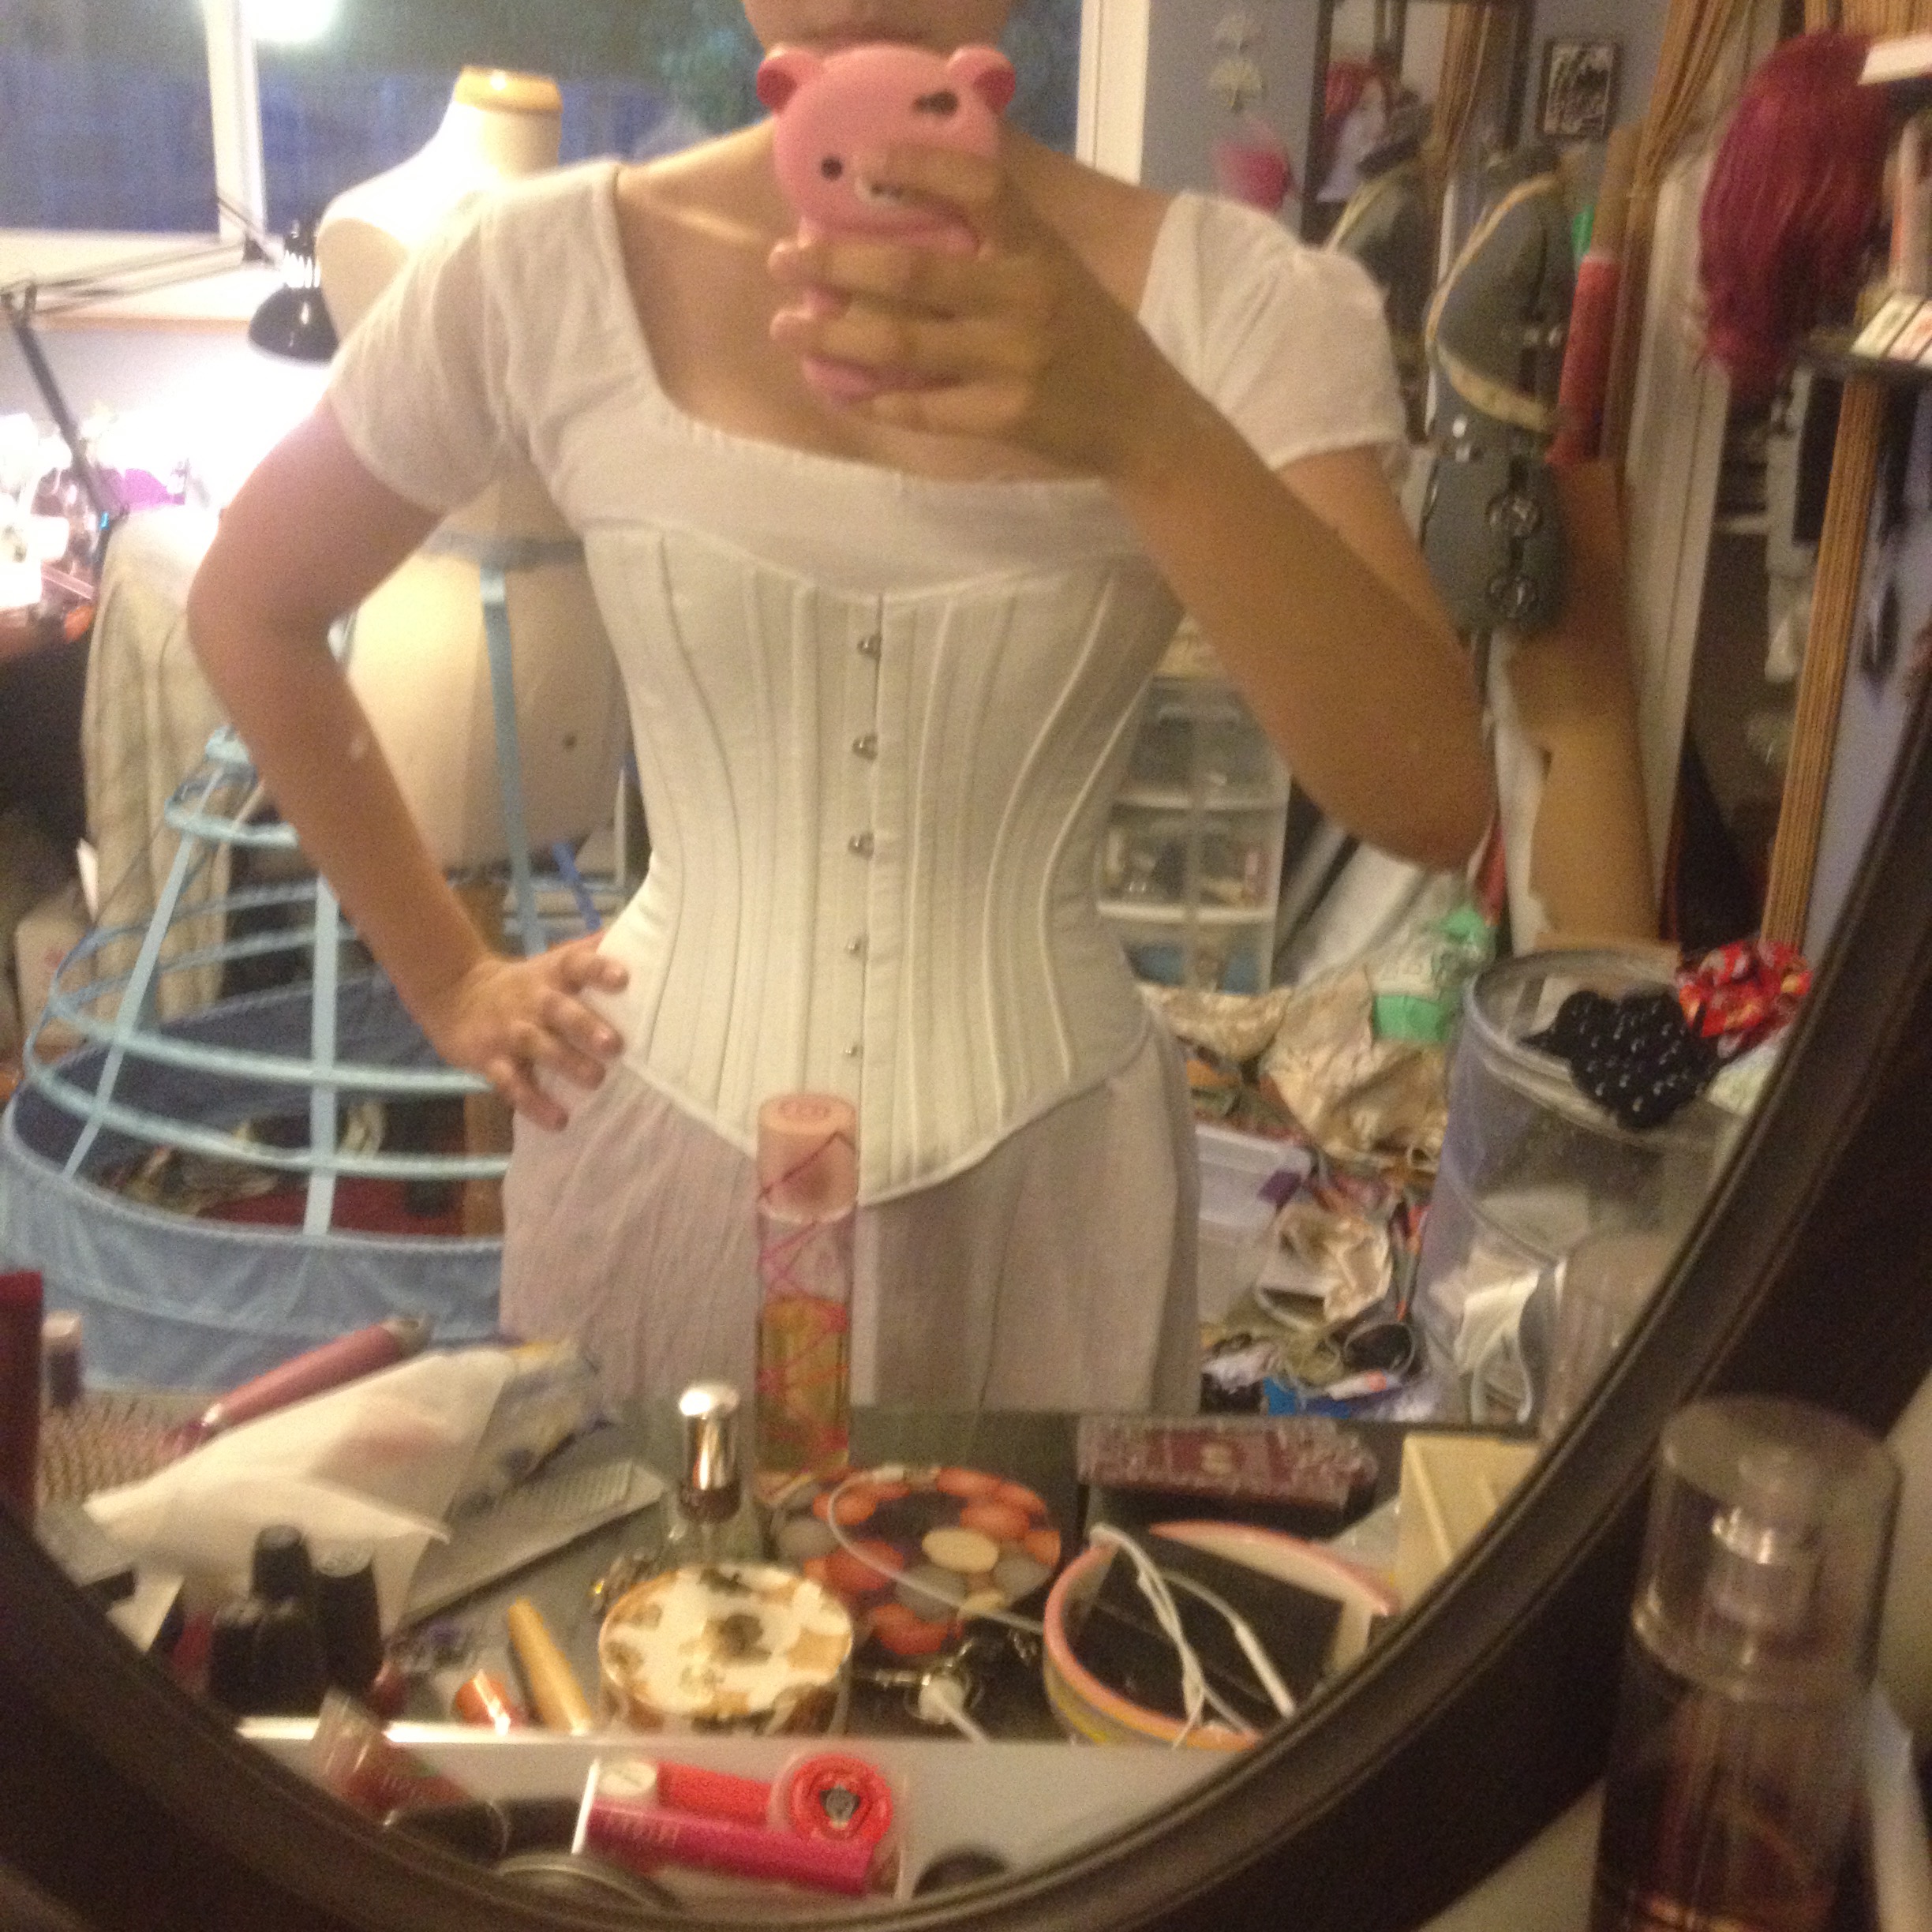
Here’s the finished corset over my chemise. It was barely laced at all at that point, since I was still seasoning it! And pardon the messy room, I’m terrible about cleaning when I’m working on a project.
The true secret of corsets isn’t the compression– it’s the redistribution! I barely get a 2″ reduction in this one, and that’s apparent in profile since my midsection looks much wider than normal.
However, from a front or ¾ angle the shaping is much more apparent. You can also see, now that it’s seasoned and laced properly, that I should have added about 5″ more to the hips, since I’m getting some very unflattering muffin… bottom? Whatever it is, it is not cute! Fortunately everything below my waist is hidden in this costume, and now I know which alterations are necessary should I choose to reuse this pattern.
The next piece I worked on was the cage crinoline. I used Truly Victorian’s 103 elliptical crinoline pattern, as I couldn’t find any reliable tutorials for elliptical versions on the internet and I had my heart set on the proper 1860s silhouette.
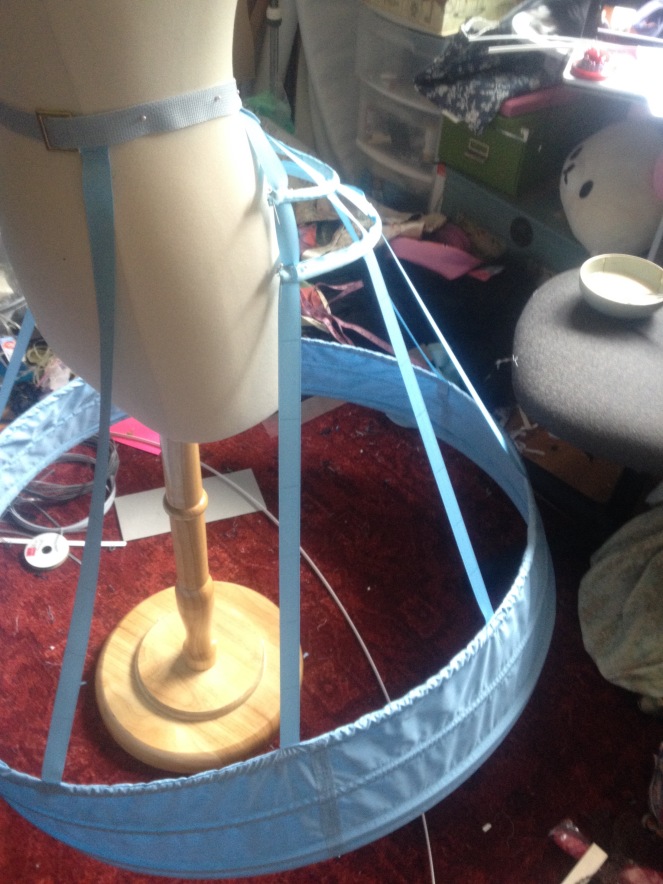
Construction was more difficult than I expected, but I managed without too much difficulty. All my materials were pale blue in homage to Cinderella, though I decided to make my dress a darker shade that better suited my complexion.
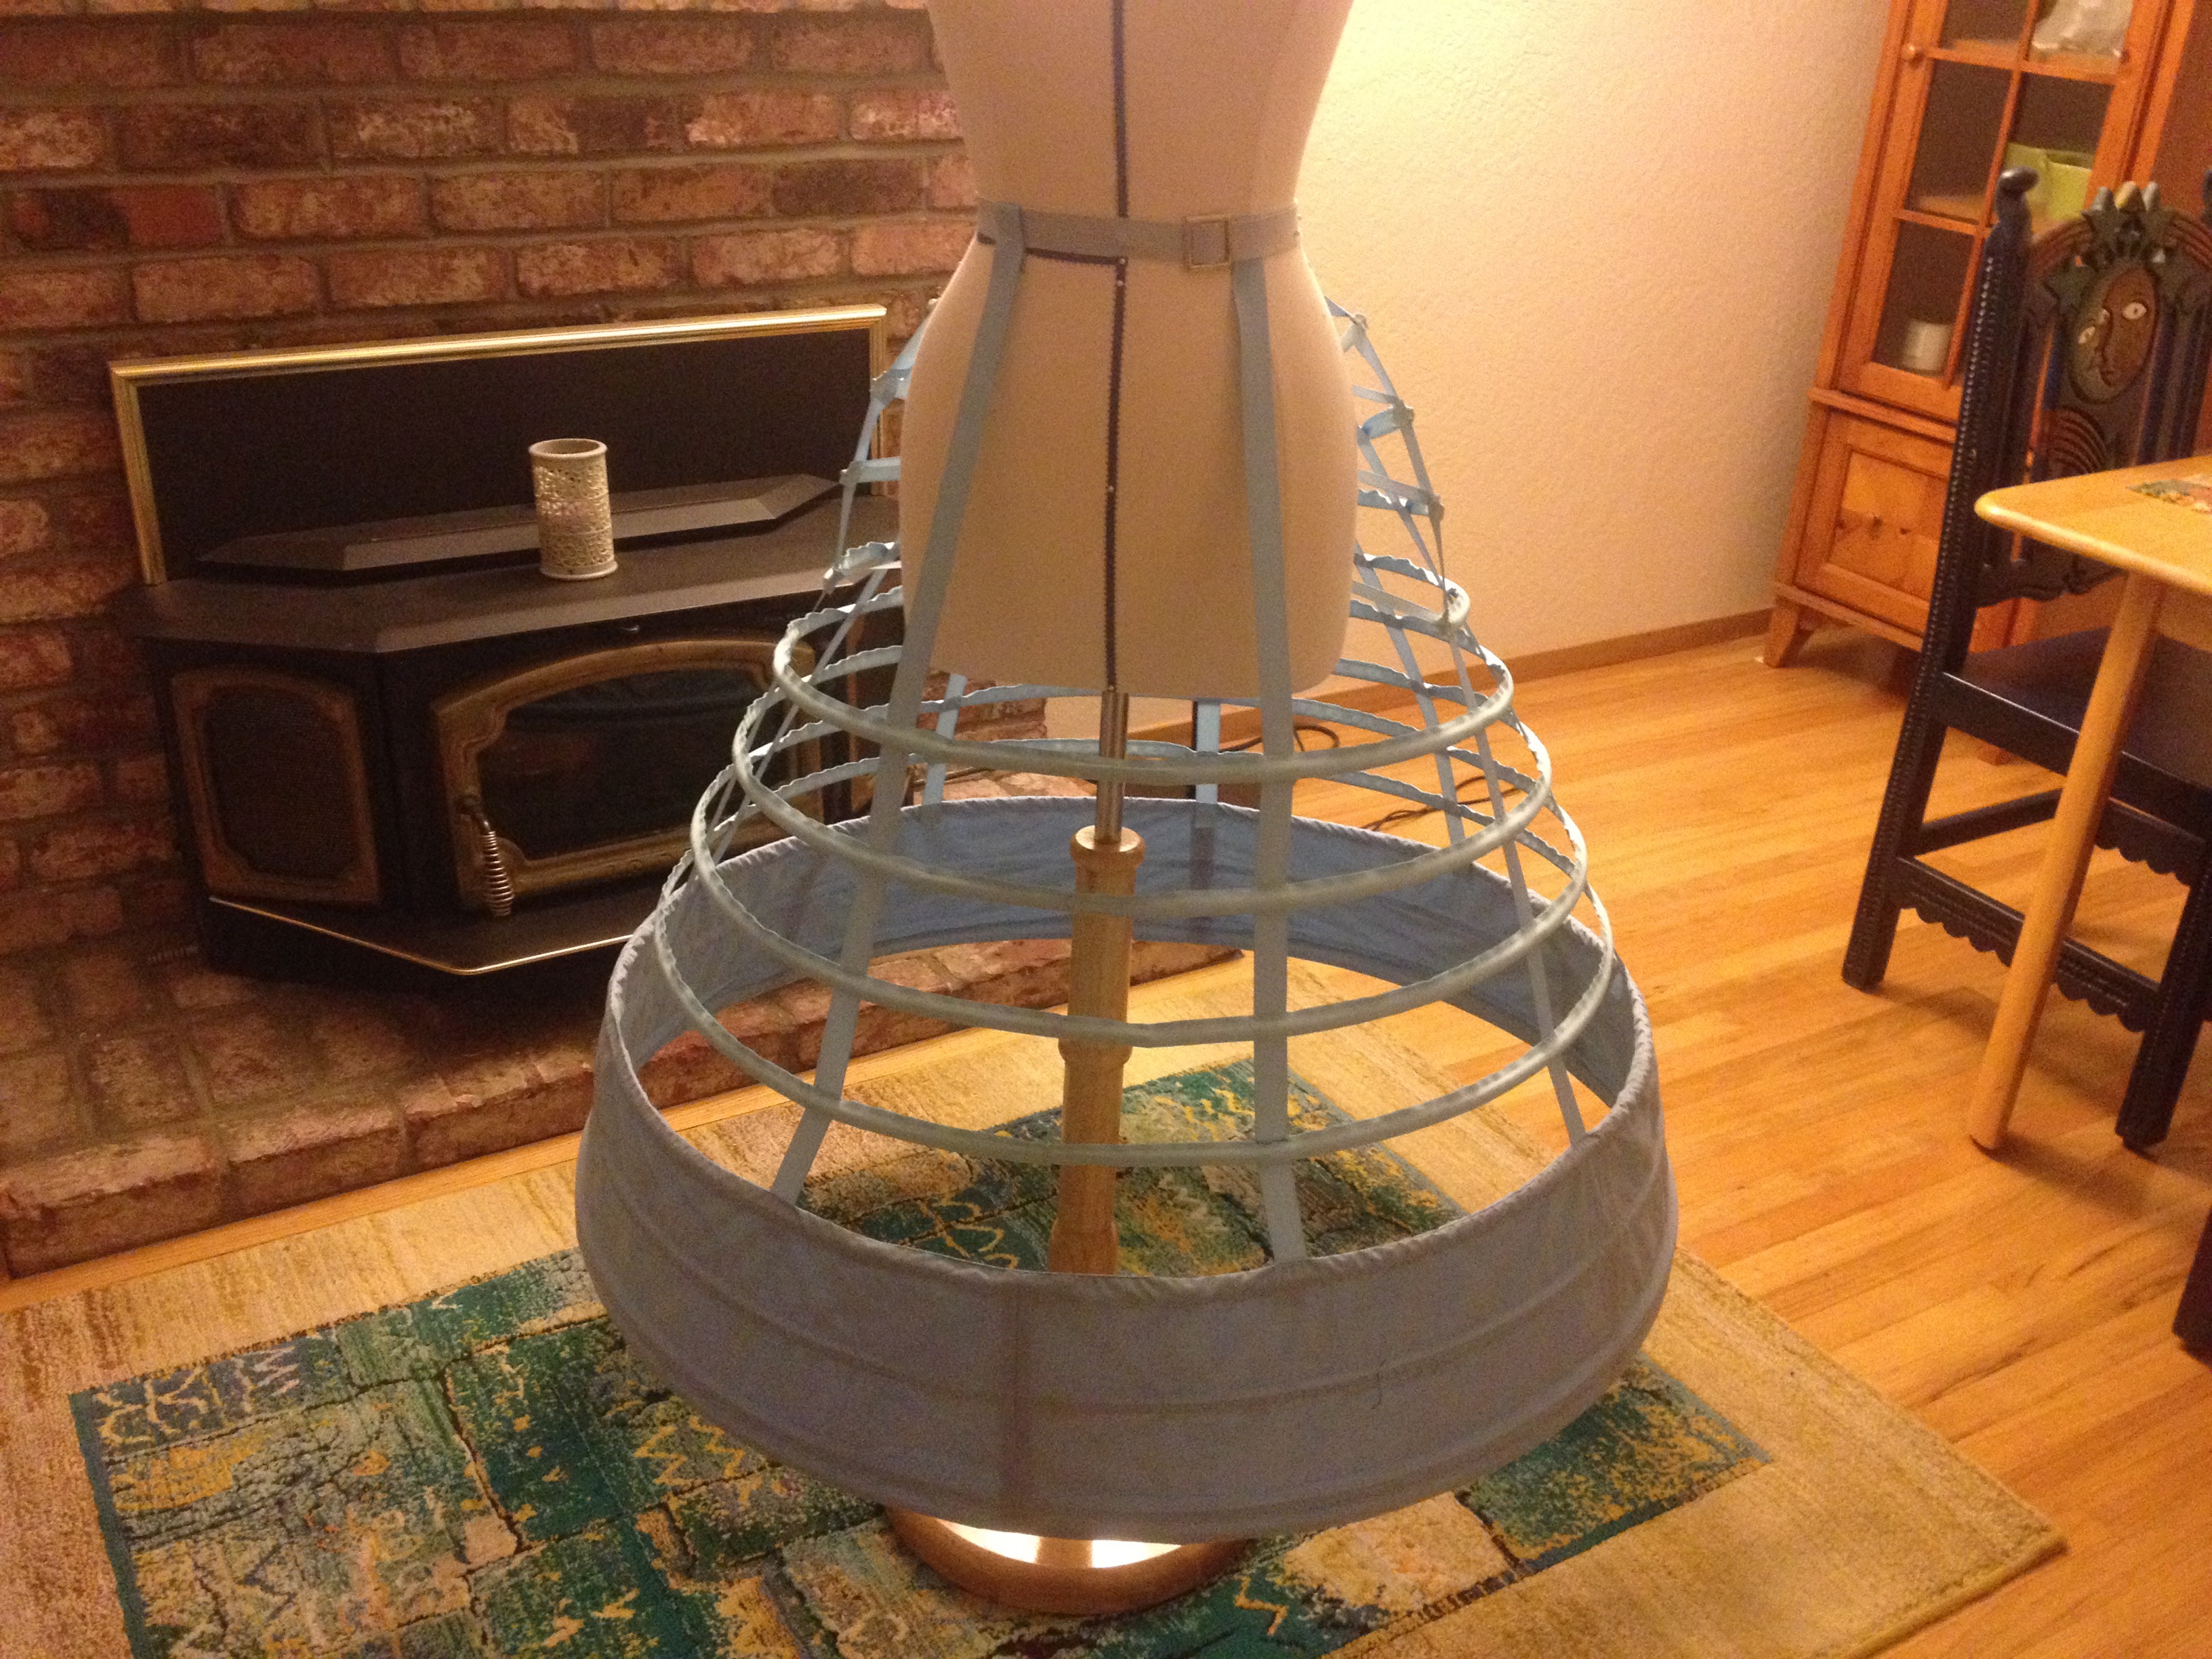


Here are some front, side, and back views of the finished crinoline. You can adjust the level of “bustle” by tightening or loosening the ribbon ties at the back! It’s a clever design that gives it a lovely and authentic shape.
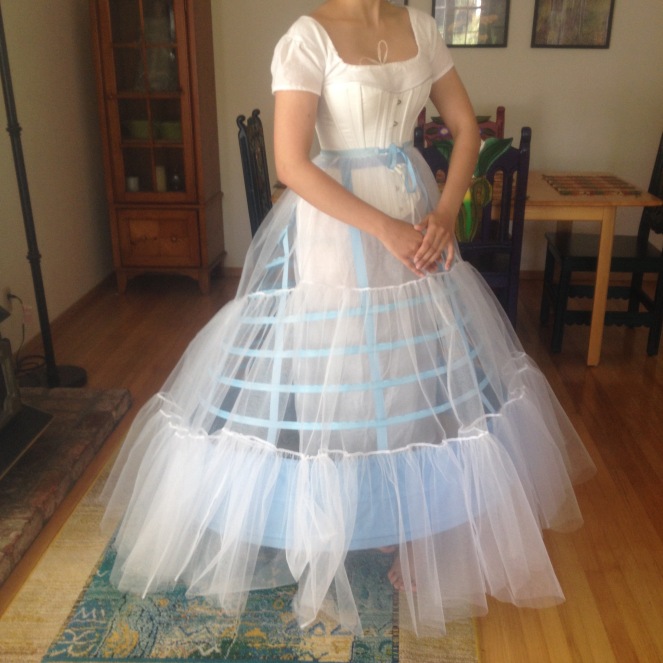


These lovely photos snapped by my father show the finished undergarments all together!
The petticoat (pictured is only the first layer of three) was made out of netting purchased here. I used the entire bolt! Needless to say, this is not remotely historically accurate, as I just wanted as much volume as I could possibly achieve for a minimum of cost and labor. It was also a chance to test my new ruffler foot, though I did have some issues because I purchased a Singer foot for my Viking machine (it worked in the end, but not before several needles met untimely ends).
The process of actually making the petticoat was quite simple. It’s a three-tier petticoat, which means that the first tier is 3x my corseted waist measurement (78″ long), the second tier is 3x that (234″), and the third tier is 3x that (702″). The height of the tiers combined equalled my waist-to-floor measurement over my crinoline. It was 45 inches, which meant that each tier was 15″ tall. However, since this crinoline was elliptical, my waist-to-floor measurement at the back was actually 2″ longer (47″). To make sure my petticoat was even all around, I added an extra 2″ in height to JUST THE BACK of my top panel. In short, the top back piece wasn’t a perfect rectangle, but more of this shape.

Please excuse the horrendous trackpad drawing! The shape is exaggerated, but that’s the general idea.
Once the tiers were ready, I just ruffled them together. I placed my tiers right side together, shorter tier under the ruffler foot, and fed them through. When doing this, the longer tier should get ruffled while the shorter one stays flat. I did gather the top by hand, since I wanted control while sewing it to the grosgrain ribbon that I used as a waistband. After that, I just sewed up the front seam and it was finished! This takes a lot of time and fabric and it’s super irritating to have to shove so many layers of scratchy netting into your machine, but you get a lovely ruffly petticoat in the end. I do not recommend using tulle, it just doesn’t have enough volume. This would, however, be lovely in organdy!

And here’s a back shot of the (semi)finished gown! I’ll write about making the bodice next week.
Happy sewing,
Lady Licorice
