

Here we go with part 2 of Victorian Dragonair! Fun fact: this wasn’t intended to be a cosplay in the beginning, simply a semi-accurate 1860s evening gown, but in order to enter the SacAnime Masquerade the costume needed to be based on Japanese pop culture. Accordingly, I chose Dragonair, a Pokemon with a similar color scheme, and added little touches (like the feather headdress and the pearls) to turn it into a proper gijinka.

I draped the bodice quickly on my dress form (it took about 15 minutes, since it’s a simple 6-piece pattern with basic style lines) and turned that into a mockup. It fit almost perfectly– I just had to take it in at the waist and the back, and I had my pattern! The neck, arms, and waist have reduced seam allowance since they’re finished with piping.

I shall digress for a moment to discuss my new shears, the Kai ones pictured above. My old shears were German steel and 10 years old, so they were a little rusty and a little stiff from the prolonged use but still in great condition. These Kai shears, however, totally outclass them. In fact, I even prefer them to my Ginghers! They’re a fraction of the price, but lightweight with incredibly ergonomic handles and razor sharp blades. They cut through the awful, tarp-like faux dupioni I was using for this gown like it was butter.
In this dreadful, grainy photo, taken much too late at night in terrible lighting, you can see how perfectly the resulting garment fits over my corset. I’m very happy with this bodice, it’s probably my favorite part of the entire costume.

All of the bodice pieces were flatlined with this pretty blue quilting cotton, and the seams were pressed open and the bones applied. I used some leftover twill tape as bone casing and stitched it into the bodice by hand, catching only the seam allowance.

To finish the waist and armholes, I made my own piping. I cut 3″ bias strips from my fabric (following this fantastic tutorial) and enclosed a piece of Lion Homespun yarn in it, then used my zipper foot to stitch right alongside the yarn. I then machine stitched this onto the bodice, again using my zipper foot.
Don’t forget to clip your curves! Even though it’s cut on the bias, you still need to cut piping around extreme curves (like the center point on this bodice).
I know you’re supposed to use proper cord for piping, but Lion Homespun yarn is super bulky, so it looks really nice as piping, and I just happened to have quite a large quantity on hand.

I subsequently used pinking shears to cut the loose ends of the piping (since this fabric is the devil and frays horrendously) and tacked it to the inside of the bodice using a herringbone stitch. I love the way it looks! I only caught the flatlining cotton in each stitch, so it’s invisible from the outside.

Here’s how it looked pinned onto my dress form. I was super happy with it, so I finally forced myself to start on the scariest part– the eyelets.
I had never done hand bound eyelets before, so I started by testing one on a scrap. I used two strands of waxed embroidery floss and a buttonhole stitch. This led to a very pretty result, but the fabric kept shifting and the finished eyelet was too small. To combat this I decided to whipstitch around each hole with normal thread (a staystitch, if you will) before going back around with the buttonhole stitch.

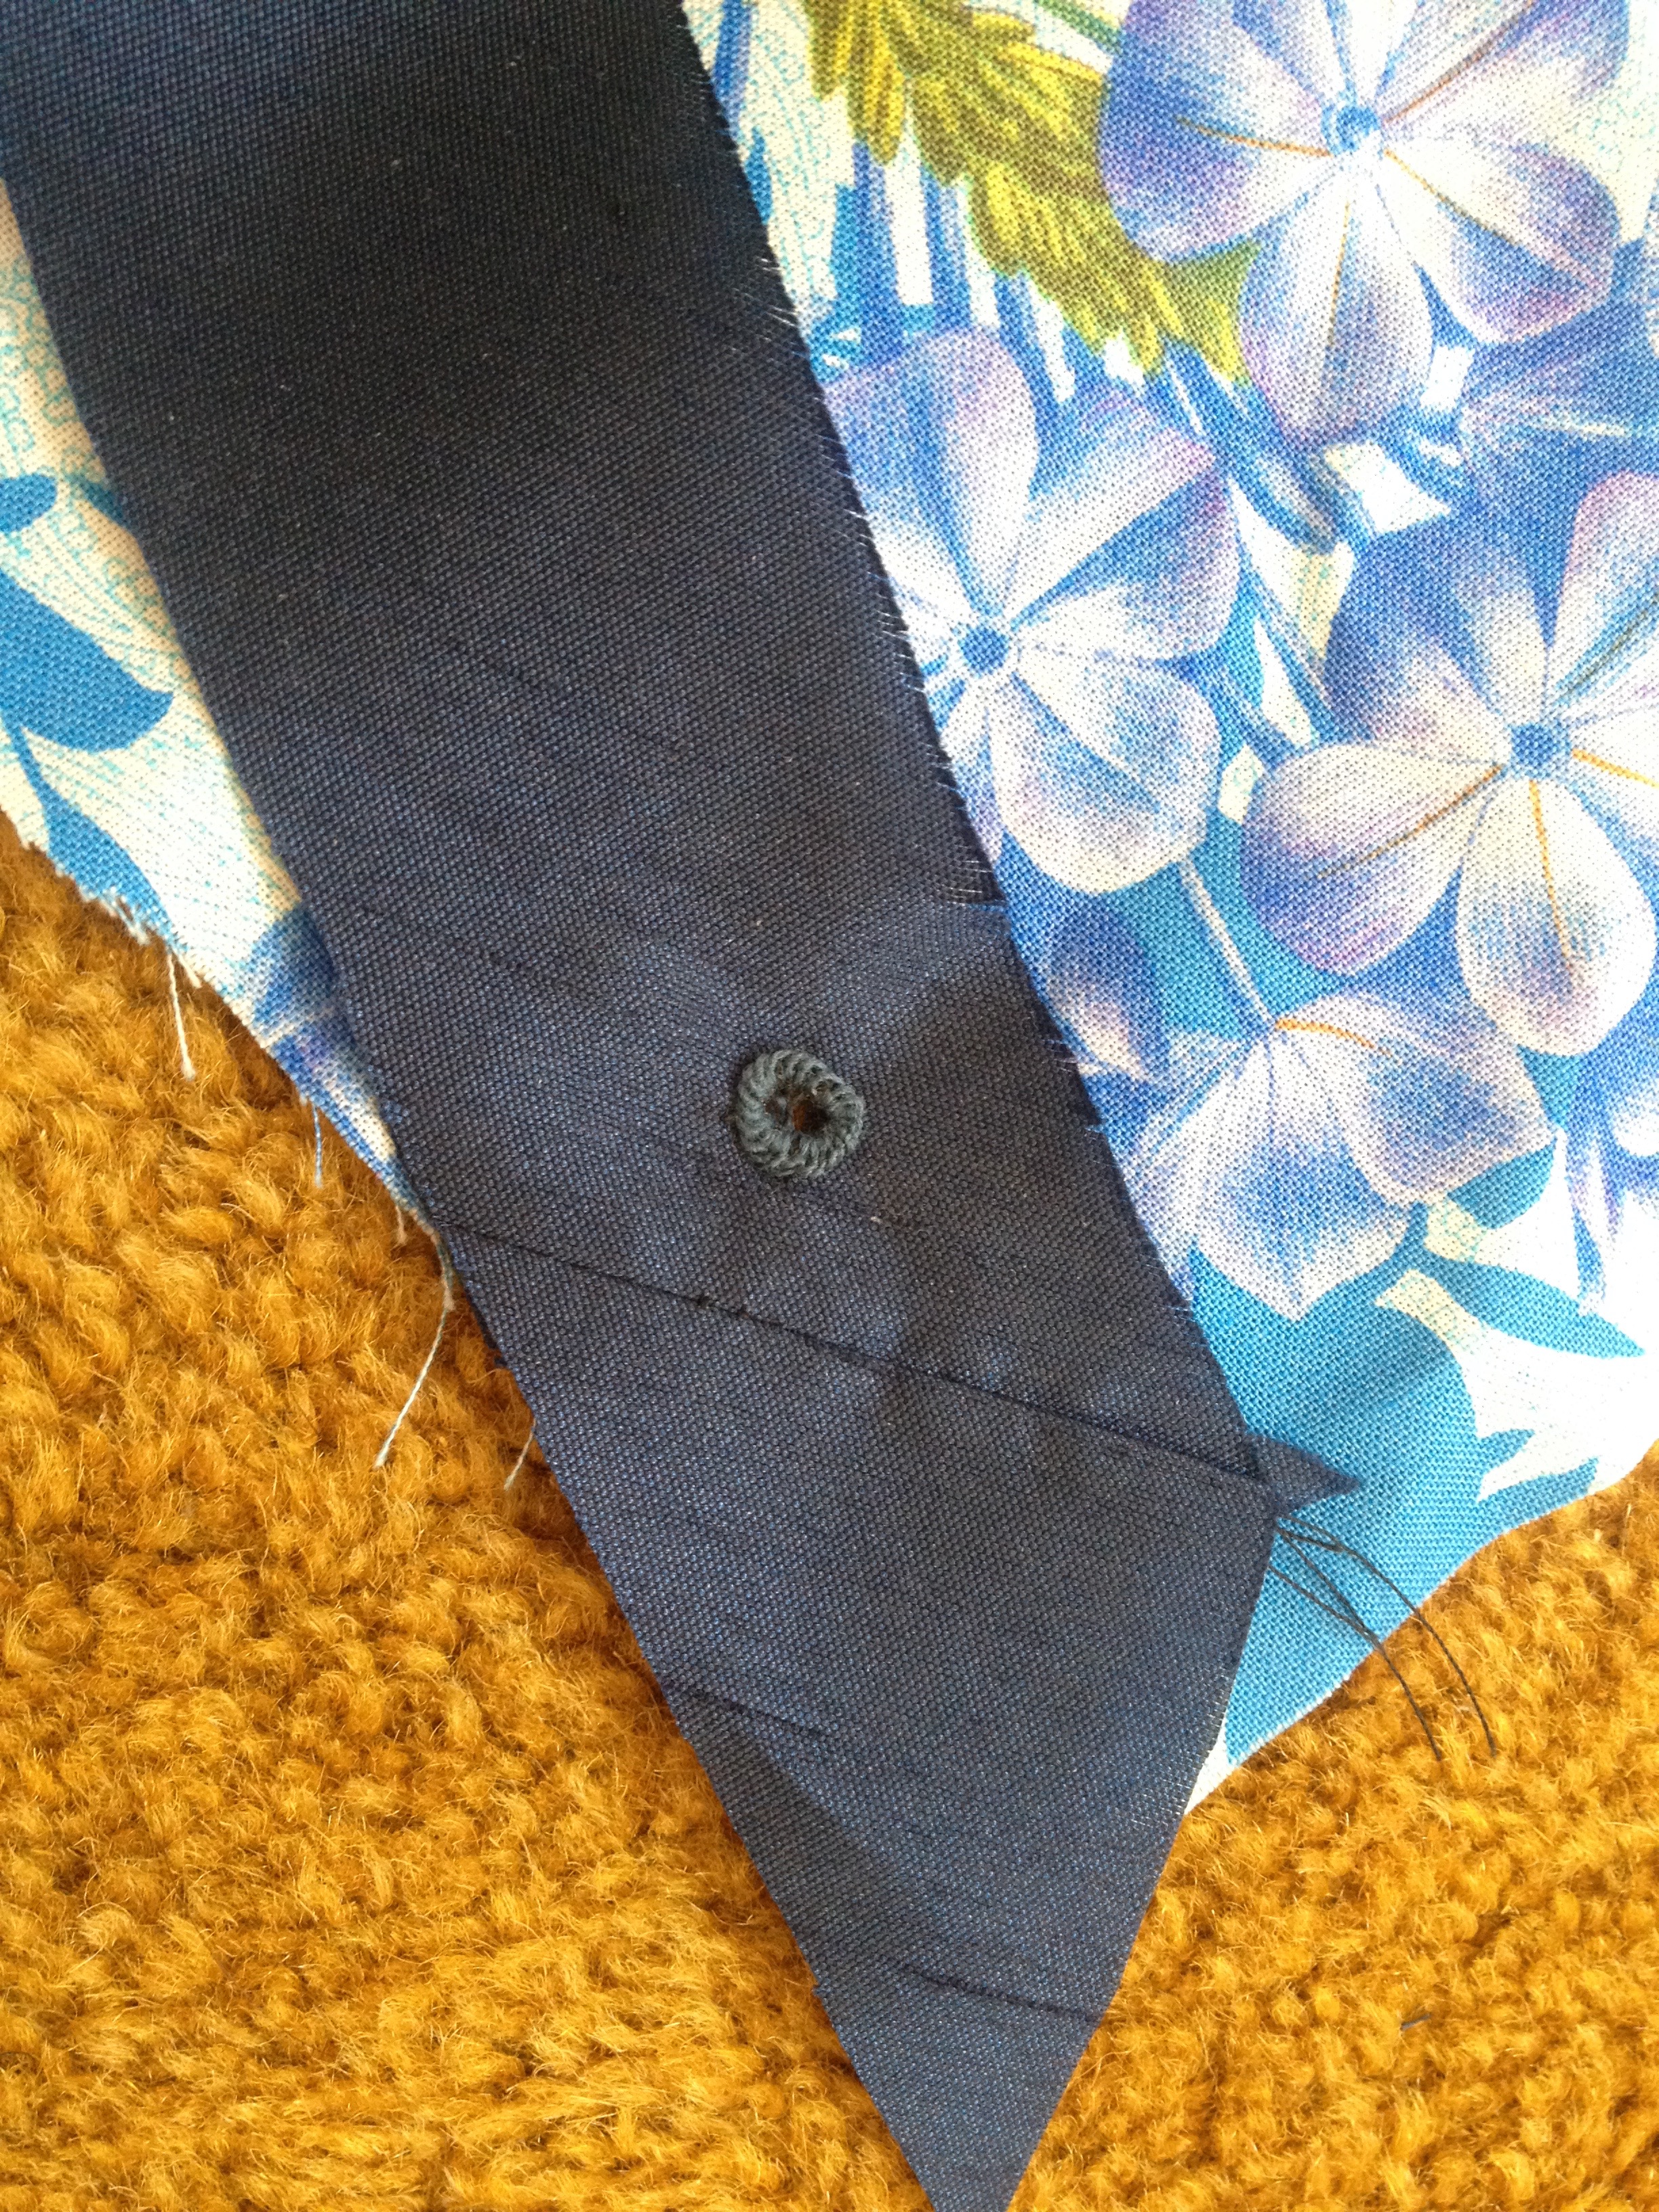
The top eyelet is done, and you can see the whipstitching on the bottom two. This preliminary stitching doesn’t have to be neat, it just has to keep the fibers tidy and out of the way.
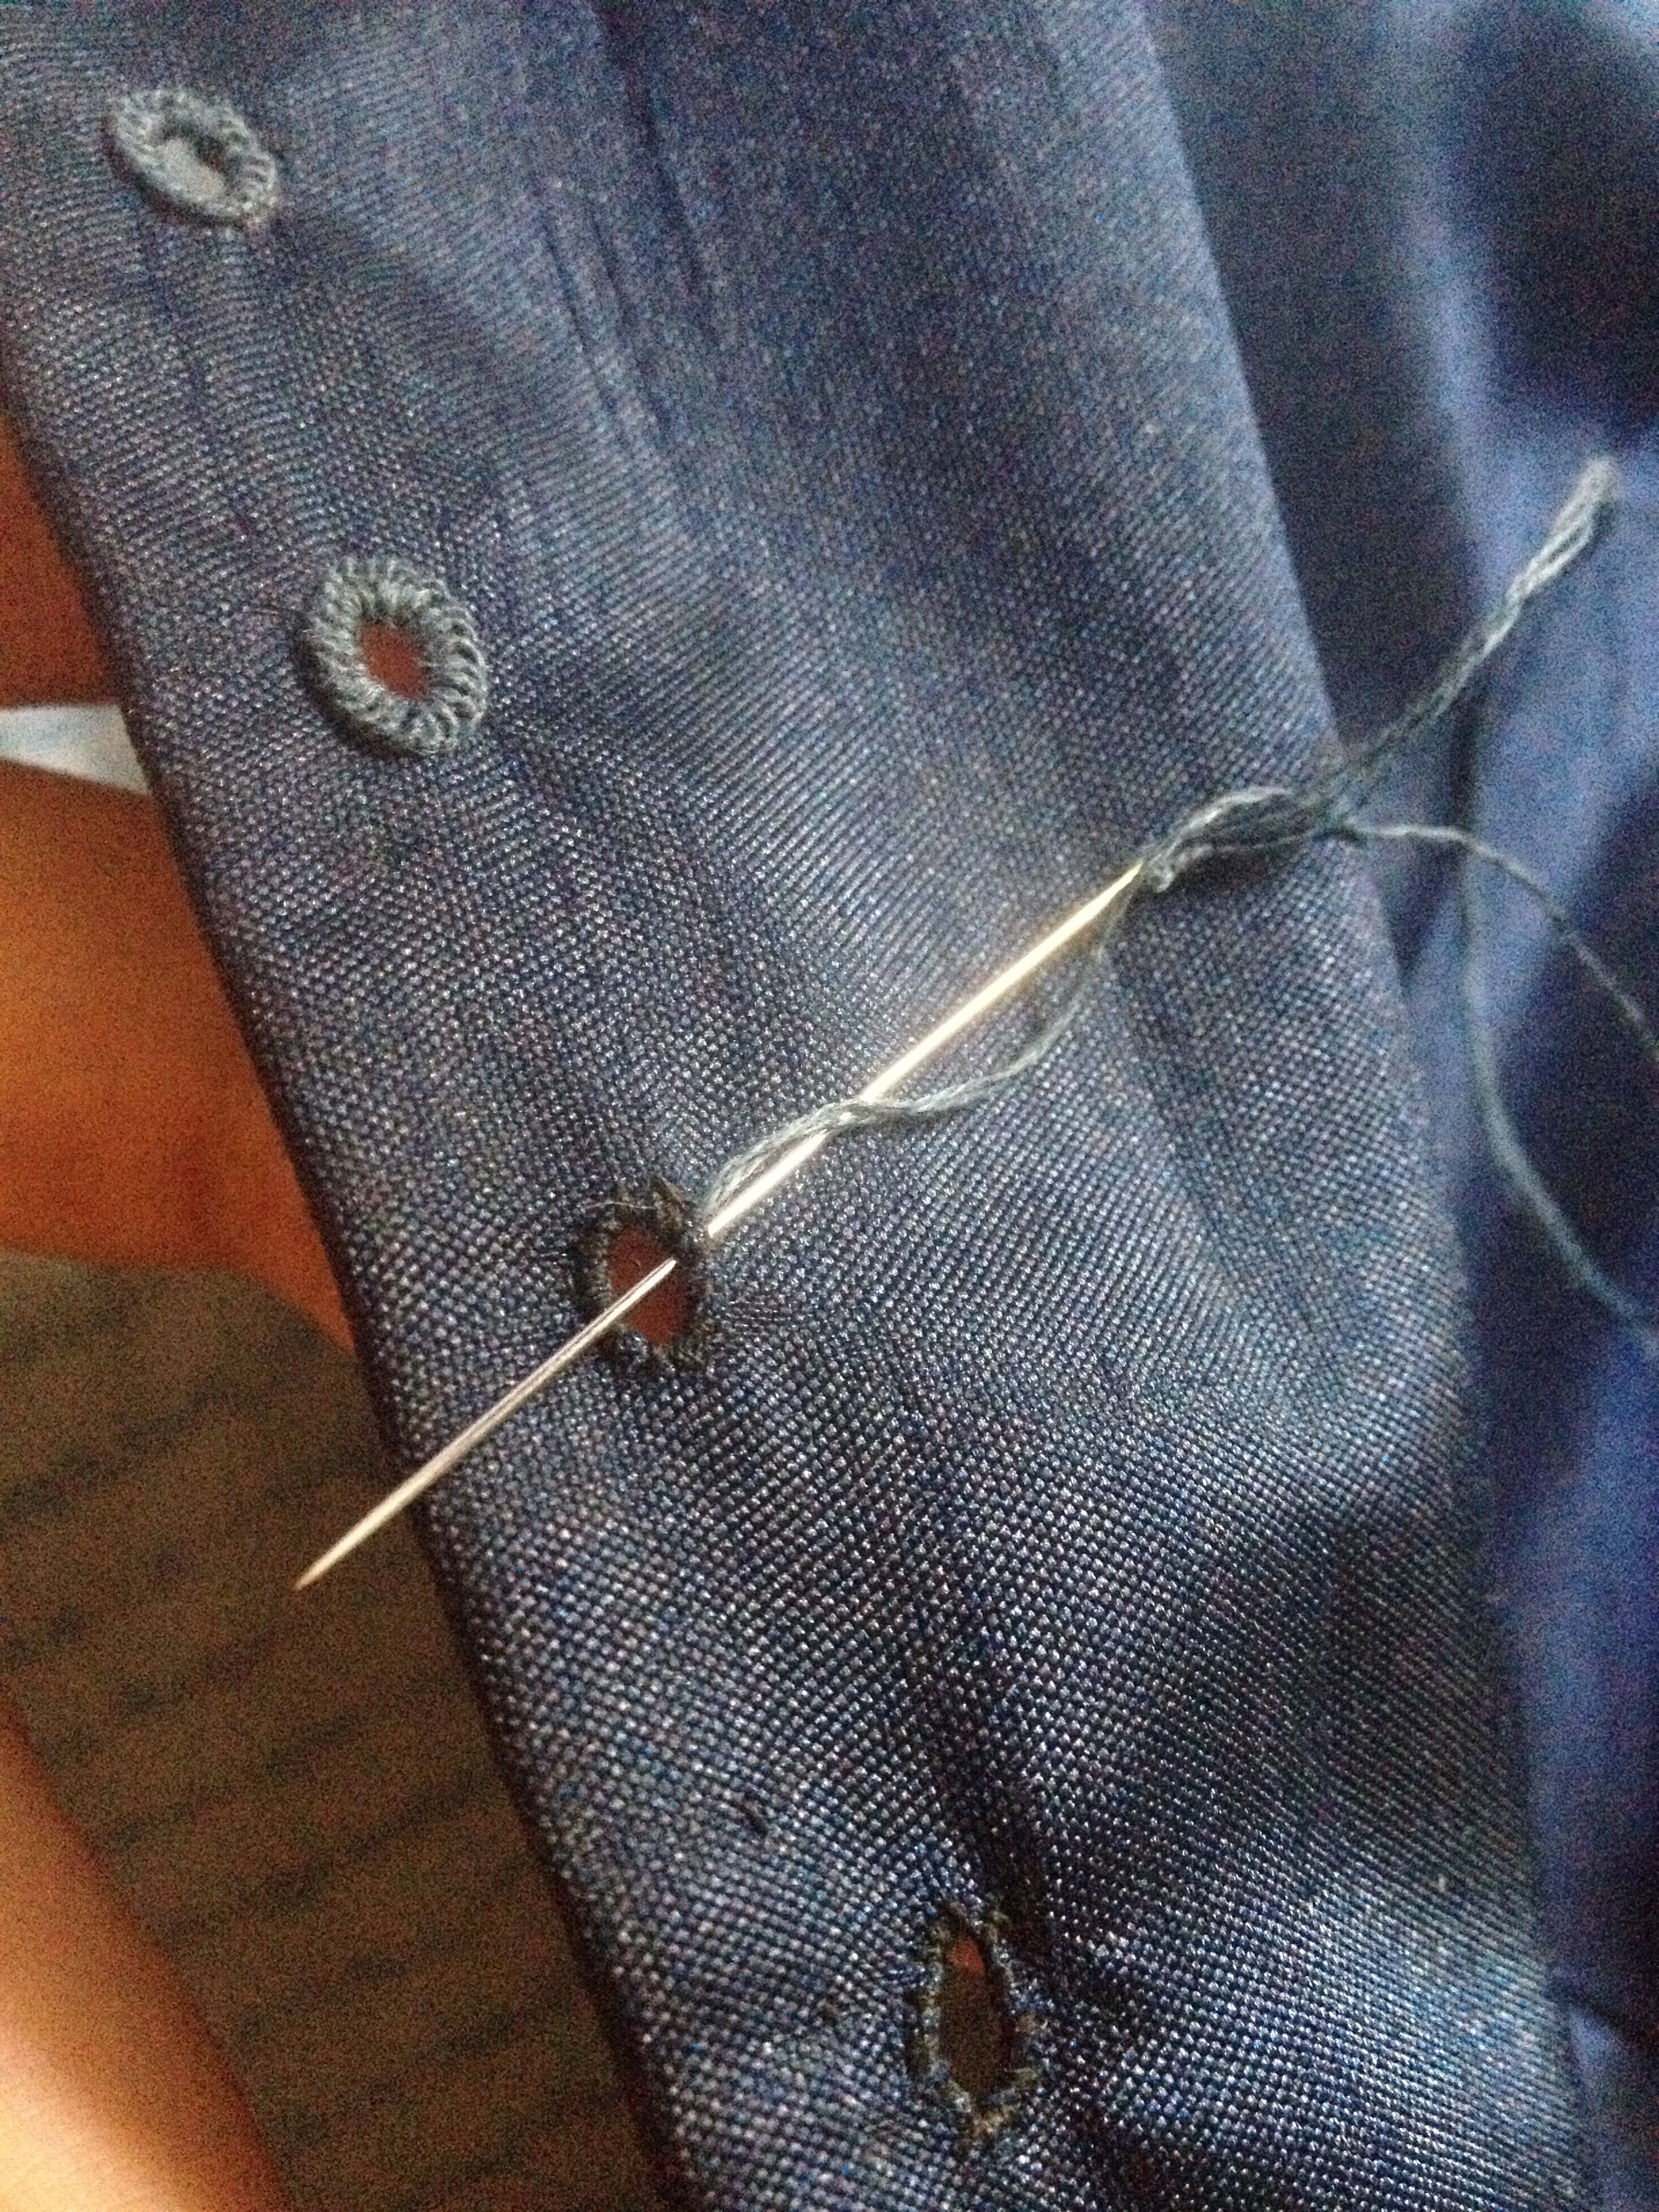
To do the buttonhole stitch, start by putting your needle into the hole as pictured above.

Make your thread into a loop…

… and pull it through like so.

The buttonhole stitch forms a little knot, as you can see above. It’s your decision whether you want your knot to be positioned to the outside of your eyelet or the inside– I personally like the way it looks on the outside, even though it’s slightly less durable, so that’s what I went with.

Here’s what it looks like with two stitches! Many people do eyelets with just layers of whip stitching, but I personally love the textured look of the buttonhole stitch, so I prefer it despite the extra effort it takes.

And here are my finished eyelets (which took FOREVER and could certainly stand to be neater, but I’m very proud of them). They are staggered for spiral lacing, which Jen of Festive Attyre talks more about in this post.

Here’s a closeup of the lacing! I happened to have this 50c ribbon in my stash, which was the perfect width for my eyelets and an appropriately complimentary color. I didn’t have any lacing tips so I tipped it in several layers of scotch tape rolled up tightly, and then went over it quickly with a lighter to melt the tape + fraying poly ribbon. It worked wonderfully as a quick solution!

The finished bodice fits perfectly over my corset! The patterning gods were definitely smiling on me. Please note that I left the neckline unfinished because it was going to be covered by the bertha anyways and I’m lazy.
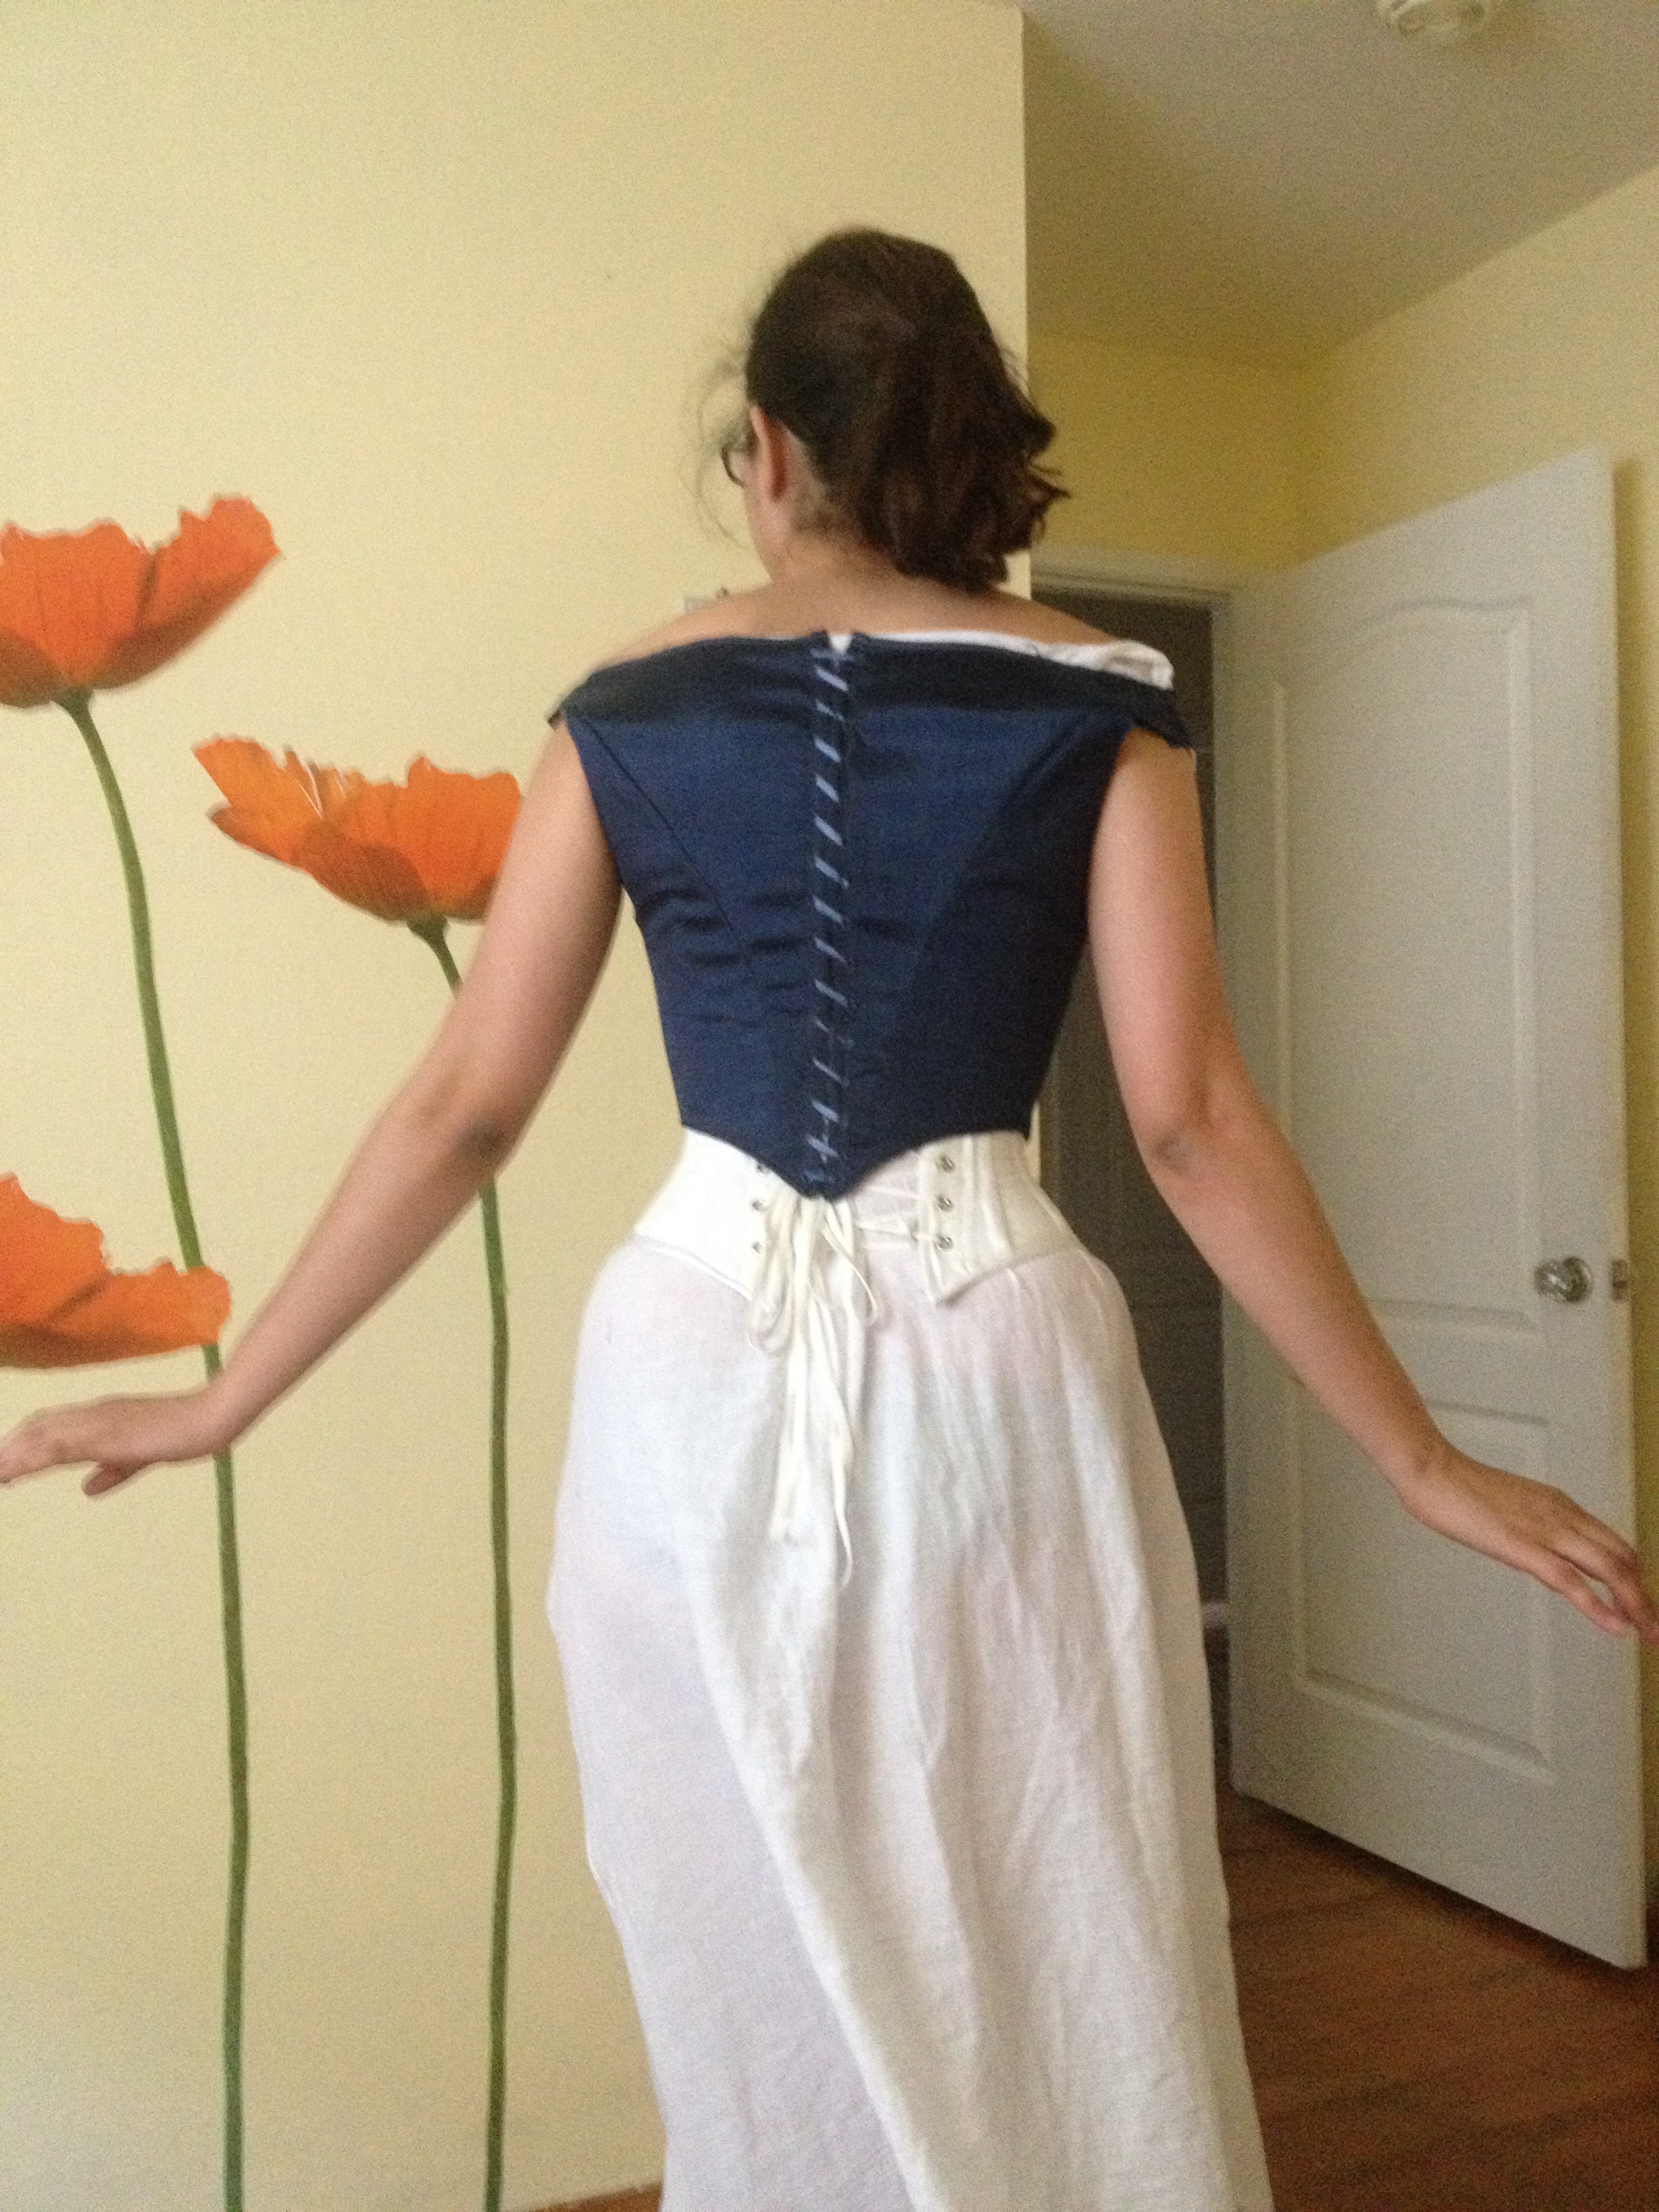
Here’s a full shot of the back all laced up! Forgive the rumply chemise strap– since it was originally made as a Regency shift it did not want to cooperate with the low, wide neckline that was stylish in the 1860s.
And that’s it! I’ll be back next week with the last post, which will cover the skirt, the ruffly bertha, and the headdress.
Until then, happy sewing!
Lady Licorice
