Apologies for the long wait– but we’ve finally reached the last post on this costume! If you haven’t already, I suggest checking out part one and part two.
Last time the bodice was left with an unfinished neckline, but I was completely tired of hand sewing and detail work at that point so I switched to working on the skirt.
Caution: Some of the following photos feature the most terrible lighting in the history of ever, since I was working late at night! :’>


I was in quite a hurry at this point, since the NorCal gathering was fast approaching, so the process of making this skirt was a bit… organic. I was able to utilize the width of this fabric, since it was 120″ wide, so I just cut straight across to form several large rectangles. Two of them was pleated for the front and back, and the rest were subsequently cut diagonally across to form wedge shapes– these were my gores, which are very important for achieving the fashionable thrown back 1860s silhouette! The straight edges are stitched to the front panel of the skirt and the long diagonal edge to the back panels.
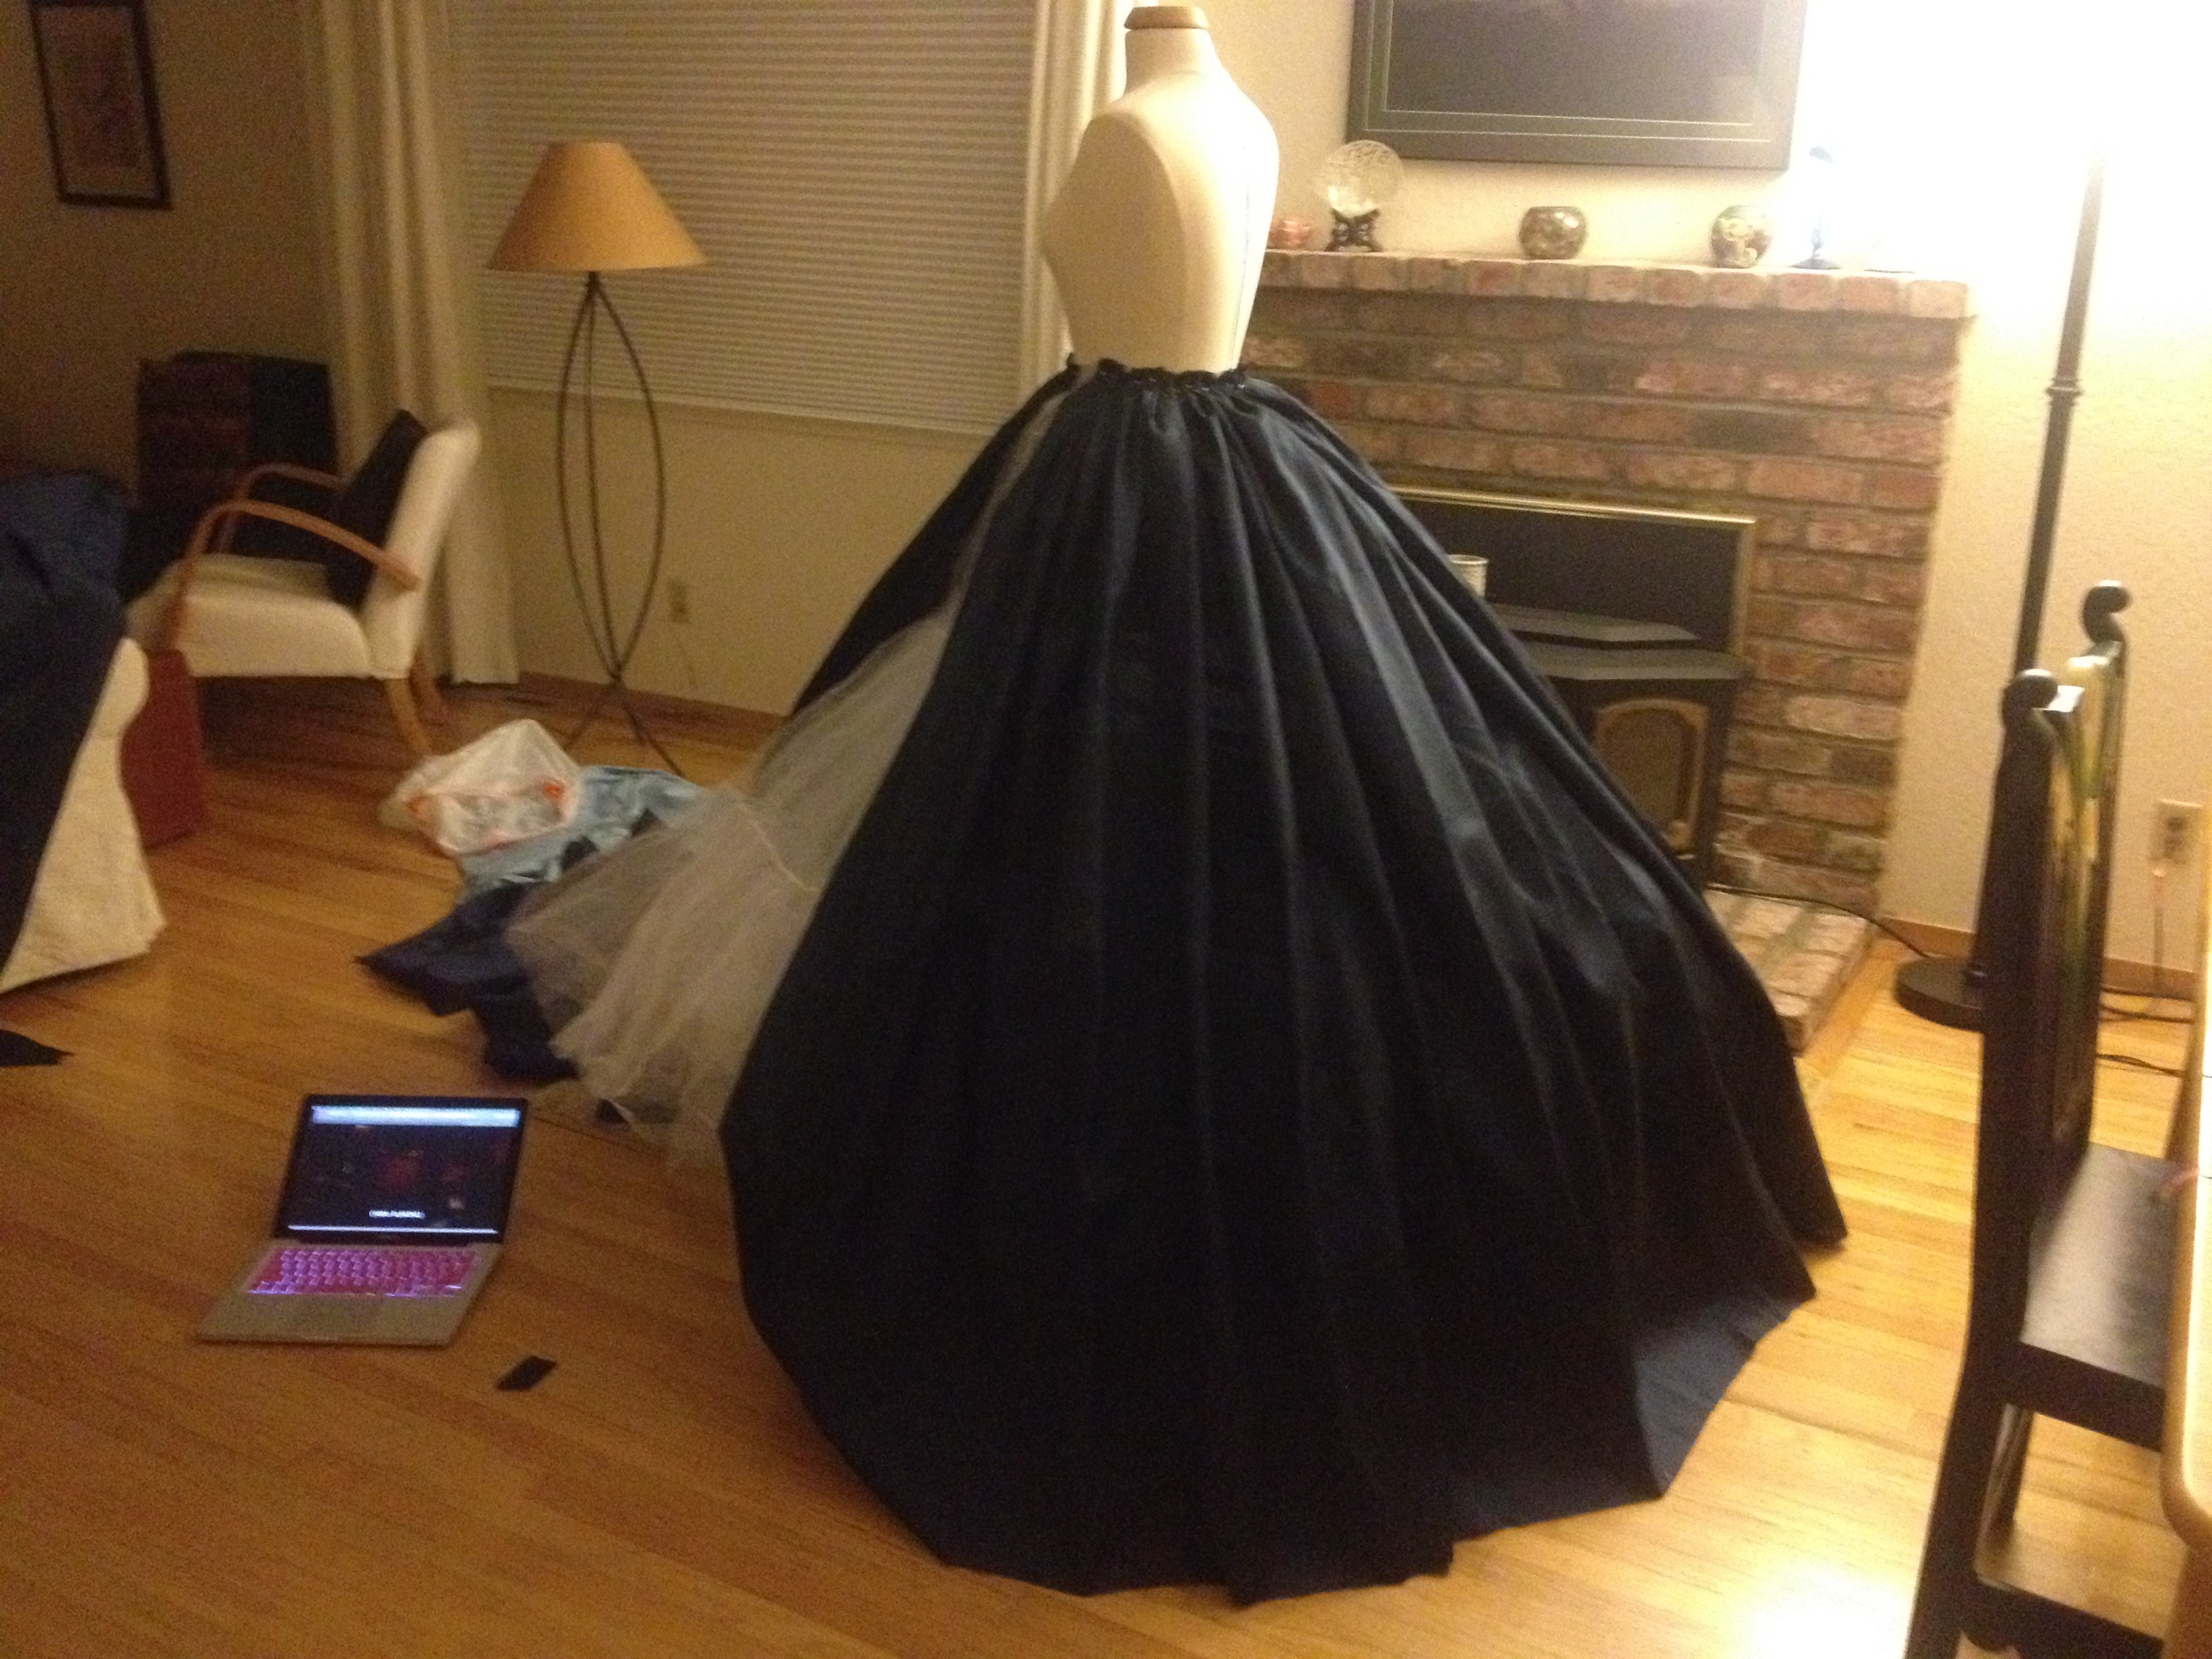
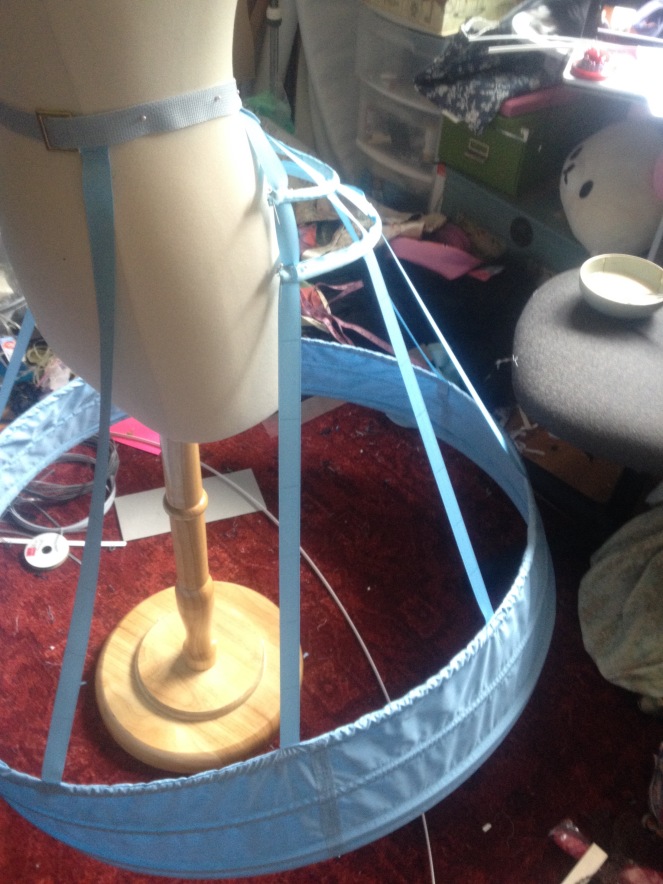
I roughly pinned everything together and pleated it onto my dress form. I really liked the way it was taking shape, so I didn’t bother to think about things like hemming (!!!). Or finishing interior seams, though I did try to utilize the selvedge.

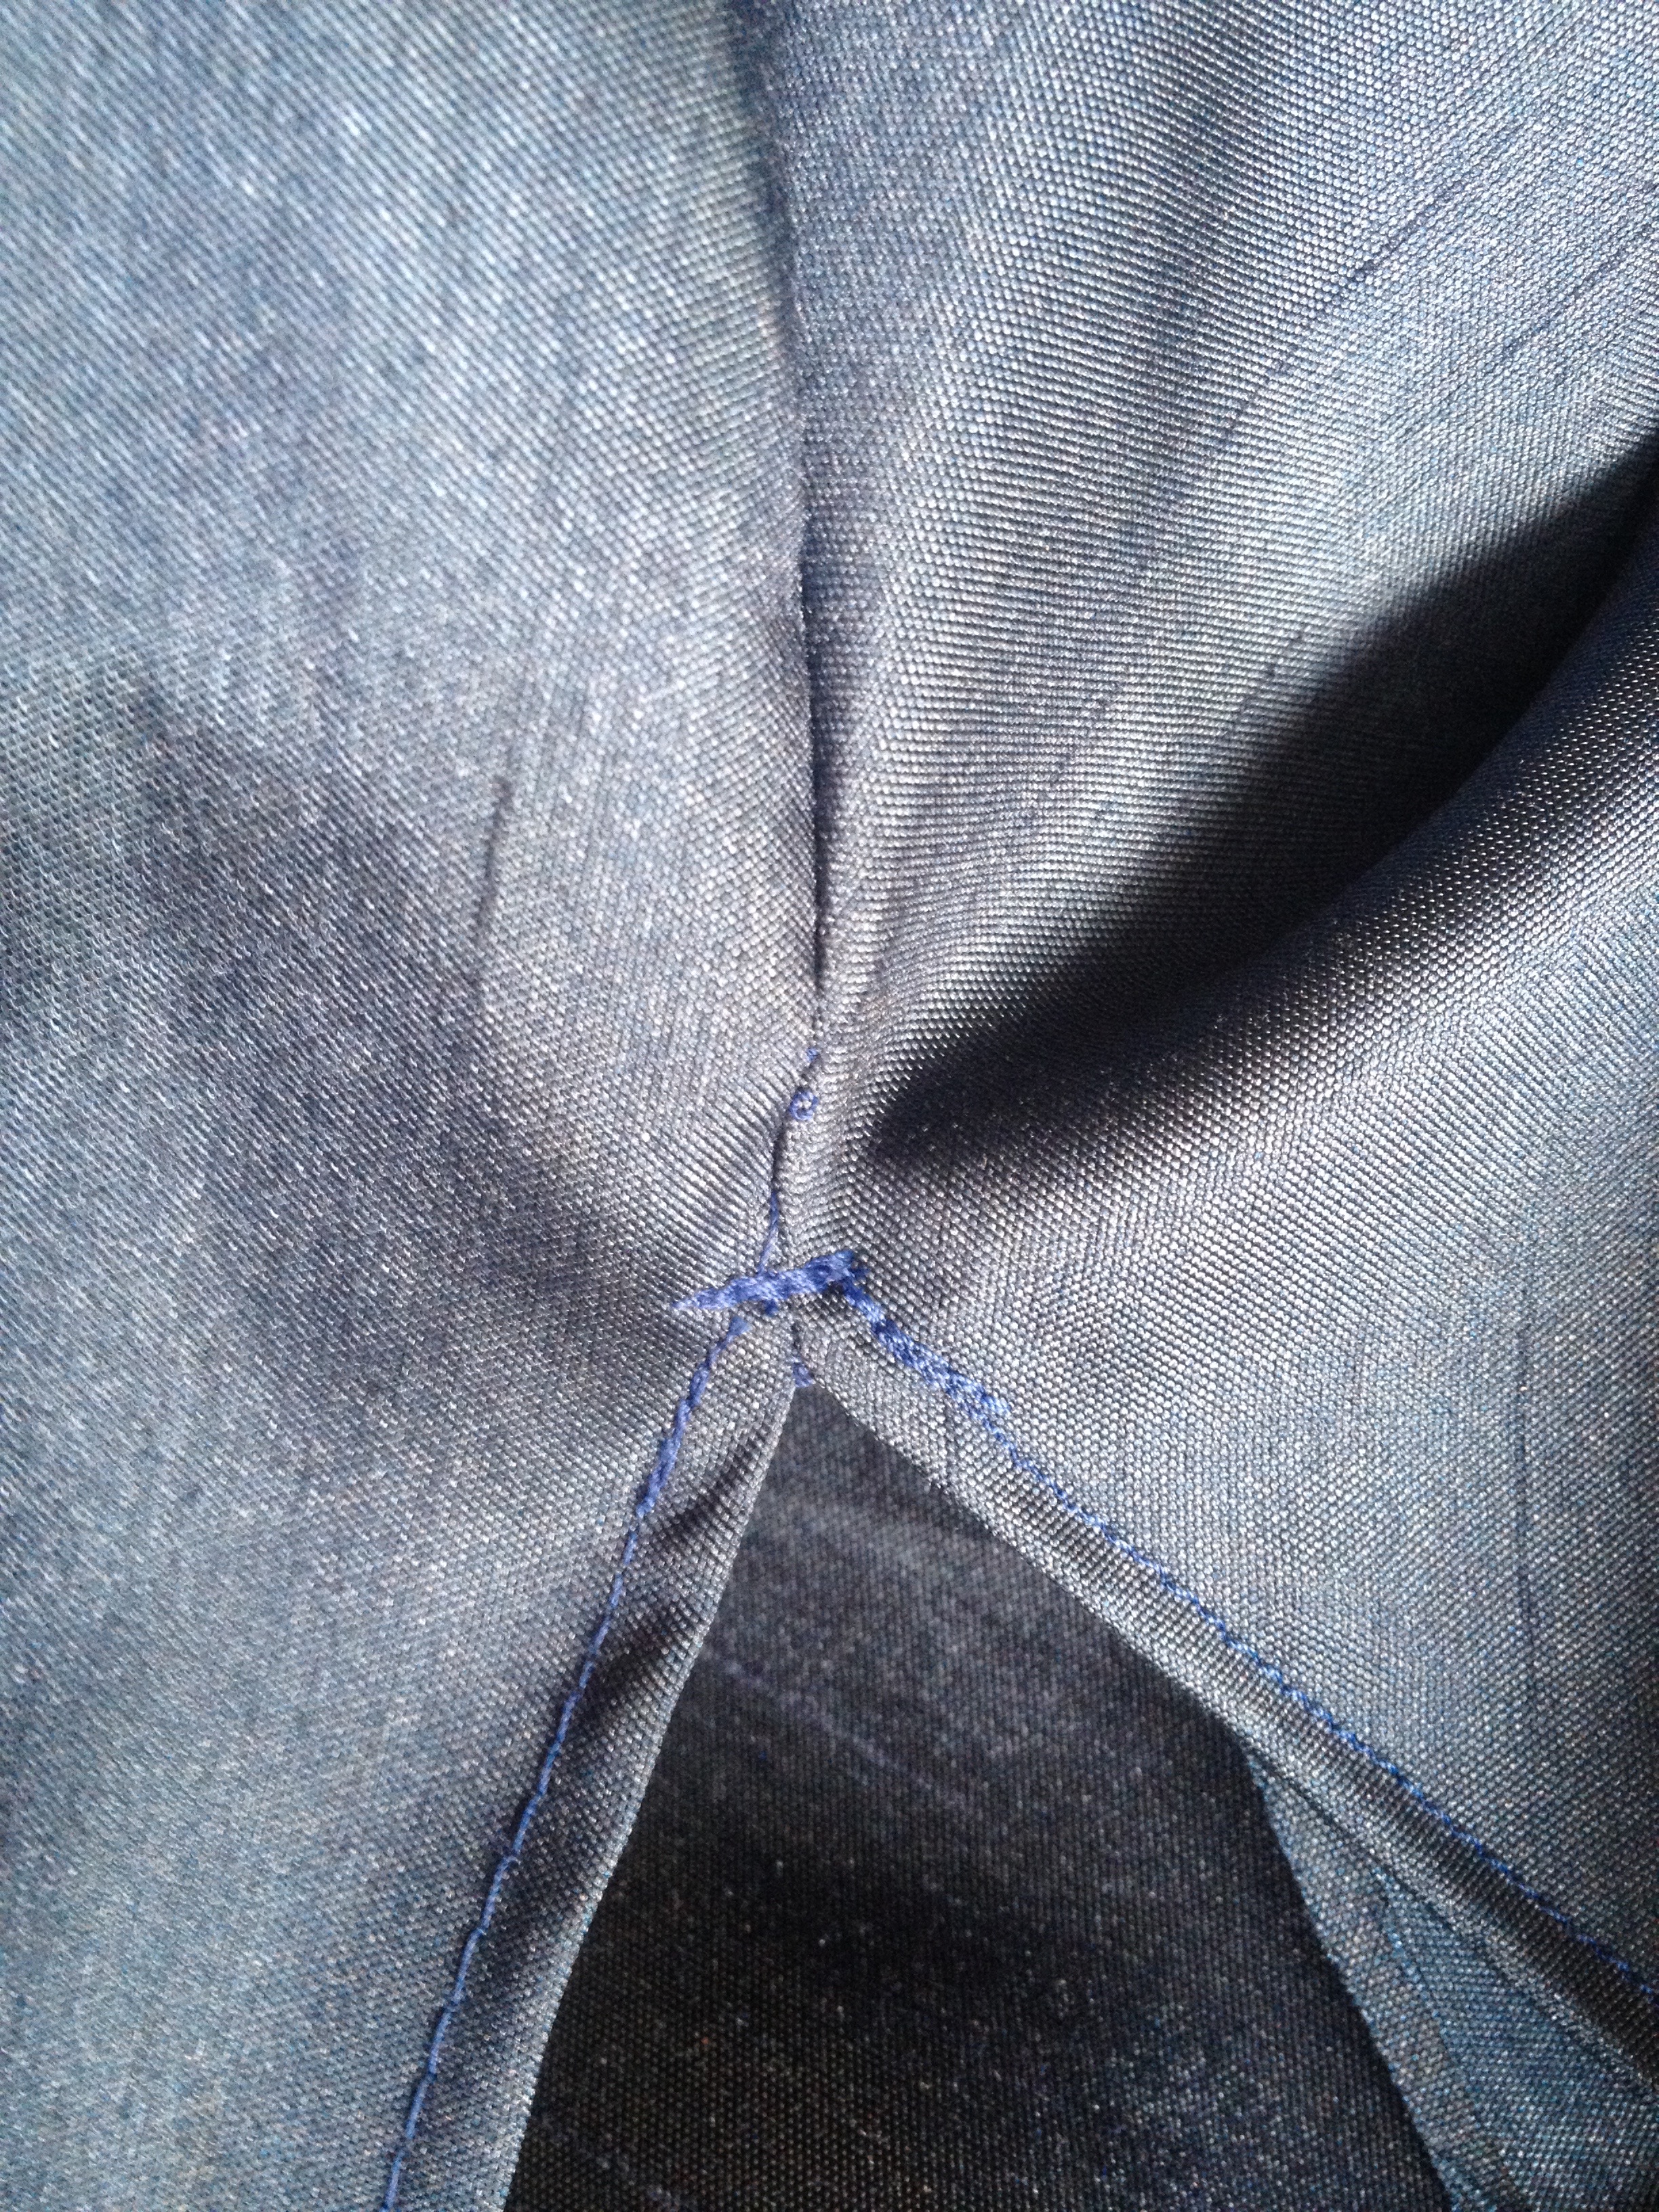
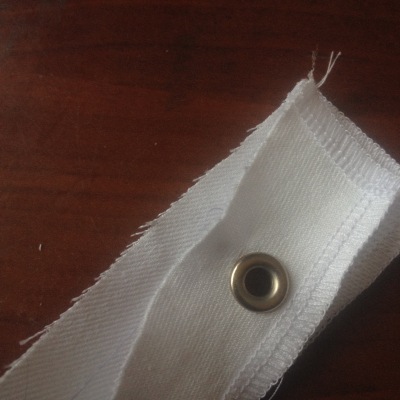
I stitched the skirt together, then finished the opening (which was on the right side) by turning the edges over twice and stitching them down. I backstitched across the point several times to keep everything nice and secure!
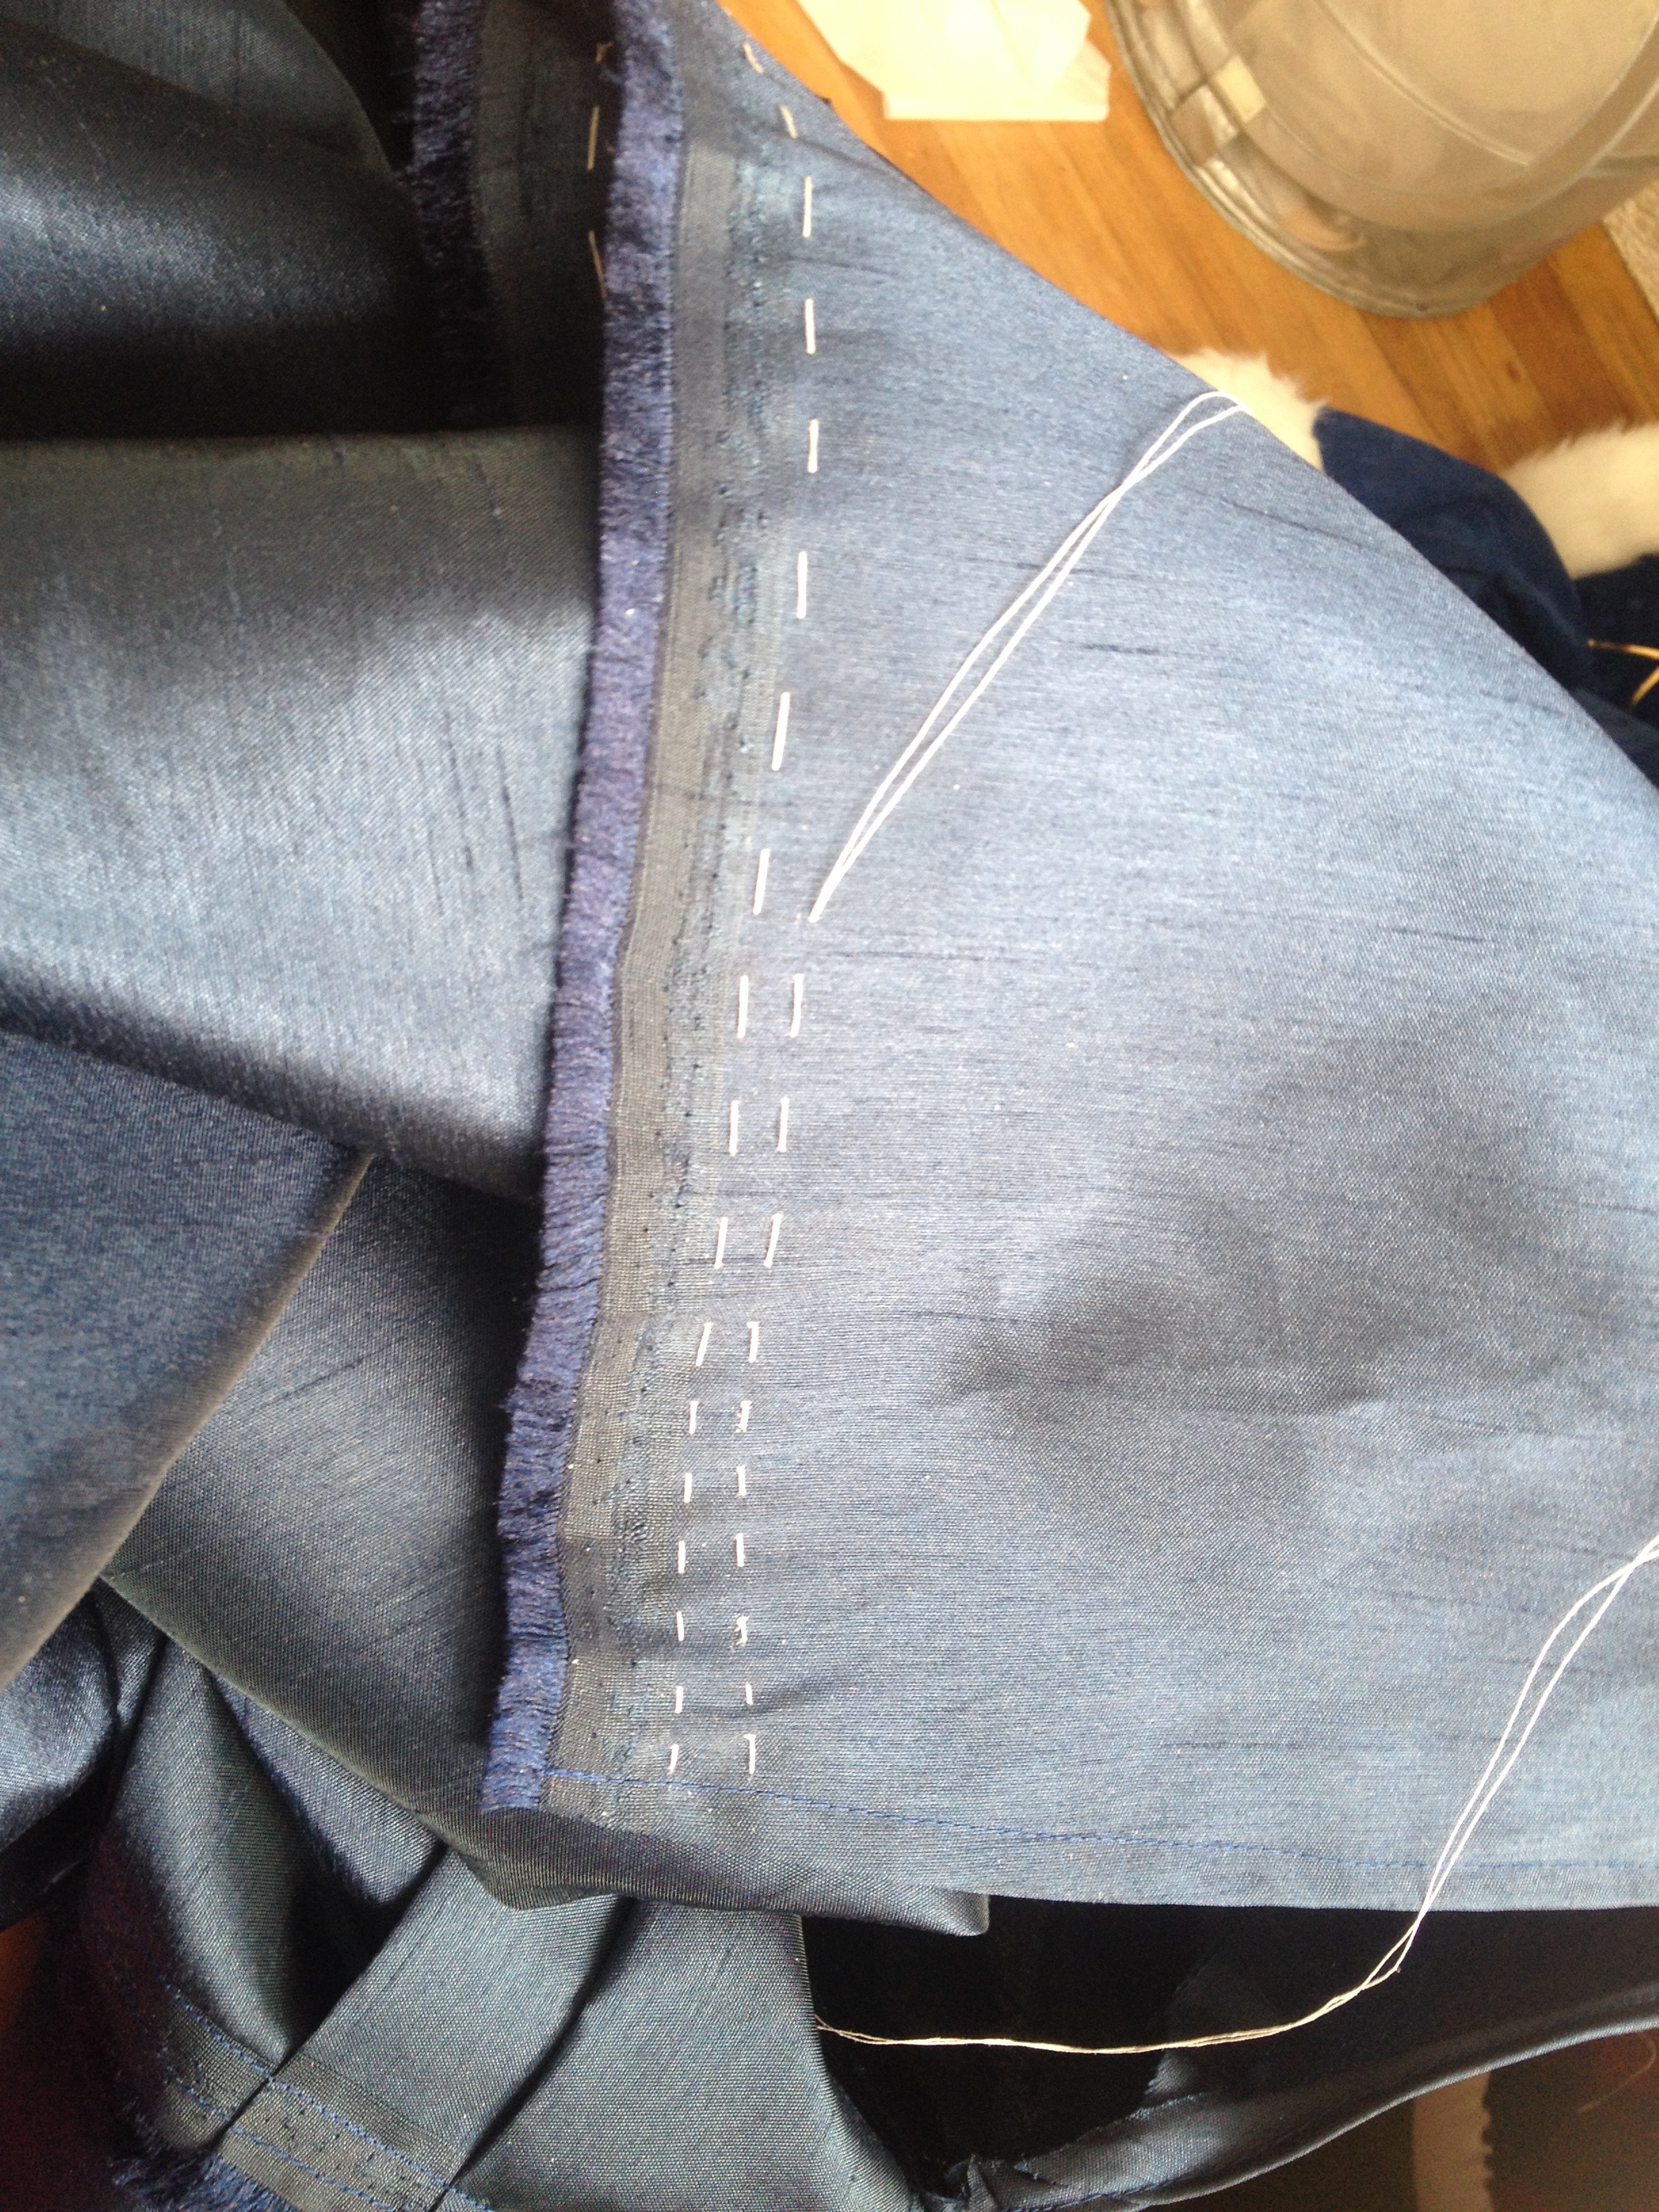

I cartridge pleated the skirt with two even rows of running stitches. Using waxed upholstery thread and working in sections is definitely the key to successful cartridge pleating– and even then I had issues with tangling! It’s definitely not my favorite thing to do, but I did manage to get the entire width pleated onto the waistband.
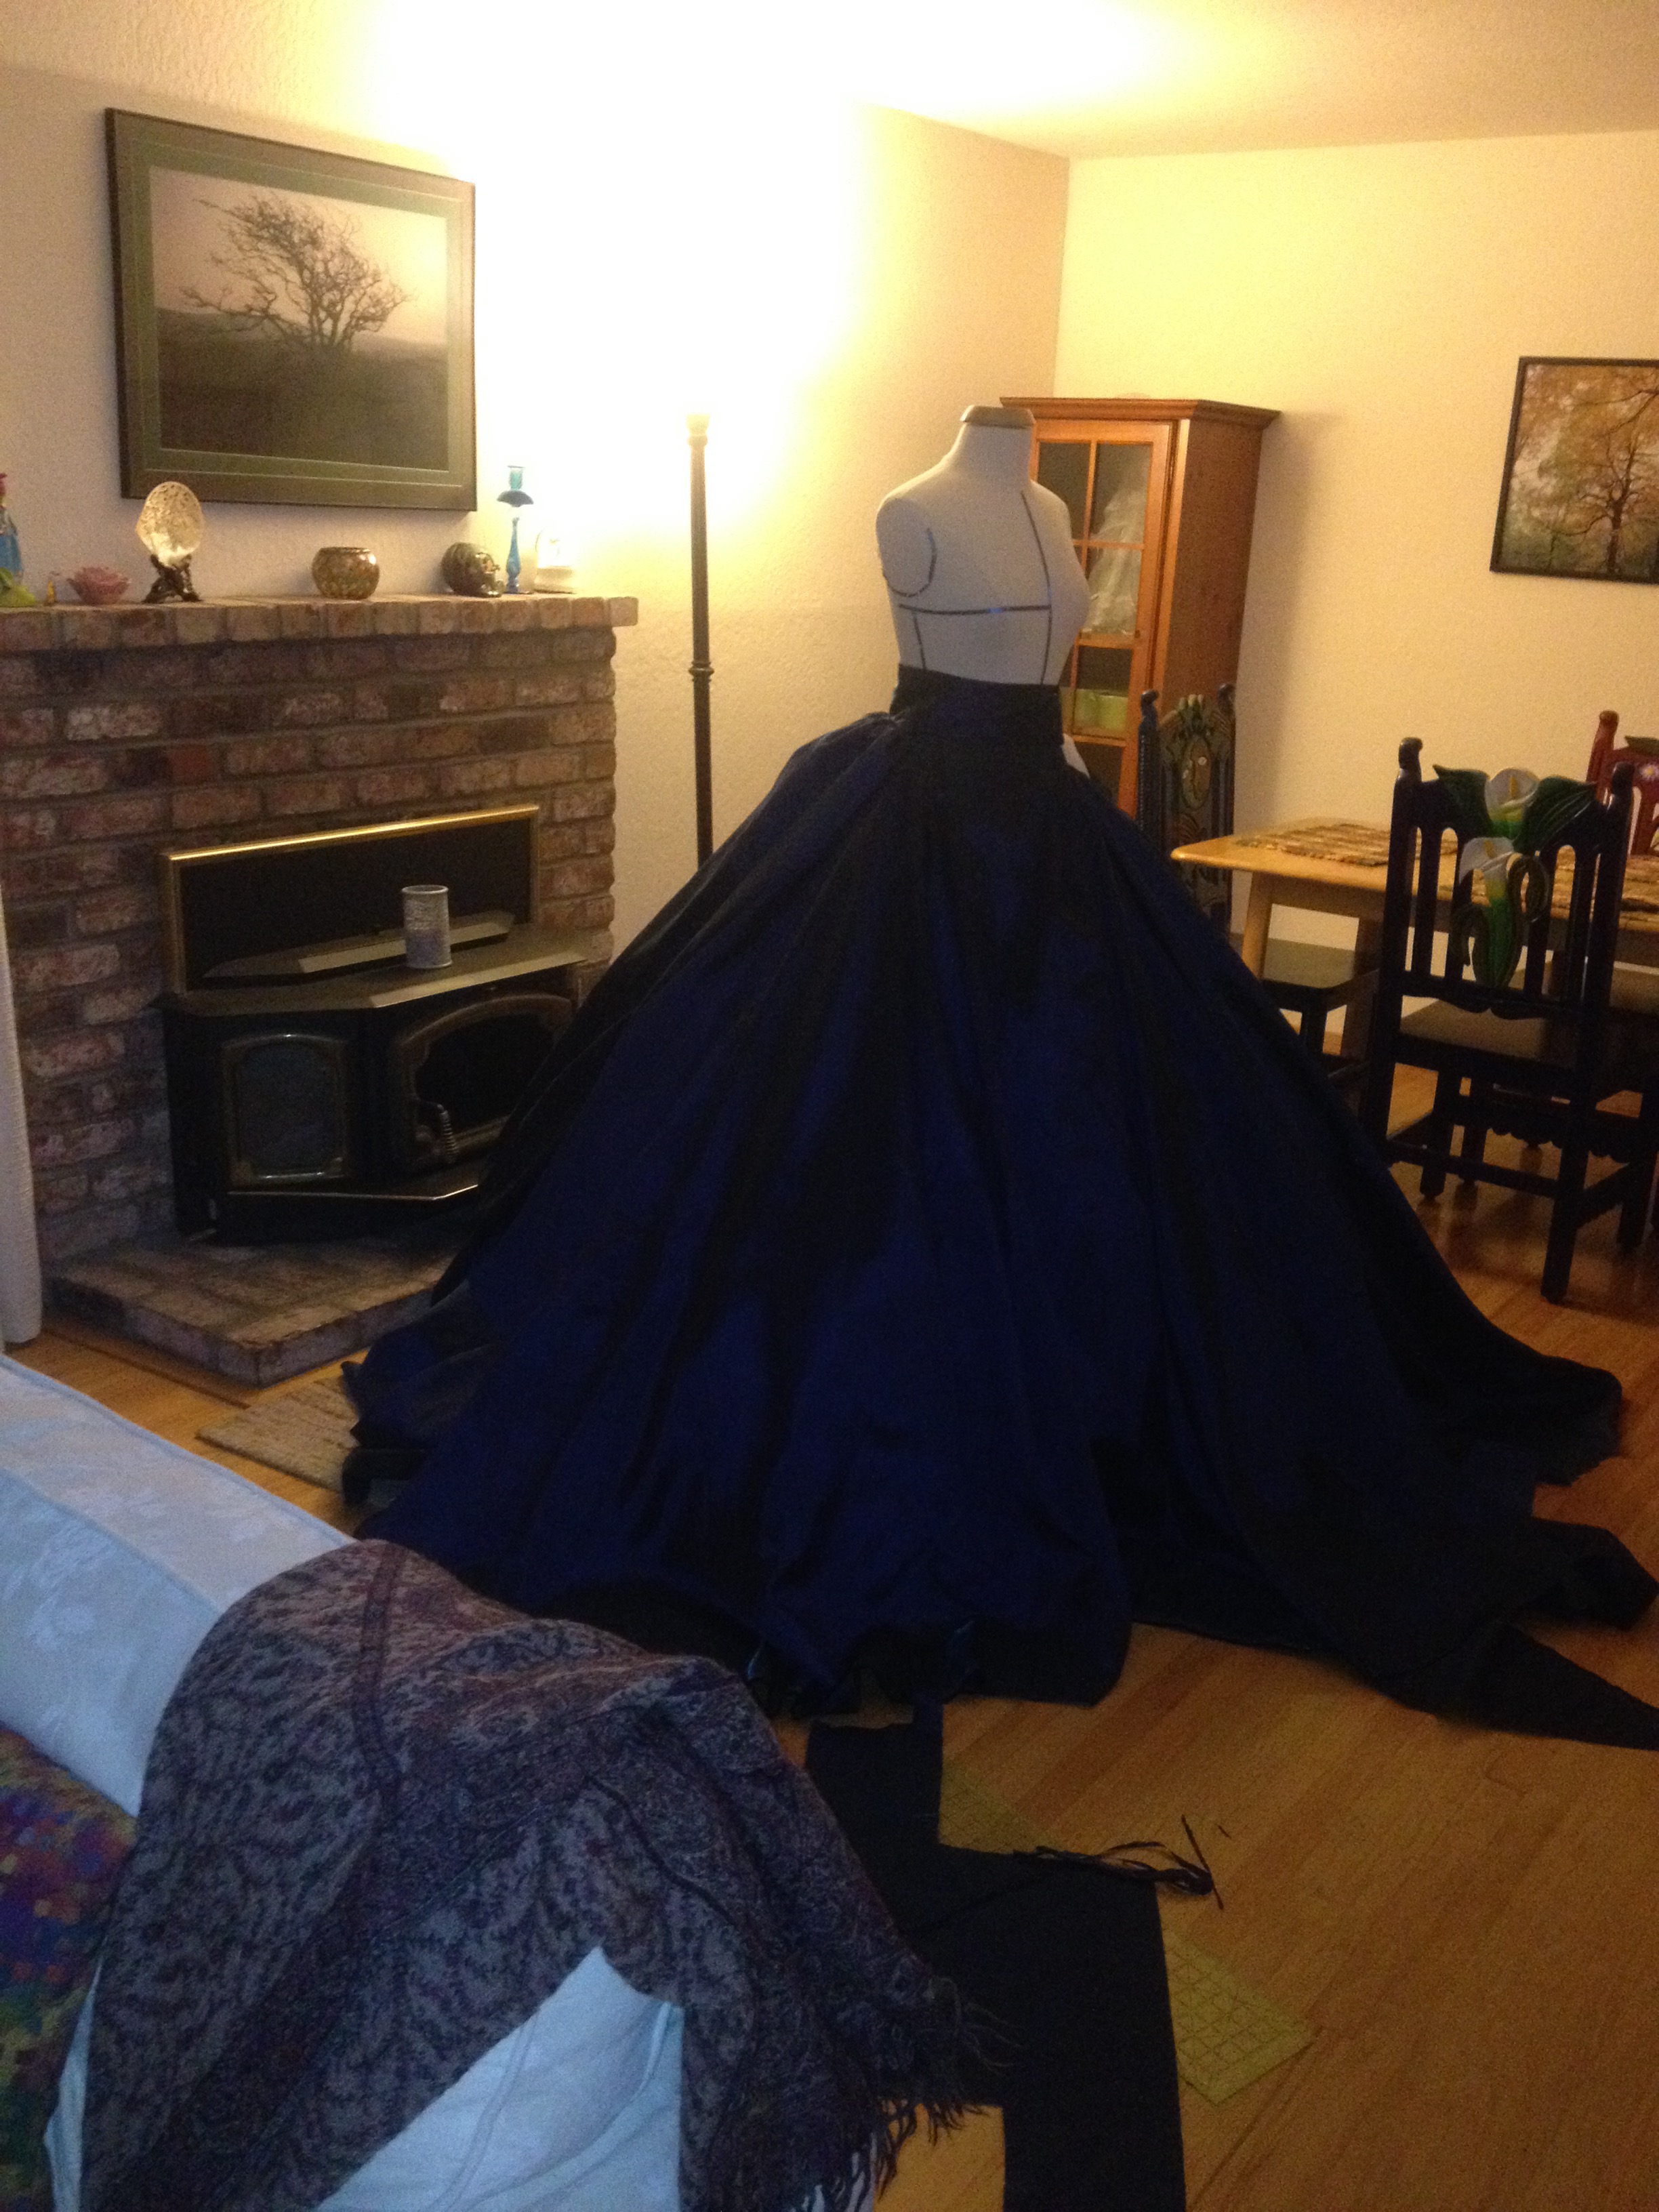
This is the WORST photo. I’m sorry for subjecting your eyes to it. However, you can see how terrible the hem looked with all the uneven, trailing pieces. I cut those off and stitched a quick, messy hem. It was pretty awful, actually, and was even worse once I tried it on! Surprise, surprise, garments sit differently on my mannequin than they do on me. Fortunately, my skirt is long enough that it isn’t too visible in photographs.
Next, I switched to working on the bertha. These are large, lacy, pleated collars almost always seen on ballgowns from this period! I had no idea what I was doing, so I just tried to figure it out as I went along.

I started by tracing the neckline of my bodice onto lightly interfaced quilting cotton, and cutting it into a shape I liked. I did the same with the back, but drafted it as two pieces so it could hook closed.

Rather than pleating a single piece of fabric to shape, I made bias tape out of a lovely white silk-cotton blend and stitched the layered strips on top of each other. This ended up being an extended and labor-intensive process, and one that I do not recommend at all!

I chose not to continue the pleating on the back, as I was running out of time, patience, and bias strips, so I covered each side with a layer of silk and finished the edges with leftover tape.

To cover up the ugly bits where the bias “pleats” met, I used a doubled strip of my dress fabric and folded all the edges in for a tidy finish.

I subsequently switched gears and started working on the decorative puffed trim. This is the simplest trim in the world to make, but looks absolutely lovely! You just need to double hem a 2.5″ strip of fabric and gather it every inch and a half or so. Keep in mind that altering the proportions and density of puffs will yield a variety of interesting looks!


Once the puffed trim was all stitched on, I added a border of delicate venise lace and stitched hooks and eyes to the back as a closure. The front is tacked to the bodice, but the back needed to remain free so I could lace the back of my bodice underneath it!

I loved the way it looked at this stage, but it lacked a lot of the frilliness that I wanted. Accordingly, I decided to add beads and giant bows (because who can possibly object to either??)
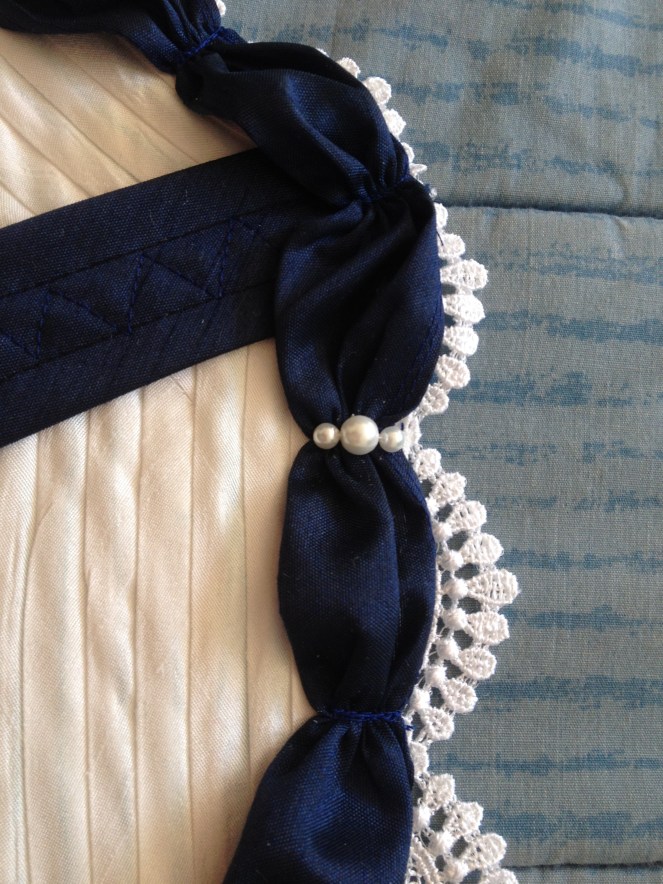
I chose a simple repeating pattern of large and small pearls to hide the stitches on the puffed trim. It was unexpectedly quite pretty!

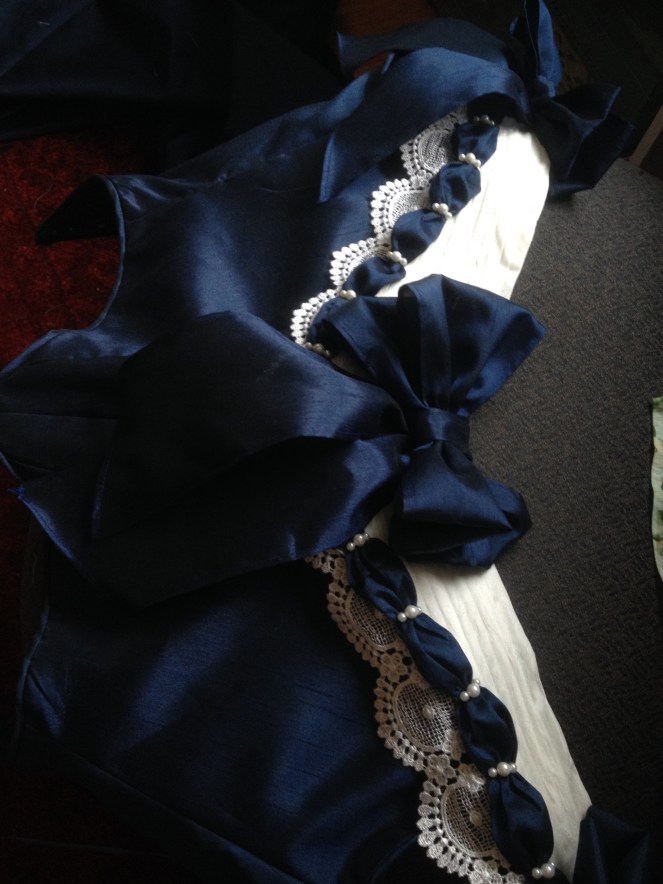
Giant, obnoxious bows provided the perfect finishing touch!
After that, it was off to the NorCal gathering. It was 98 degrees in the shade, so we only managed to stay for about 30 minutes!
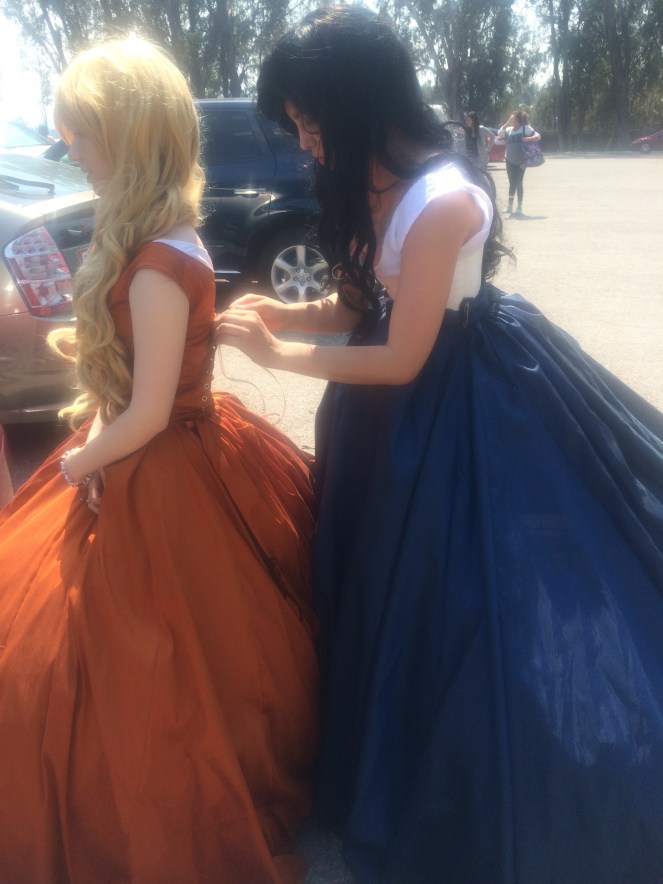
We just wore our chemises and corsets in the car, both for coolness and convenience, and had to dress hastily in the parking lot. This was a source of great amusement for several passers-by and their children!


This delightful Belle made our day! You can tell how dreadfully hot it was by the hazy glow in these photos.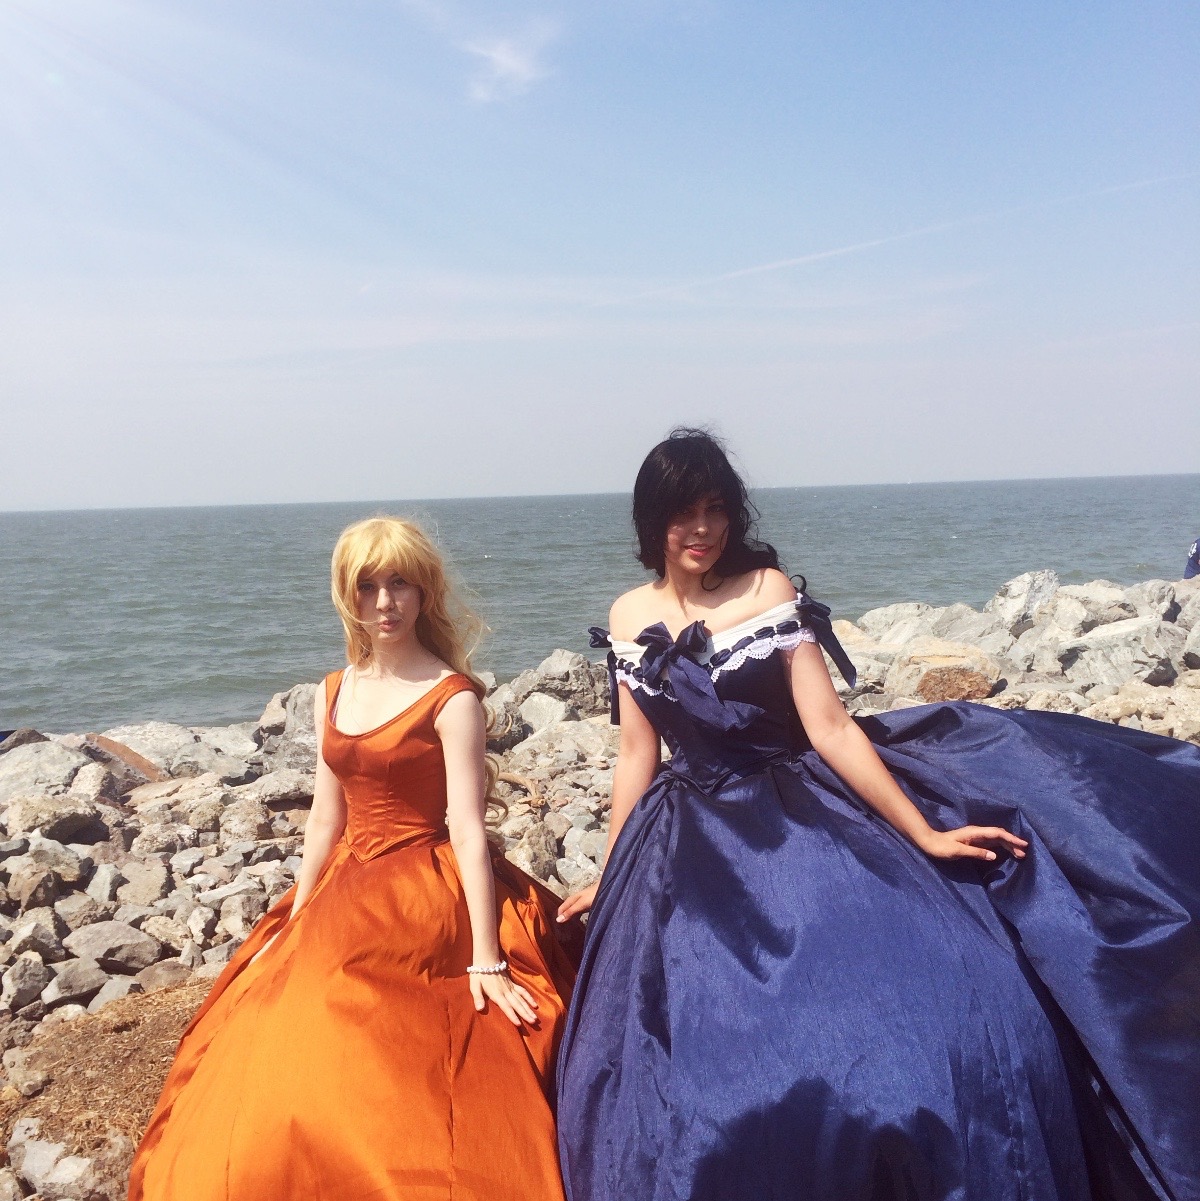

While we weren’t able to stay for very long, the gathering was a lovely debut for these costumes! They needed a lot of work, however, to be ready for the SacAnime Summer 2015 masquerade.
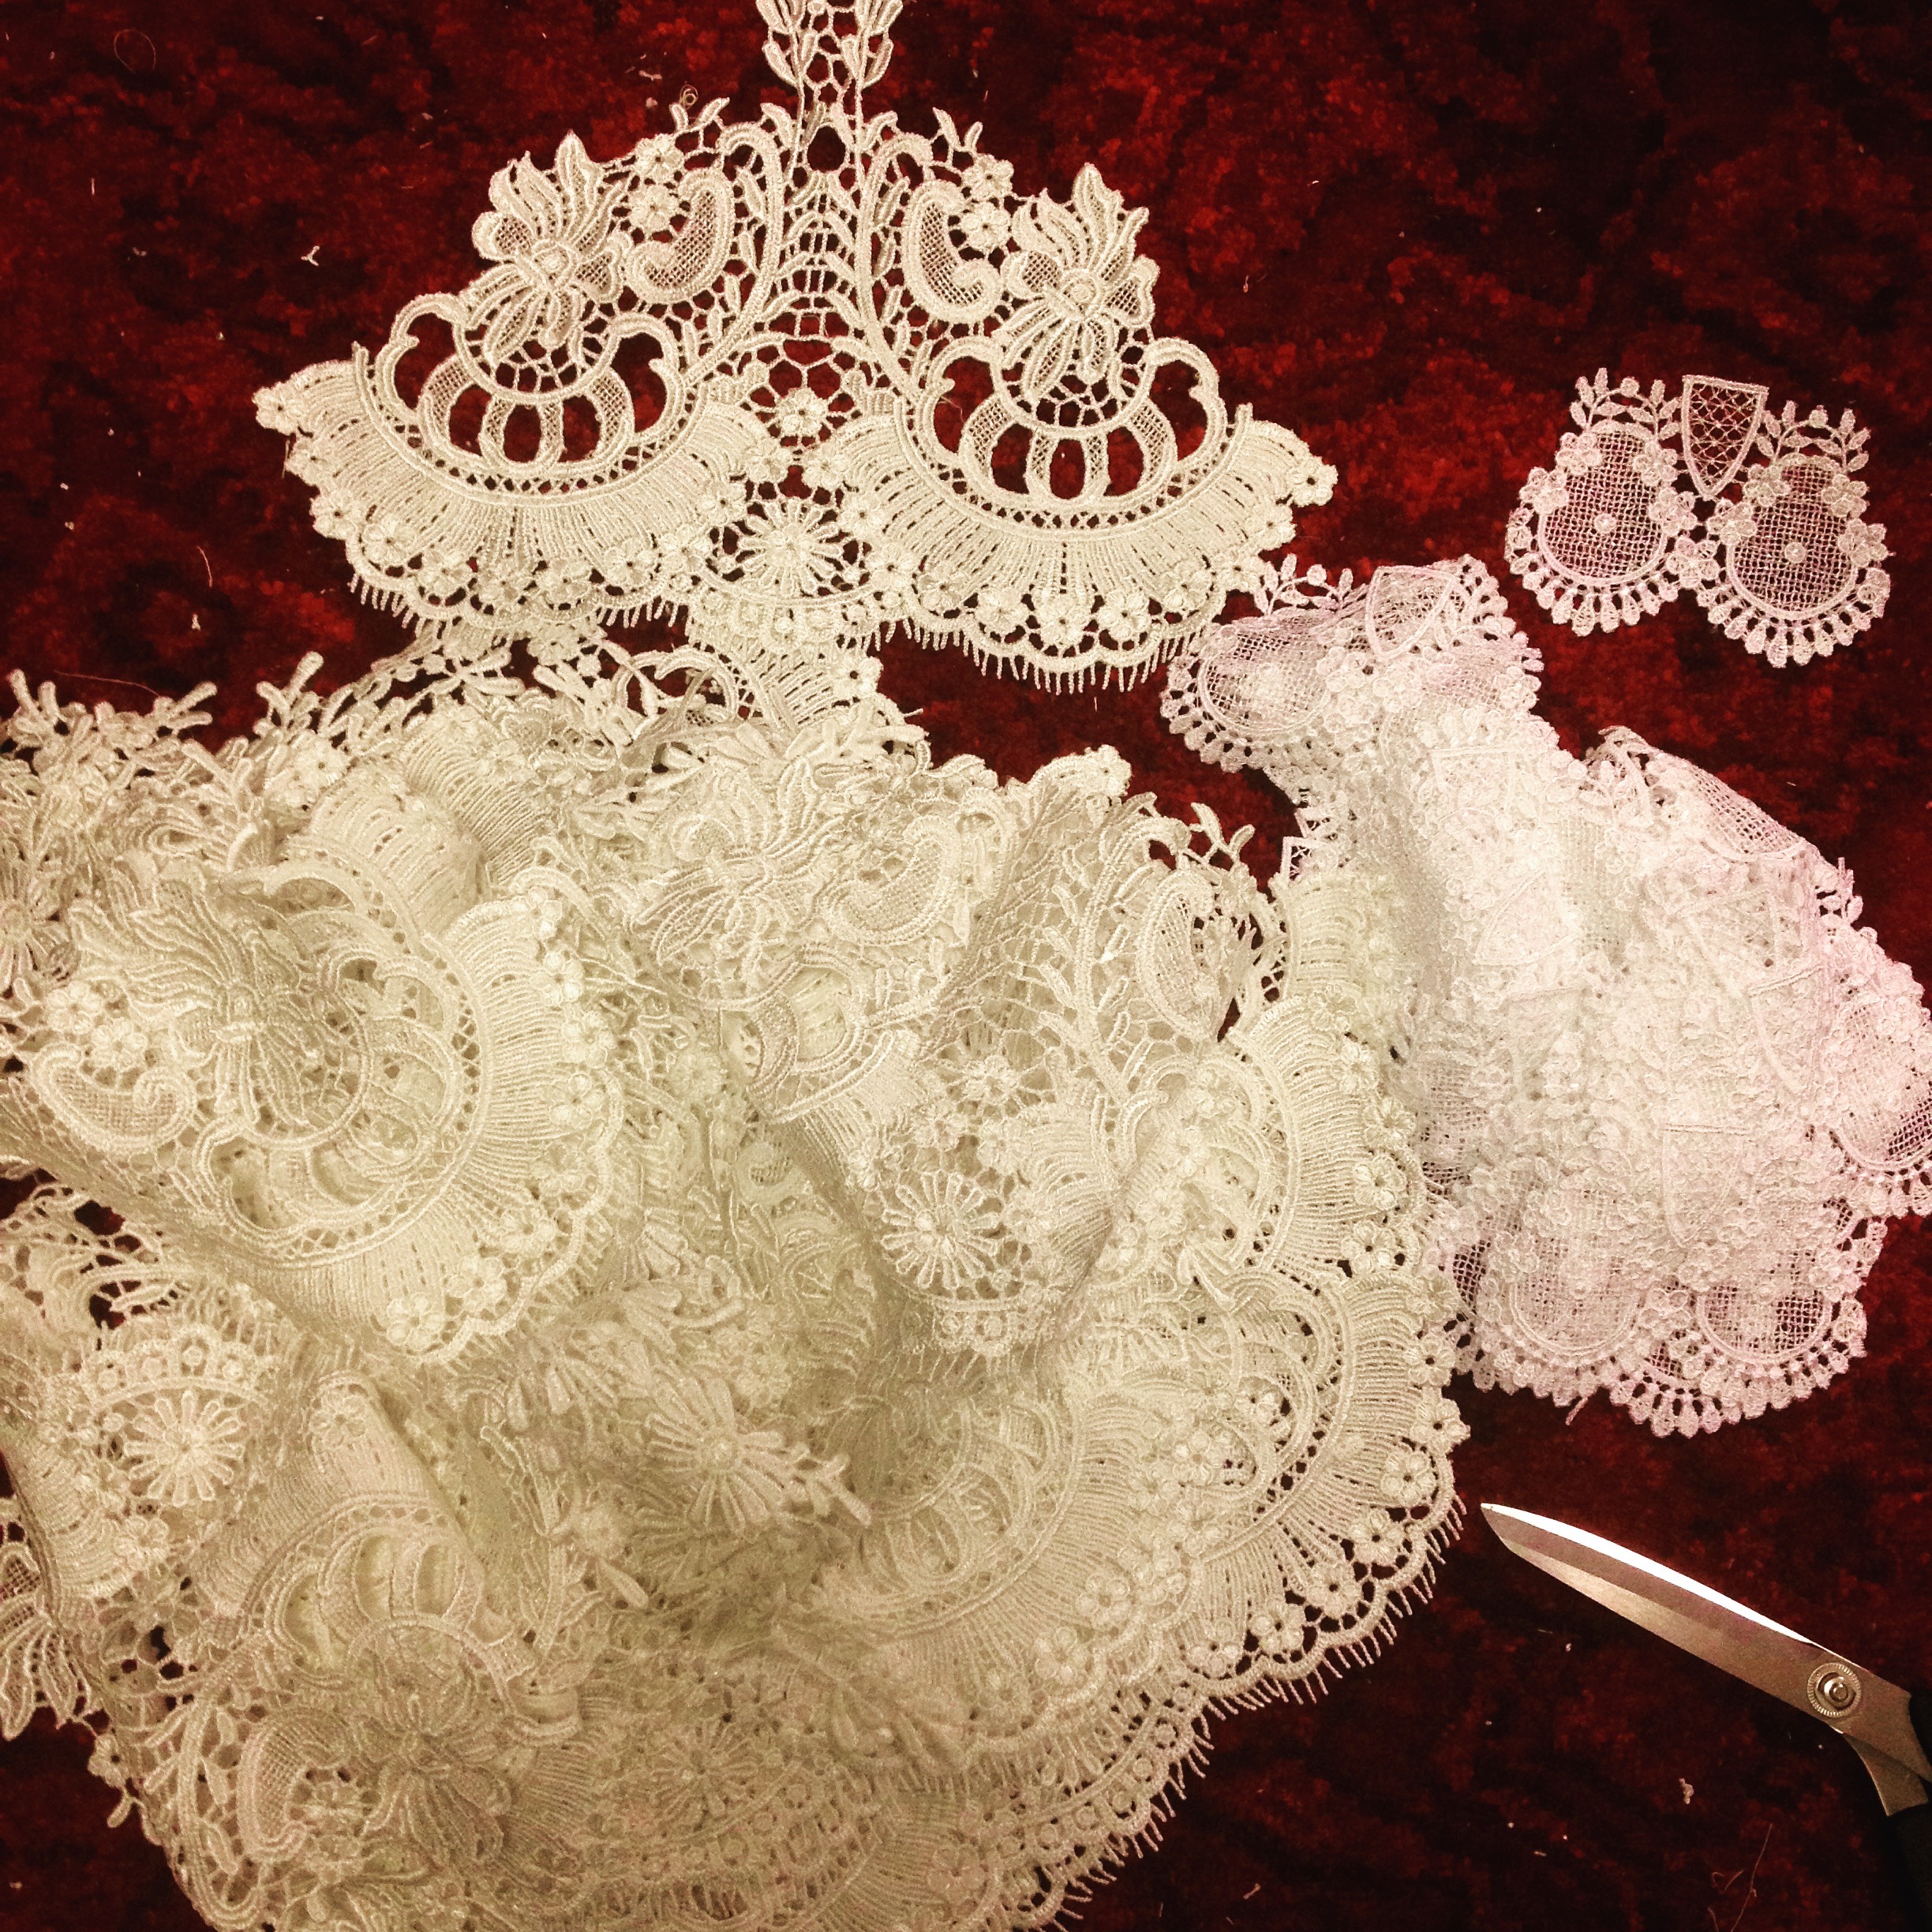
I started with the hem, since I had intended to add lace to it from the beginning and had simply run out of time.

I had twelve yards of this beautiful, elaborate venise lace… and it was nowhere NEAR enough. So, with great sadness, I decided to fussy cut individual motifs out and space them with another lace that I had in my stash.

Stitching them all on proved to be extremely time-consuming, but I managed…

Until it turned out that I hadn’t measured correctly, I had nowhere near enough of the large motifs, and there was a large gap that had to be filled in with the small ones.
Which was depressing, but I was in con crunch mode and had zero time to mope (or vacuum)!
The headdress was the final piece, finished the night before we left for the convention.

I started with a silver headband base that I had purchased at the Dickens Fair several years prior and never worn, some fabric scraps, and some feathers. I based the design on an extant photo of a period headdress with two large gathered ribbons on either side.
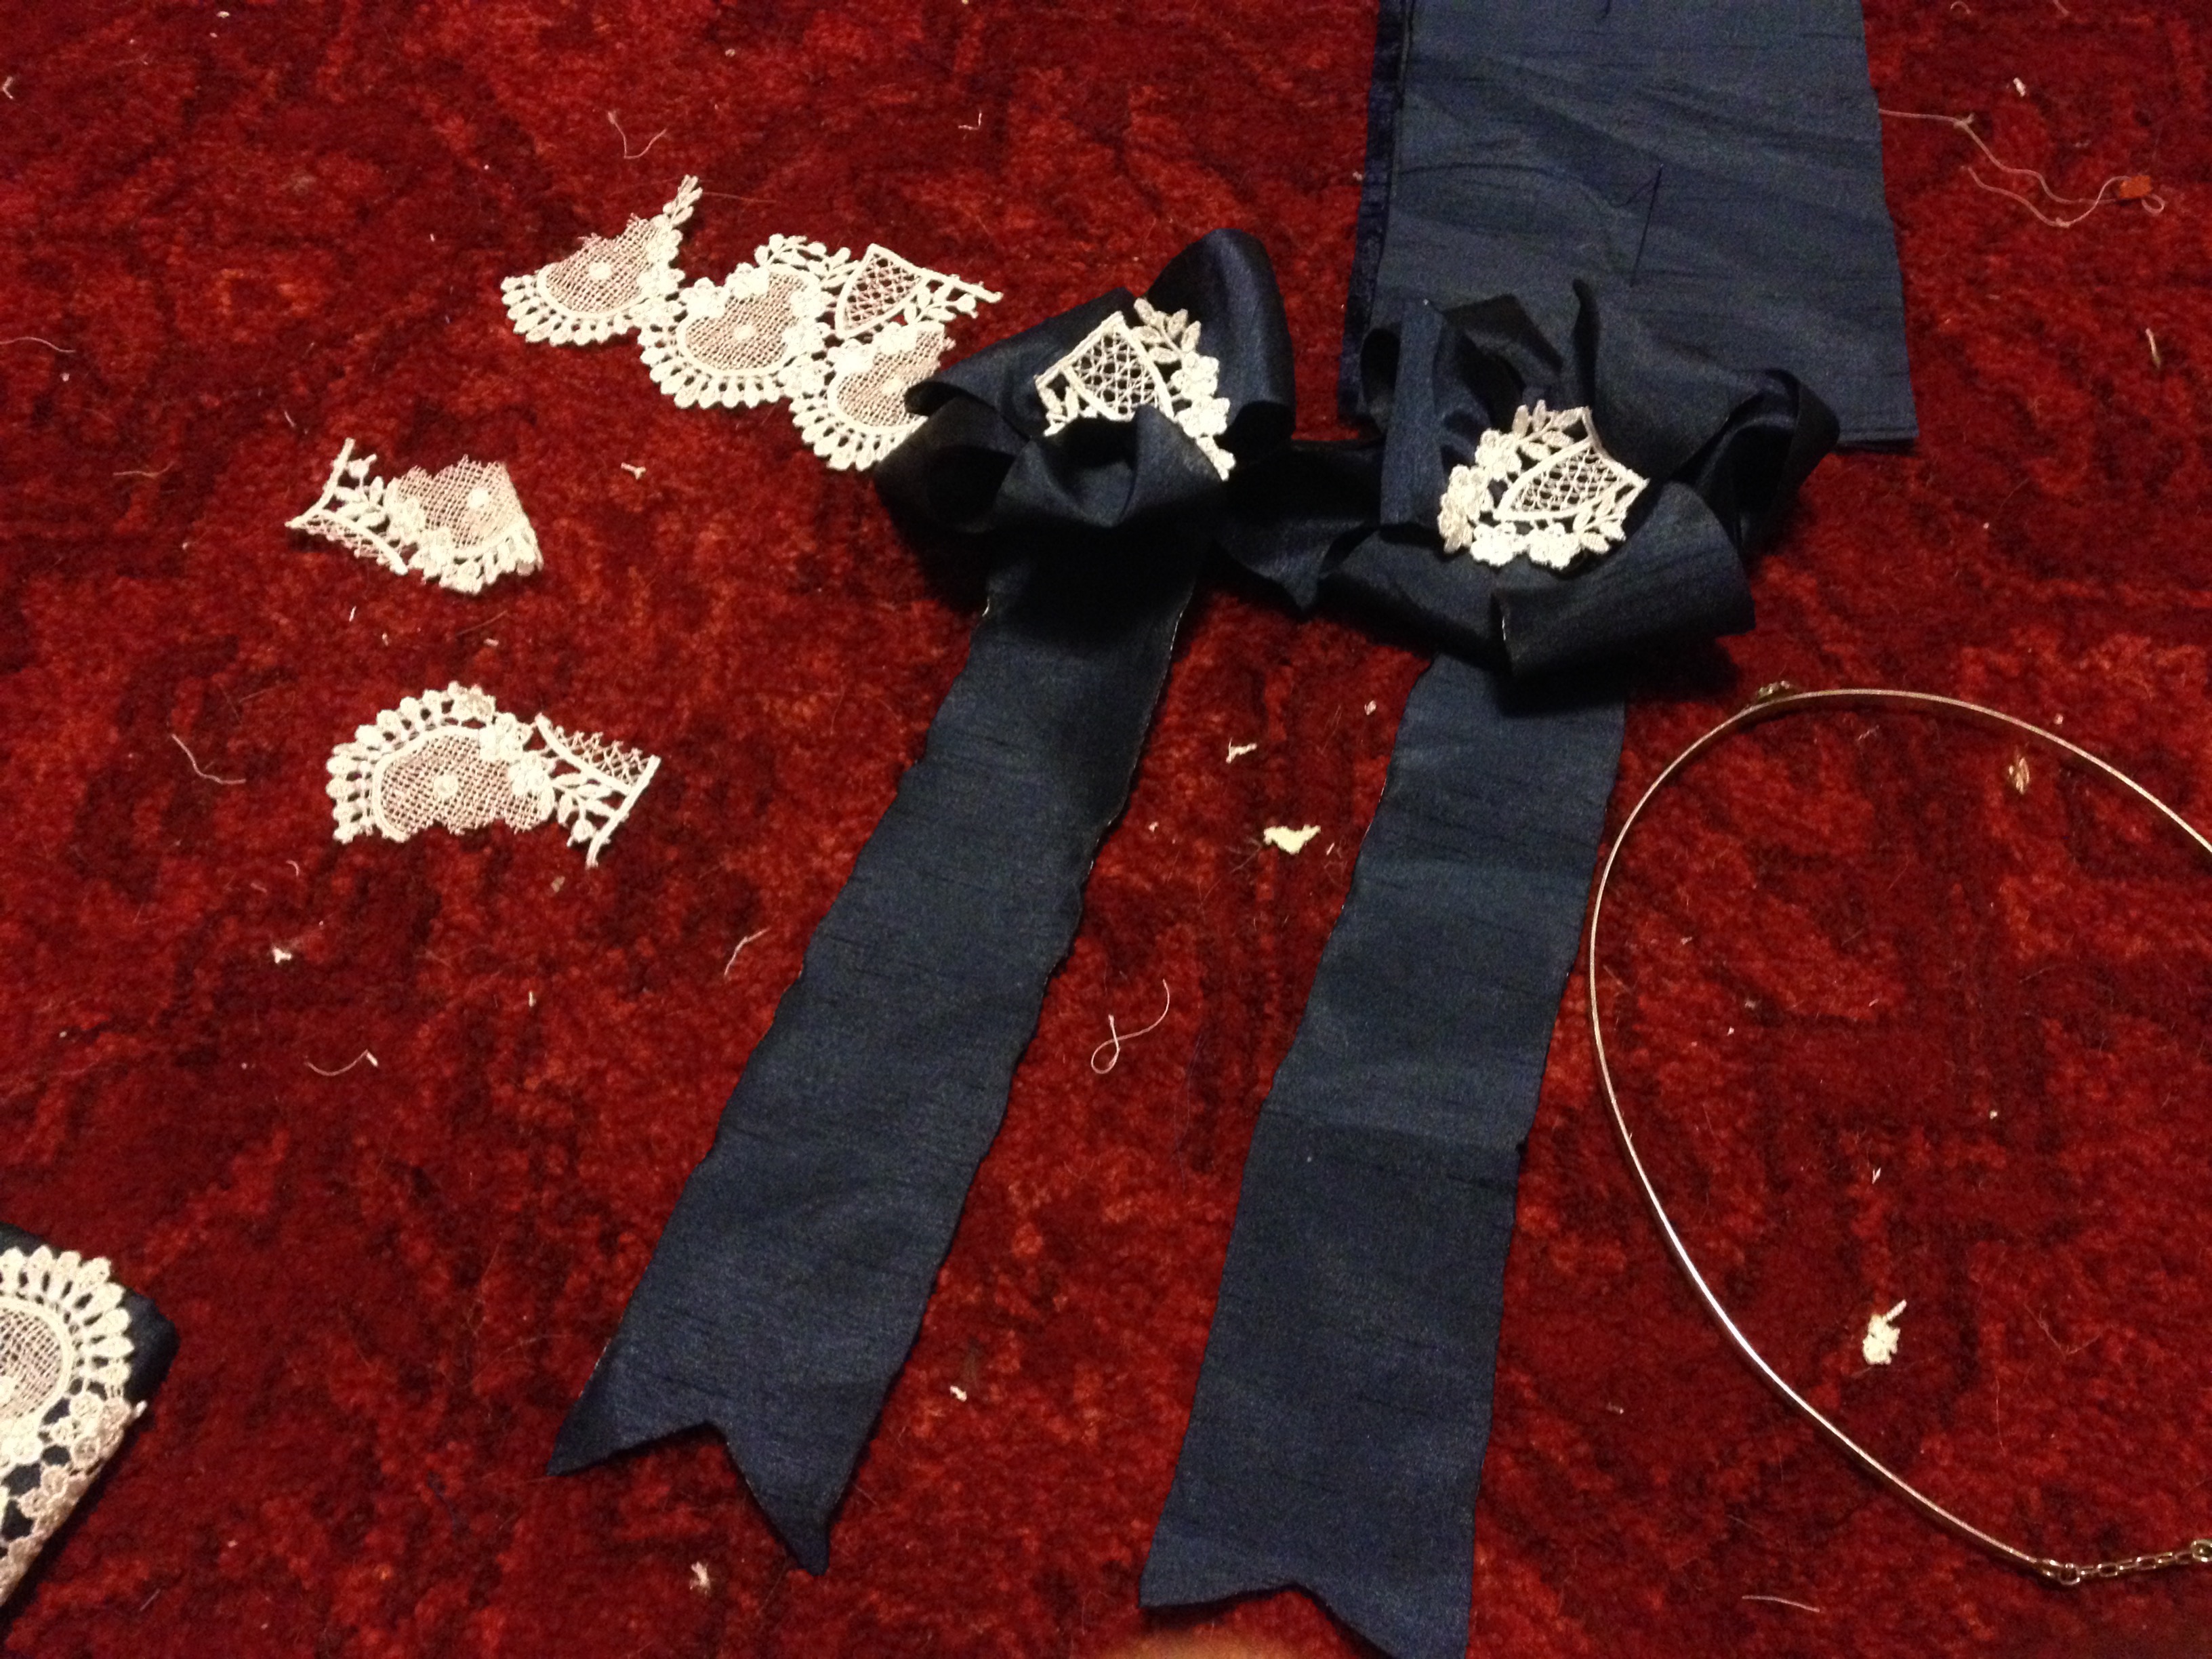
I burned the edges of the ribbon rather than hemming them, folded them over until they were vaguely bow shaped, and stitched them down. Some trailing ribbon and lace scraps finished them off.


I glued feathers onto the back, then added loops so that the bows could slide onto the headband. The lace looked a little unfinished, however, which really bothered me! So I added some pearls in various sizes.

Aaaand finished! Safely in time for the convention, too. I also managed to make a fur wrap and add the black netting to the skirt of the orange ensemble, so I considered it a very fruitful con crunch.
The masquerade itself was… interesting. I had fun, and met some wonderful people backstage, but there was a LOT of waiting involved, and schedules for check in/craftsmanship judging/the actual performance just kept getting pushed further back. The corsets were actually causing us back pain, so after the seven hours (!!!) of waiting, we finally just loosened them backstage. Ten minutes later, they called us on and it was a mad dash to tighten them again and lace our bodices back on. The last eyelet on mine was laced literally seconds before we walked onstage!
Besides being the thumbnail, we can be found at 4:31.
It was all smiles backstage, although you can see my phone sneaking its way out of the pocket I added to my skirt!

And, in a very pleasant plot twist, we won Best Original despite being moved into the advanced category as novices! That was my second time ever competing, after debuting Lady Three at Fanime earlier that year, so to have received an award both times went a long way toward boosting my costuming confidence. It truly inspired me to extend myself as an artist and to improve my technical skill!
It is (hopefully) on to bigger and better things now. I’m currently attacking a Sakizo design, which I would like to post about soon (although I have quite the backlog of projects) as well as Valkyrie Leona from League of Legends and a ballet version of Sailor Pluto. If you would like to follow along with my progress, I am most active on my Instagram and am attempting to post more frequently on my Facebook. I am also a current competitor in the TranspArt contest held jointly by Worbla and Cosplay Supplies, so I will be posting updates on my project for that as well!
Happy sewing!
Lady Licorice