
*Made in early 2015, won Novice Craftsmanship at Fanime 2015*
This post was originally written in September 2015
~~~
Let me preface this by saying that Lady Three is the largest project I have attempted to date! It required multiple techniques that I was unfamiliar with and also a whole lot of planning– which I completely failed at, but we’ll get to that later. In February I decided I would enter this costumes in the Fanime 2015 masquerade with a group. I actually began the costume in early March (mistake #1). A costume of this caliber, given my lack of experience and busy schedule, needed MUCH more time allotted.
I decided that it would be easiest to start with the dress. I knew that I wanted the bodice to be velvet; I really like the way dark velvet has a tendency to absorb light in photos, so I used the nice black Premier velvet from JoAnn for the fashion layer (unfortunately, it’s since been discontinued– microsuede would be a nice replacement though). I drafted the pattern for the entire dress in about 10 minutes. Since it is strapless, and I wanted plenty of support, I boned the bodice. I used duck canvas for interlining and made boning channels out of the scraps, then boned them with a mixture of spiral and flat steels that I had purchased for a future project.
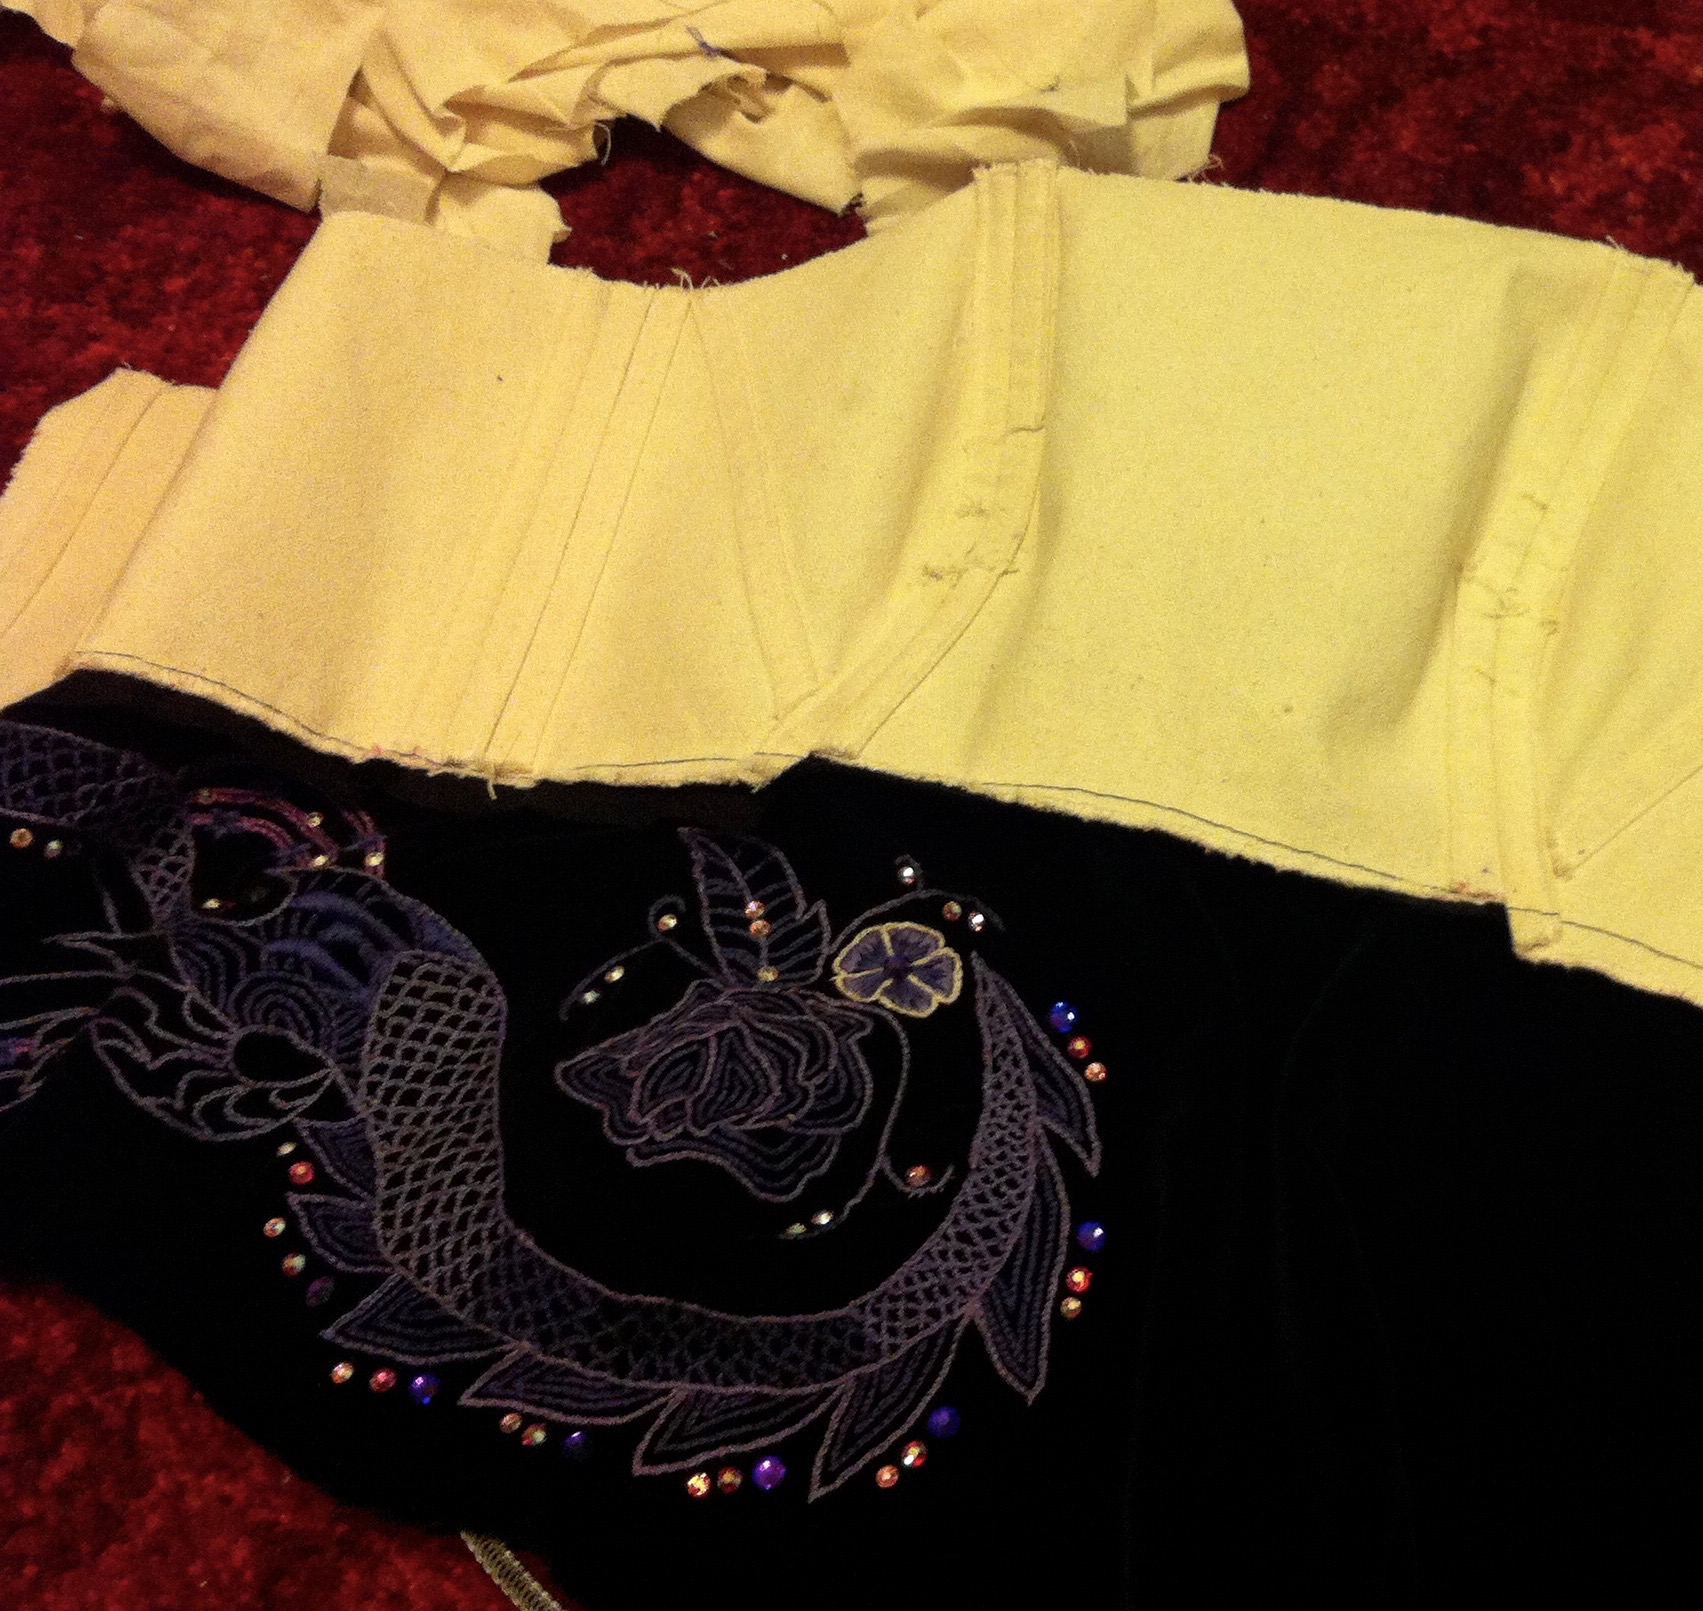
There’s a design on her bodice that is really quite detailed but hard to make out, so I referenced Shmuberry‘s beautiful Three cosplay for the basic design. I had never embroidered anything before, so I did a lot of research before I started and found out that using a hoop would crush the pile of the velvet– so I just held it in hand. It was not the best way to learn how to embroider!
I drew the outline of the pattern on stabilizer and then stitched that onto the bodice. Once I was done, I tore the stabilizer off and filled the shapes with more details. I used DMC floss in 3 shades of purple and did the whole thing in a two-strand chain stitch with a little satin stitching thrown in here and there. I tried a backstitch, but I preferred the texture of the chain stitch more, and I thought two strands had just enough pop against the velvet.

(Embarrassing story time– The first time I tried this embroidery I started it waaaay too far to the side, but only realized it after I had completed the entire outline, which was about 10 hours of work. I had to rip it out and redo it. That was a sad, sad day.)
Later I found these references from the incomparable Philip Messina on DeviantArt, and realize I needed to expand my embroidery and have it wrap around the entire bodice to the zipper. Which was very upsetting, but eventually I pulled myself together and managed to get back to work.
It was the same process all over again– I think in total I logged over 90 hours into this piece of embroidery. It was my baby for about two months, and I took it (and my floss, and pincushion, and scissors) just about everywhere. I’m pretty sure I became known as “that weird girl who sews in the back” in one of my English lectures. Better yet, it took place in an engineering building so whenever I’d get to class early and work on it in the hall, I’d get some strange looks.
When I was done I decided the whole thing needed more sparkle… so I added crystals. It turned out one of my sister’s old figure skating dresses had used Swarovski crystals in violet and AB– the perfect colors, in fact. Of course, I commandeered all the leftovers that were lying around the house. I used E6000 to glue them on since Gem Tac doesn’t work very well on velvet. Once the embroidery and crystal work were finished, I folded the top of the velvet over the canvas and prick-stitched it together, so the stitches would be invisible on the velvet layer. Then I whipstitched the (red polka dotted! :D) cotton lining in by hand around an invisible zipper.

By the way, if you’re making a boned bodice do not, for the love of all that is good, use an invisible zipper. The strain is too much for them to handle, as I found out at Fanime– the day before the masquerade. The zipper track separated itself from the tape halfway, meaning that when I went in for craftsmanship judging I was sewn into my dress. Badly and visibly. There are photos on ACParadise if you’re curious. (But actually don’t look it’s pretty embarrassing).
The next thing I made was my gloves, out of a heavy, matte 4 way stretch spandex I got off Amazon. I used this freezer paper stretch glove tutorial. (By the way, freezer paper does not make spandex an upstanding member of the fabric community. It is still evil.)
When I finished the gloves, I painstakingly hand-stitched venice lace to the top of each one. It is very irritating to sew a non-stretchy thing to a stretchy thing. If you can avoid it, you should– it will save your sanity.

Here’s a collage I put on Tumblr of my progress! The skirt fabric is from Spoonflower, and the design is by the lovely Shmuberry. I couldn’t figure out which fabric she used for her skirt, so I went with the silky faille. It was very expensive so I only got two yards (another mistake– due to the shape of the skirt panels they ate yardage, so one of the panels in the back has the design running upside down because i had to flip the pattern piece to make it fit on the fabric). Eventually I did a neat little rolled hem on my serger. I was also trying on my contacts, which ended up being absolutely perfect. They’re the Vassen Lollipop Violet– I can’t recommend the line highly enough, they’re super vibrant and very comfortable!

These were the weird chiffon arm ruffle thingies. They’re just 9″ strips of white poly chiffon, roll hemmed on each edge and then gathered with my new baby, the ruffler foot (it actually pleats, not ruffles, but it looks nice anyways!) They were glued directly onto the bicep armor.
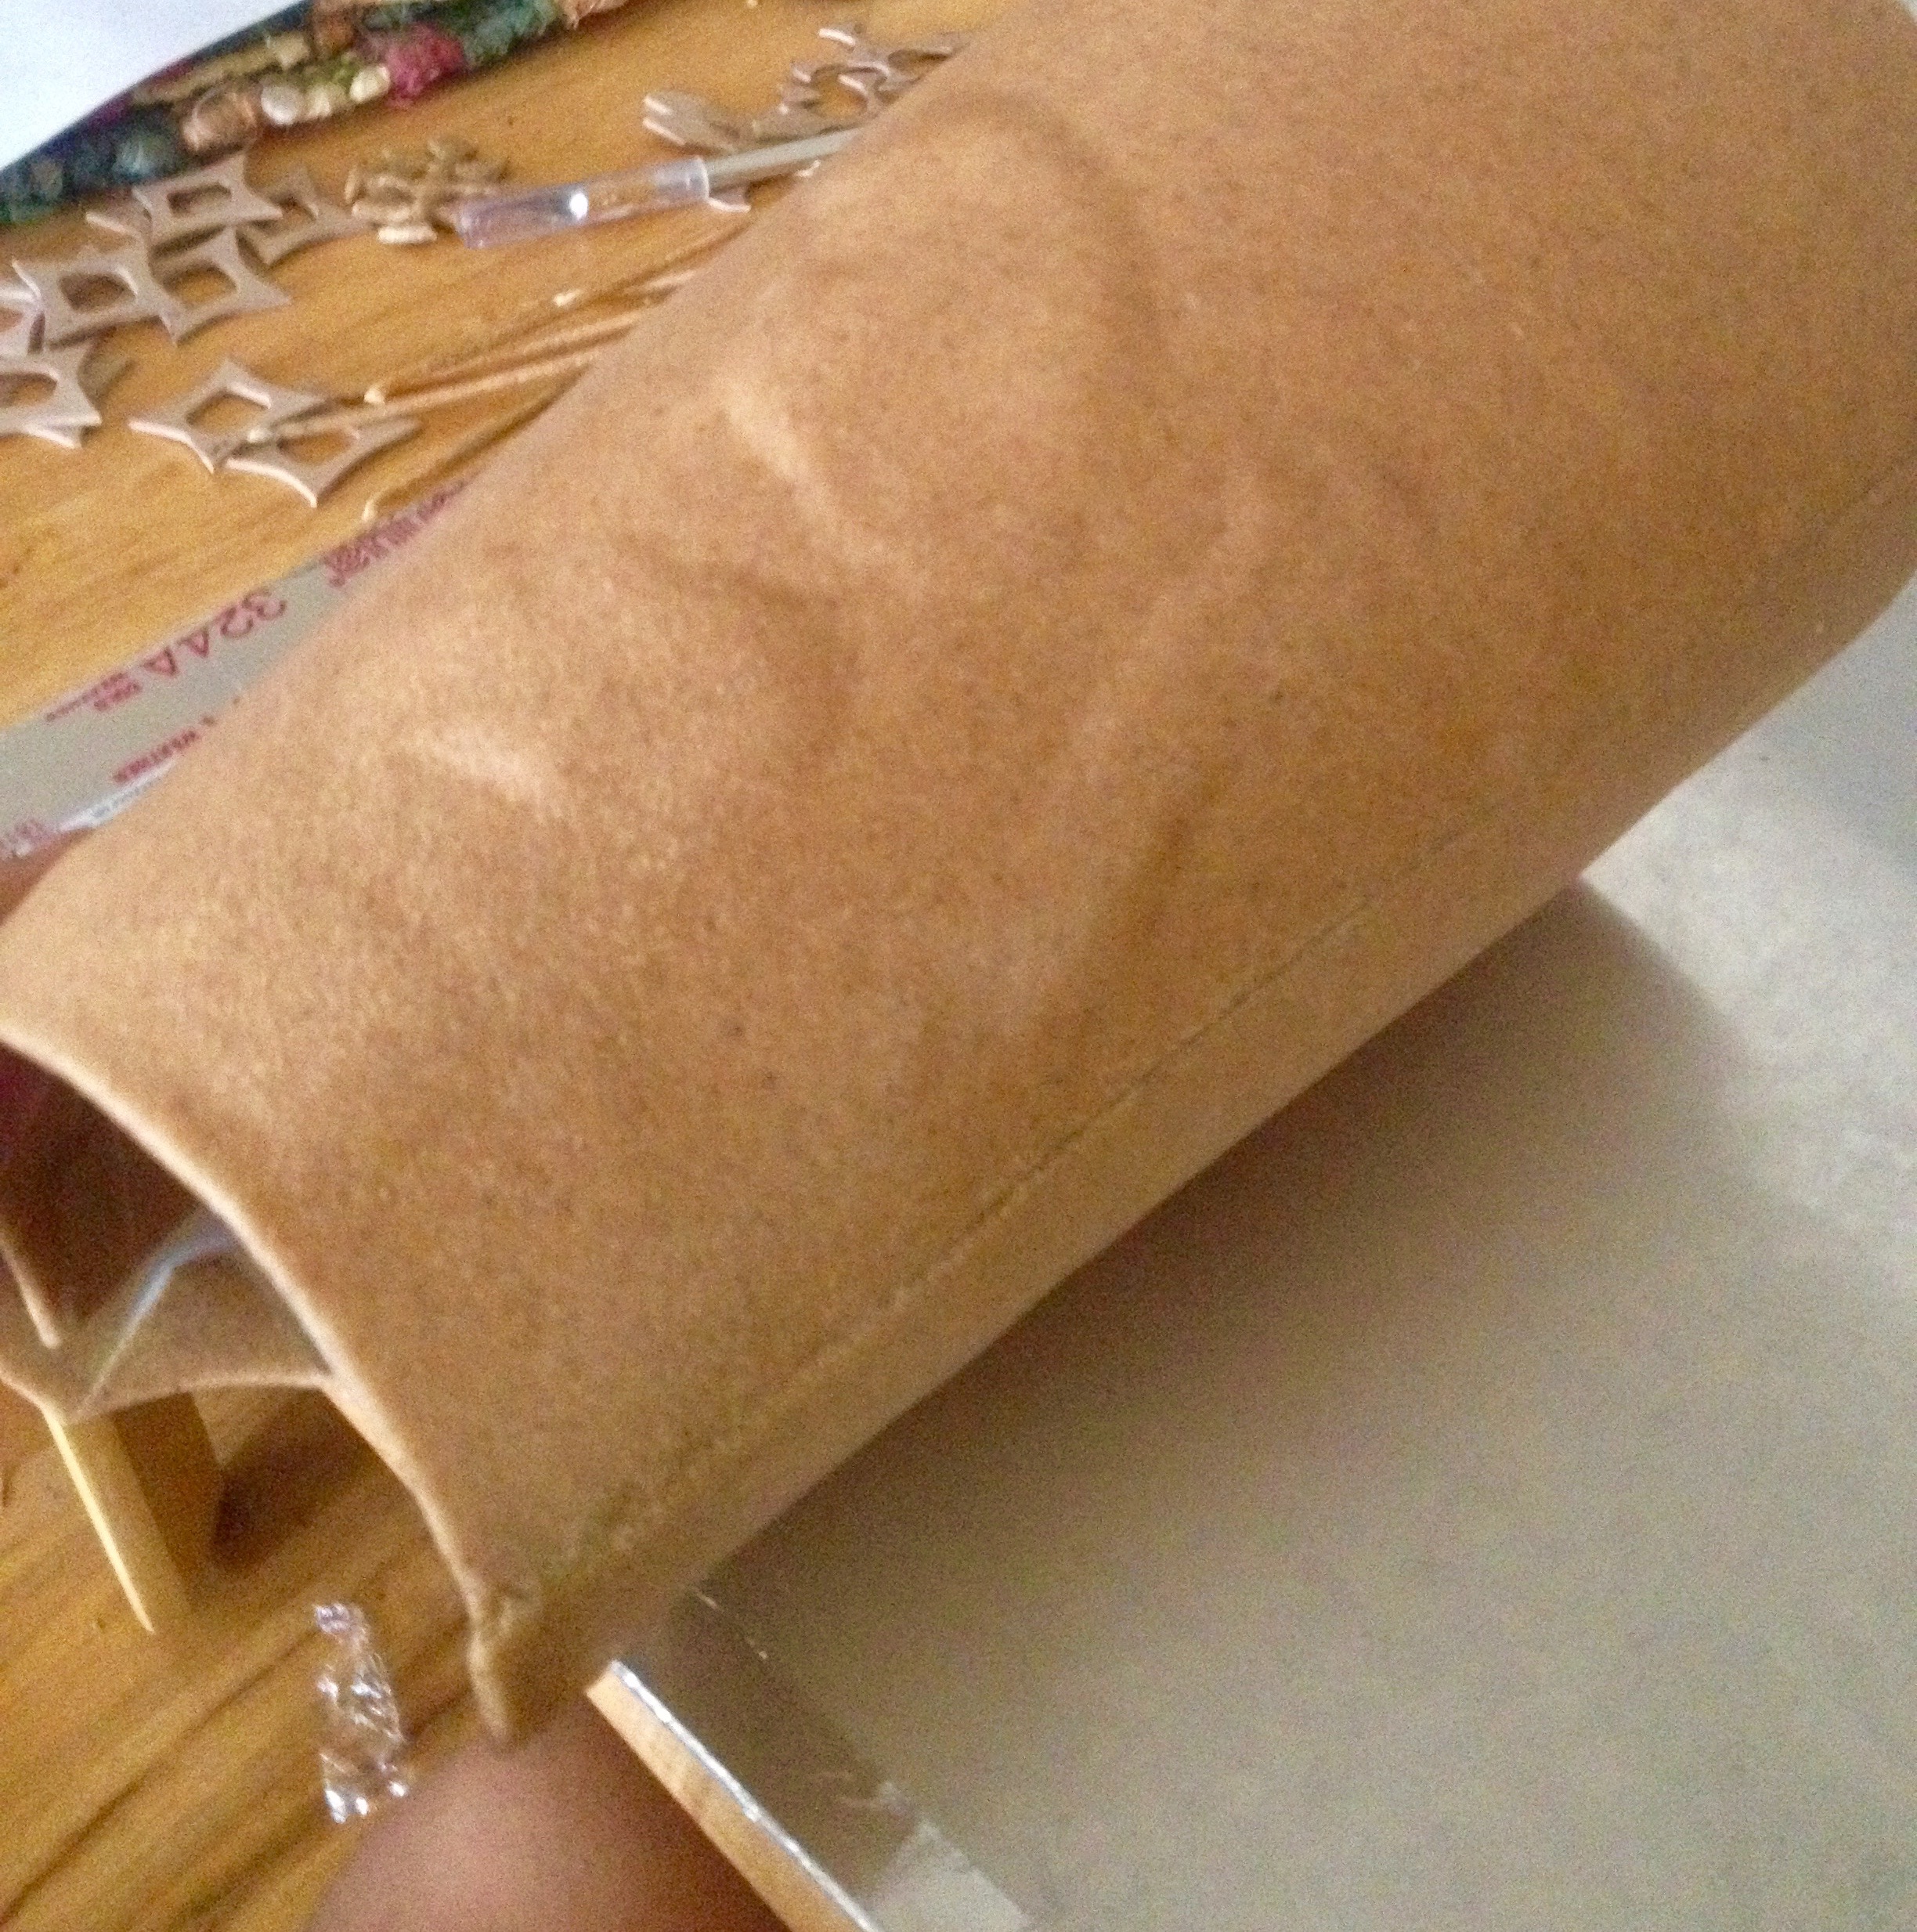
Here’s how I patterned all of my armor! It’s the standard method, but maybe this will help someone~ Shown here is my process for the thigh armor. First I wrapped my leg in plastic wrap, and then layered masking tape over it, and then I drew the desired shapes on with sharpie.

Then I cut the whole thing off of me and cut around the lines that I had drawn on. Here i had to use clear packing tape instead of masking tape halfway through, so don’t be confused by the fact that it’s transparent! Three’s thigh armor has seams on the sides and looks like it curves up in the back, so I did it in two pieces, with a curve in the back.
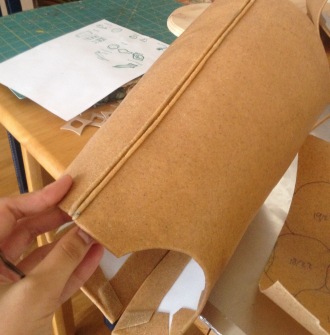
Then I cut those pieces out of craft foam and laid each of the craft foam pieces over a slightly larger piece of Worbla (shiny side facing toward the foam), and notched the corners/clipped the curved edges. When I heated up each edge and folded it over, they lay nice and flat! It’s kind of like clipping a curved seam when you’re sewing.

Hideous from the back, but very clean from the front! I like this method better than the sandwich method– it’s not as durable, but it uses much less Worbla and you have to deal with far fewer air bubbles.
Then I heated the outside seams up and pressed them together! They don’t stick very well, so I reinforced the inside with extra Worbla patches from my scraps.


Then I heated up the whole thing and formed it around my leg, and then let it cool on my leg so it set in the proper shape. Be careful!!! Worbla gets hot. It helps to have an extra set of hands to ensure it is shaped evenly. Of course, air bubbles will inevitably rear their ugly heads. Just heat each one up individually (to avoid warping the beautiful shape you’ve just set!) and pierce them with pins, and then flatten the bubble until it’s all pretty and smooth again.
Next comes the masochistic fun part! :’D Details. I used Worbla scraps for most of the details– for example, all of the “piping” on the armor was made from said scraps. I placed them in a little pile, heated them up until they were super hot and squishy, and then rolled them out with my fingers to the desired length/thickness. In retrospect, a metal ruler probably would have been a much better decision! (Yes, I blistered my fingers. No, it wasn’t fun).
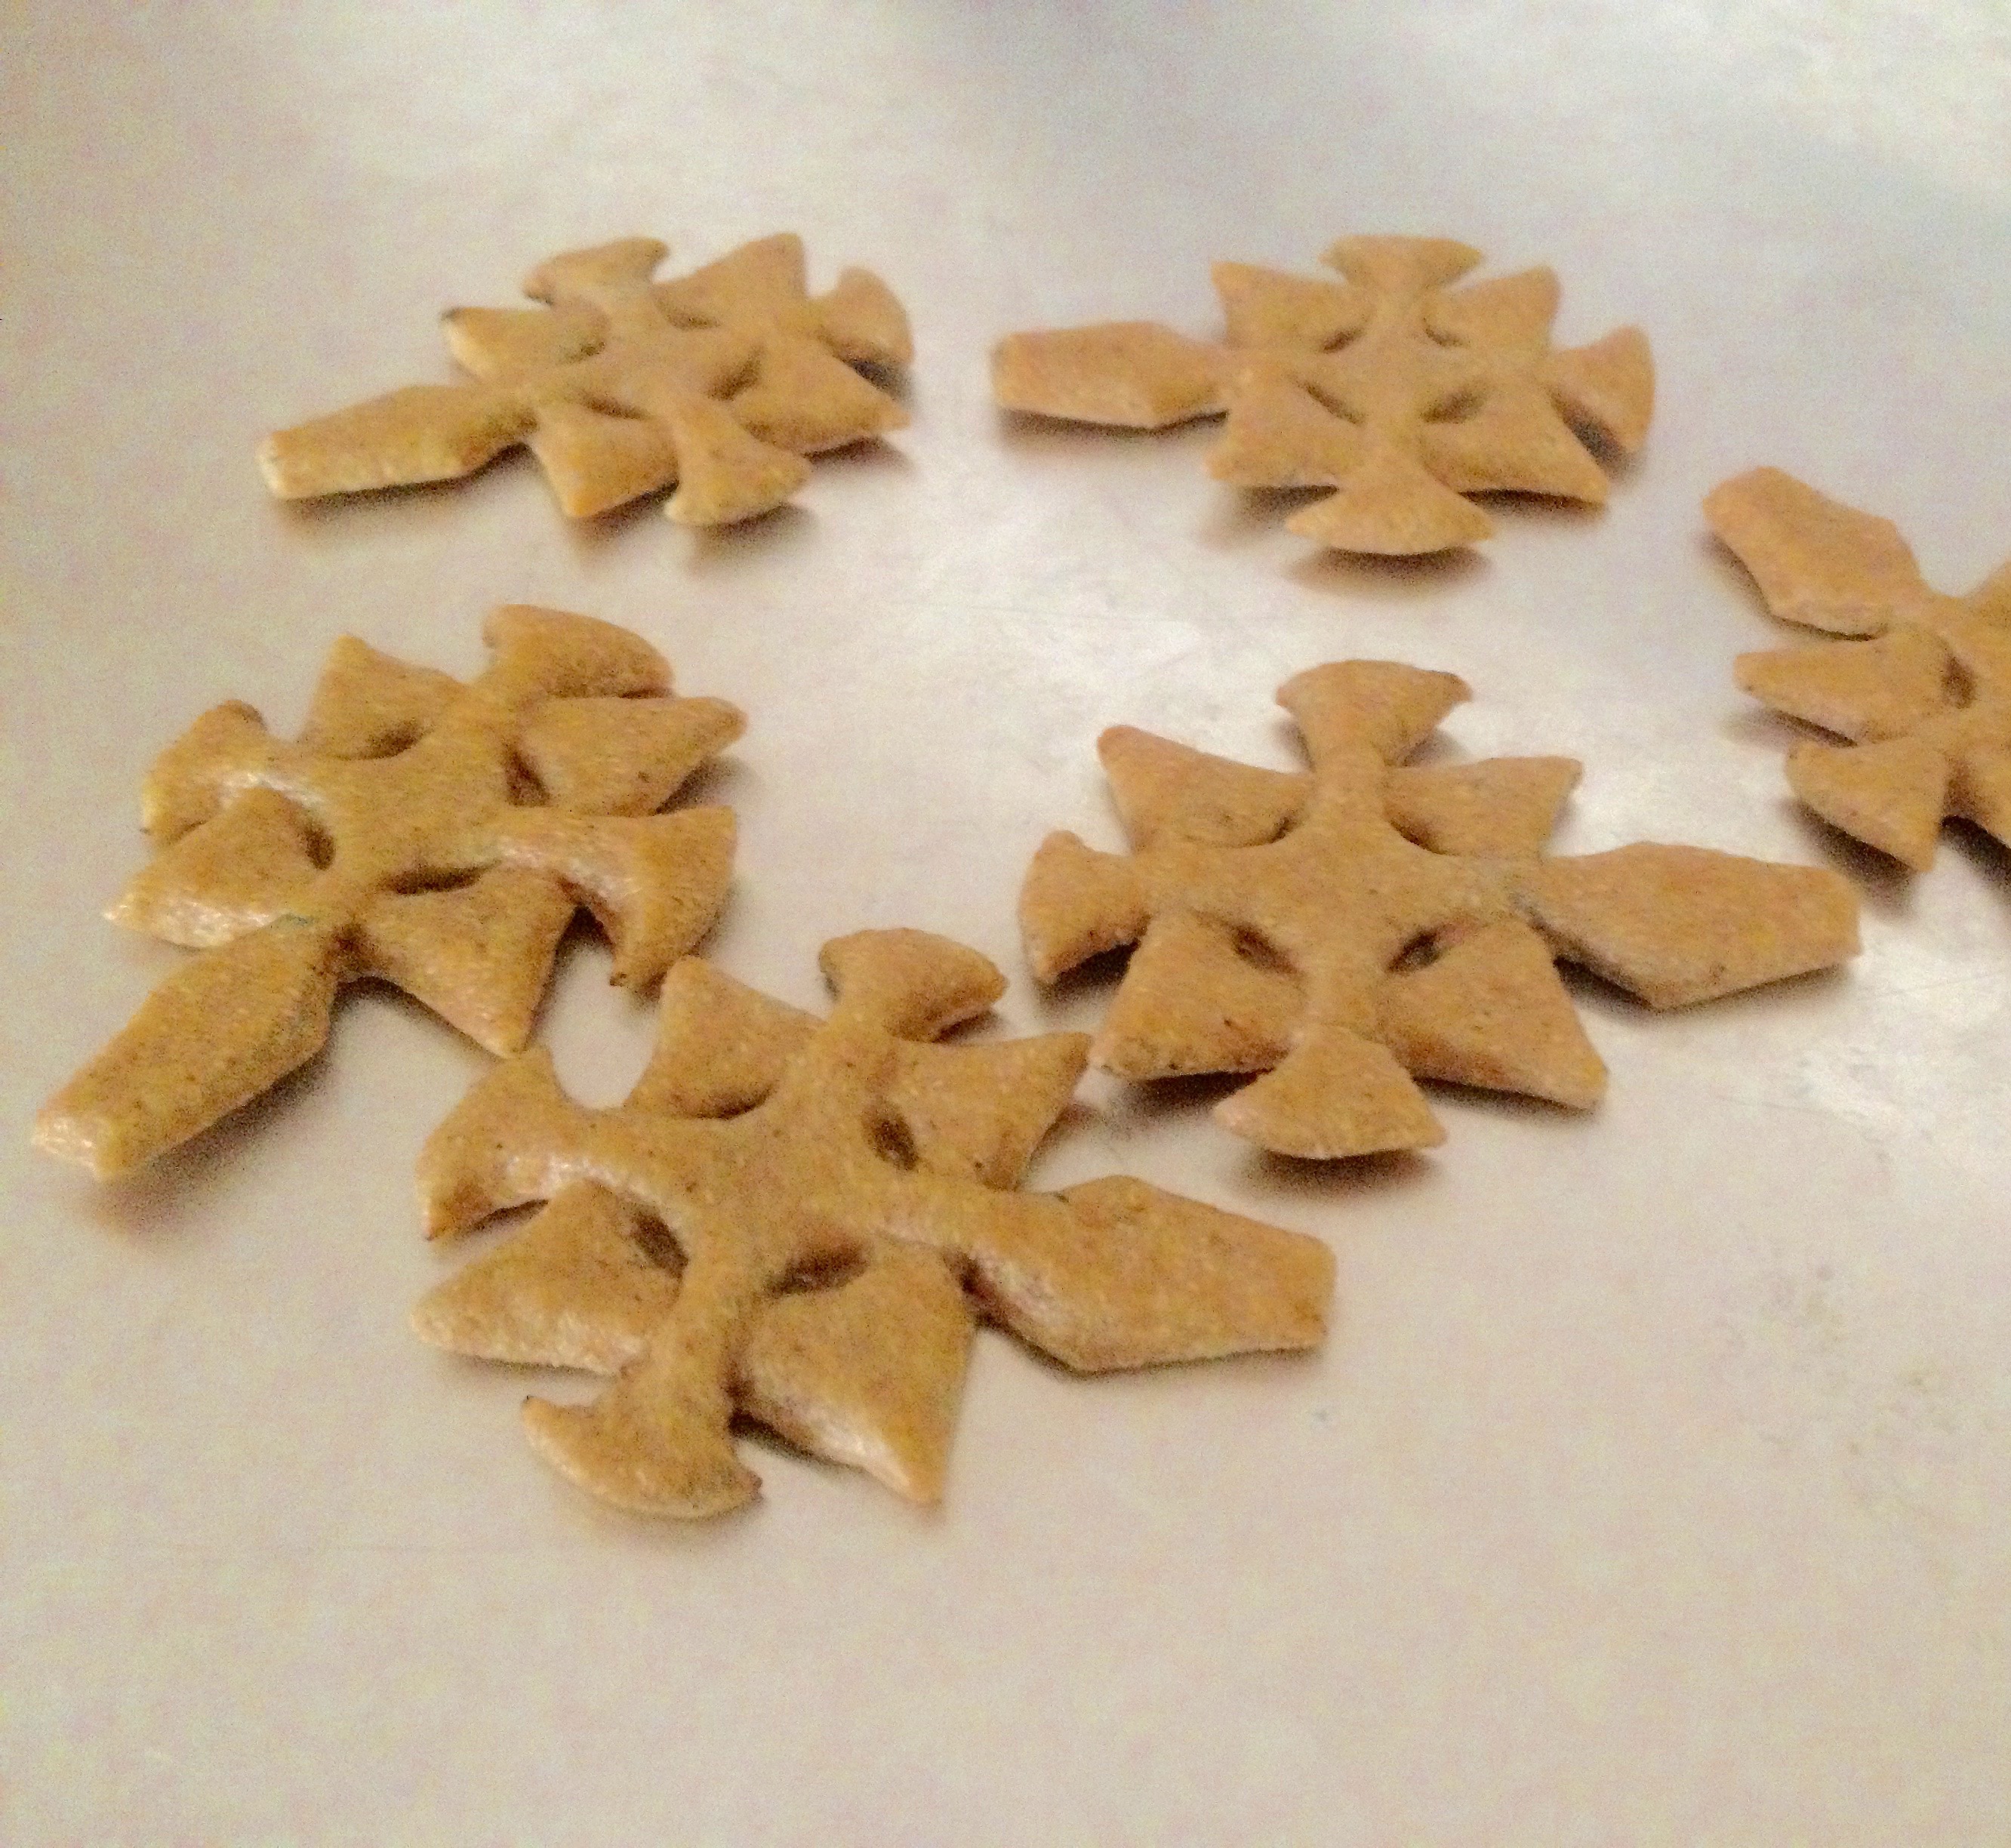
For all the little buckle details, I first eyeballed and drew out patterns on cardstock (it was actually the packaging from the tights that I bought for Three! Nothing fancy here). Then I used an exacto knife to cut each little buckle out of foam. The crosses and the star thingies behind them were separate. I believe I needed twelve of these, three for each side of the thigh armor. Forgive my messy board! I spilled glue on it a long time ago, and it’s collected a lot of thread and lint around my sewing machine.


I laid each foam piece over a scrap of worbla, then I heated up another piece until it was extremely malleable and placed it over the first piece and the foam. Using my fingers and fingernails, I traced around the outline of the foam so the hot Worbla on top contoured to the shape underneath. I’m terrible at explaining this step so hopefully the photo speaks for itself! Also, don’t use your fingers. It hurts. A small knitting needle would be perfect for this job. Then I cut the whole thing out with small, sharp scissors (because the two sides were hot, they were glued together by the pressure of the blades).
Then, because I am an incurable masochist (and because I hated how dull and flat they looked), I sculpted even more tiny details to go on top. Please note that this was the night before I was supposed to leave for Fanime and my armor was unfinished and unpainted, but I chose to spend five hours sculpting unnecessary details. Sometimes I could really use a smack upside the head.


Last bit of detailing– rivets. Shown above is about seventy rivets, but I used far more in this armor. Each one was hand-sculpted, a tiny piece of Worbla that was formed into a flat-bottomed dome– i.e., fiddly and extremely time-consuming (it forced us to leave for the con 3 hours late). It would have been waaay smarter to glue on miniature googly eyes.

This is the finished thigh armor! As far as attachments went, I stuck D rings to the inside of the armor with little scraps of Worbla. I was going to hand-stitch elastic to the D rings, but ended up hot-gluing it in the hotel room. What can I say? I really need to work on my time planning skills.

For those of you masochists that intend to attempt this costume in the future, I’d advise making her thigh/shin armor only wrap ¾ of the way around instead of all the way! That last ¼ won’t really show, with the black velcro or elastic over black tights, and it will really help the armor fit well and be adjustable. I may alter my own armor in order to do this, because mine ended up too big ; _ ;


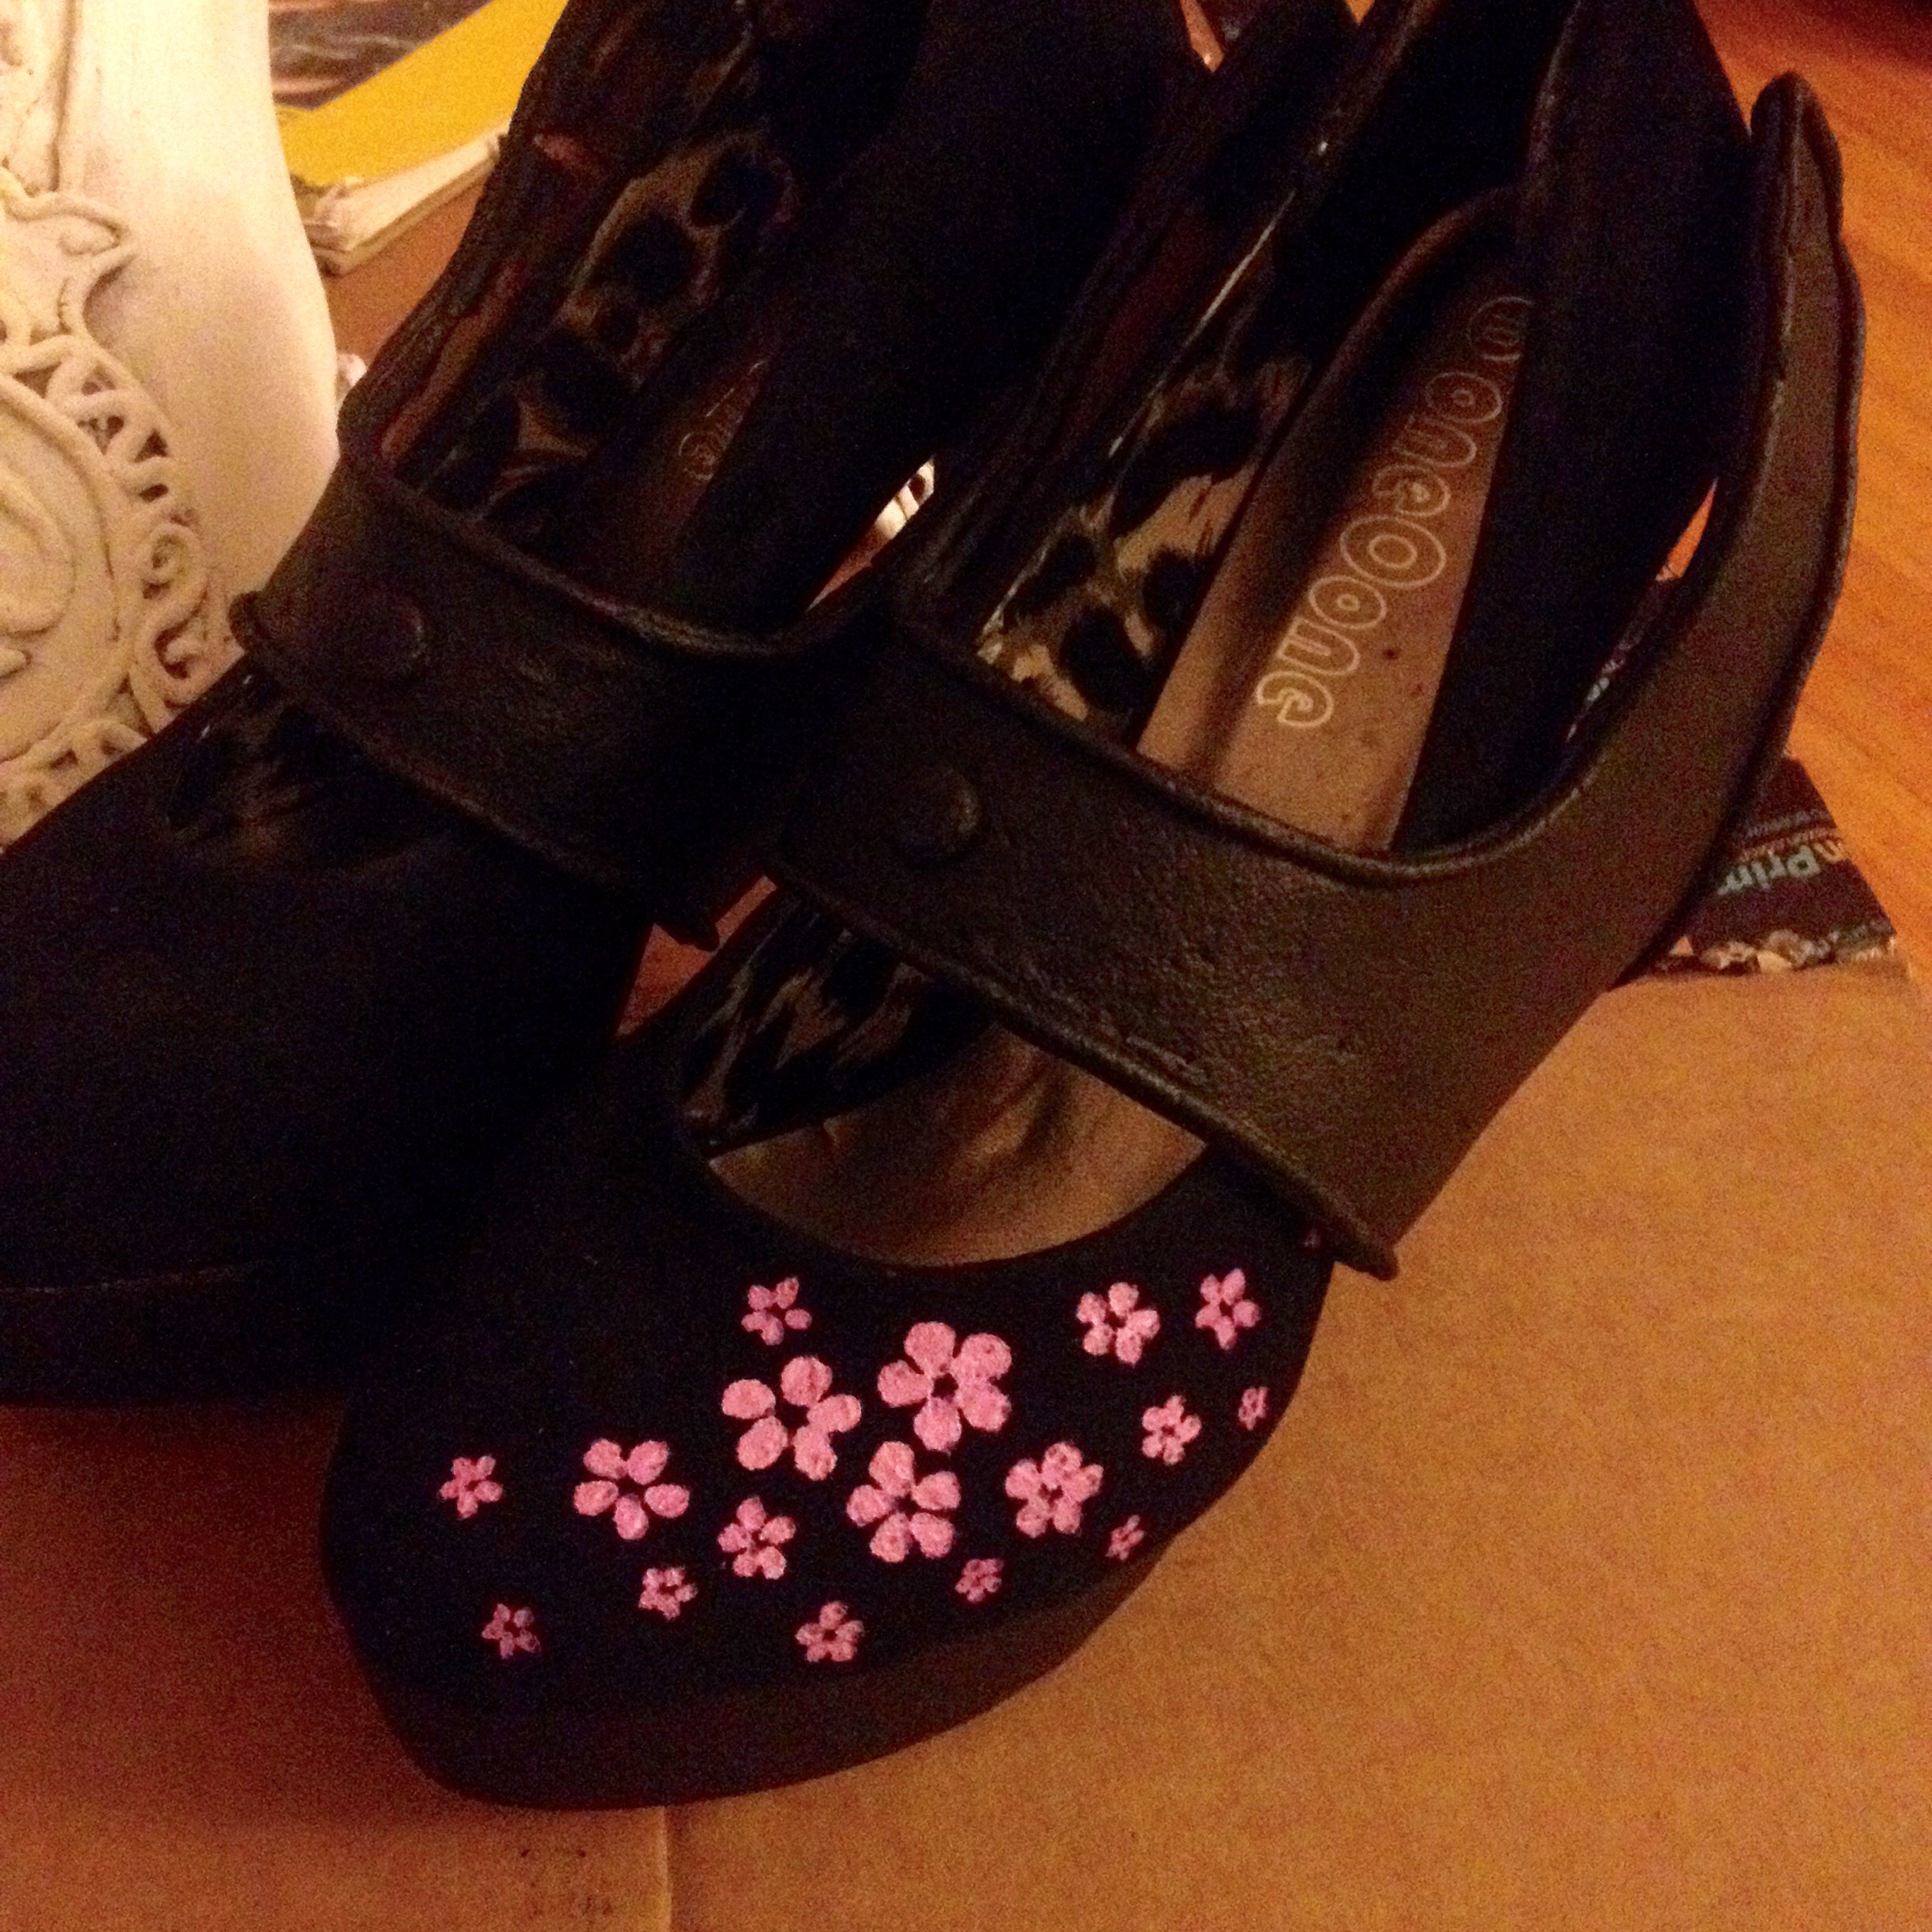
The shoes were cheap eBay heels that initially had a cheetah print platform and heel, which I covered with a single layer of Worbla. Then I made foot armor– it was slightly different than the reference photo, but practical, since I could slide it down to get my foot into the heel and then pull it back up and tie it behind my ankle to ensure extra stability and security in my heels. I covered the seam on the bottom of the foot armor with an extra detail (why did I feel the need to add detail to the bottom of my shoe?! Don’t even ask) and, as pictured below, attached little Worbla snakes along each edge.
Then the left shoe was painted with acrylic paint. My little sister helped me with this part! It was the night before the convention and I was running veeery short on time so she was kind enough to do this part for me. It came out beautifully! Oddly, it’s only Three’s left shoe that’s painted in the game, which bugs me a lot, but obviously at that point I was willing to sacrifice symmetry for time and accuracy!

Here’s my finished forearm armor. Instead of using D rings and elastic it just stays in place by itself (it wraps all the way around my arm with a slight gap). It’s just flexible enough for me to get my arm into, since it’s only one layer of craft foam over Worbla. Something like this would have been impossible with the sandwich method! I added the 3D detail strip thingy (whatever it is!), which is made from the usual layer of craft foam with Worbla folded over it. I then sculpted and attached the crosses on each side, a process which was oddly difficult and annoying. 3D crosses are quite fiddly.
My little detail thingies were too big to fit two of them onto the gauntlets, so I tossed accuracy for the sake of appearance.


Then of course I had to make more of them for the shin armor. For the little spikes that stick out of the “buckles”, I covered a piece of craft foam with Worbla on both sides and added details and edging with tiny Worbla piping. It was extremely time consuming, but oddly fun. To keep them all (mostly) symmetrical I drew the design onto each of them with sharpie and molded the piping along the lines.
There had to be three buckles on each side, so twelve in total– not to mention all the snakes and rivets! It took much longer than you might think to finish these. I used the same method of attachment, D rings and elastic, and it failed just as much. Seriously, I need velcro. @panicstrawberry on Instagram suggested velcroing the armor to tights, which I think is actually genius! It would probably stick much better and not slide/twist as much.
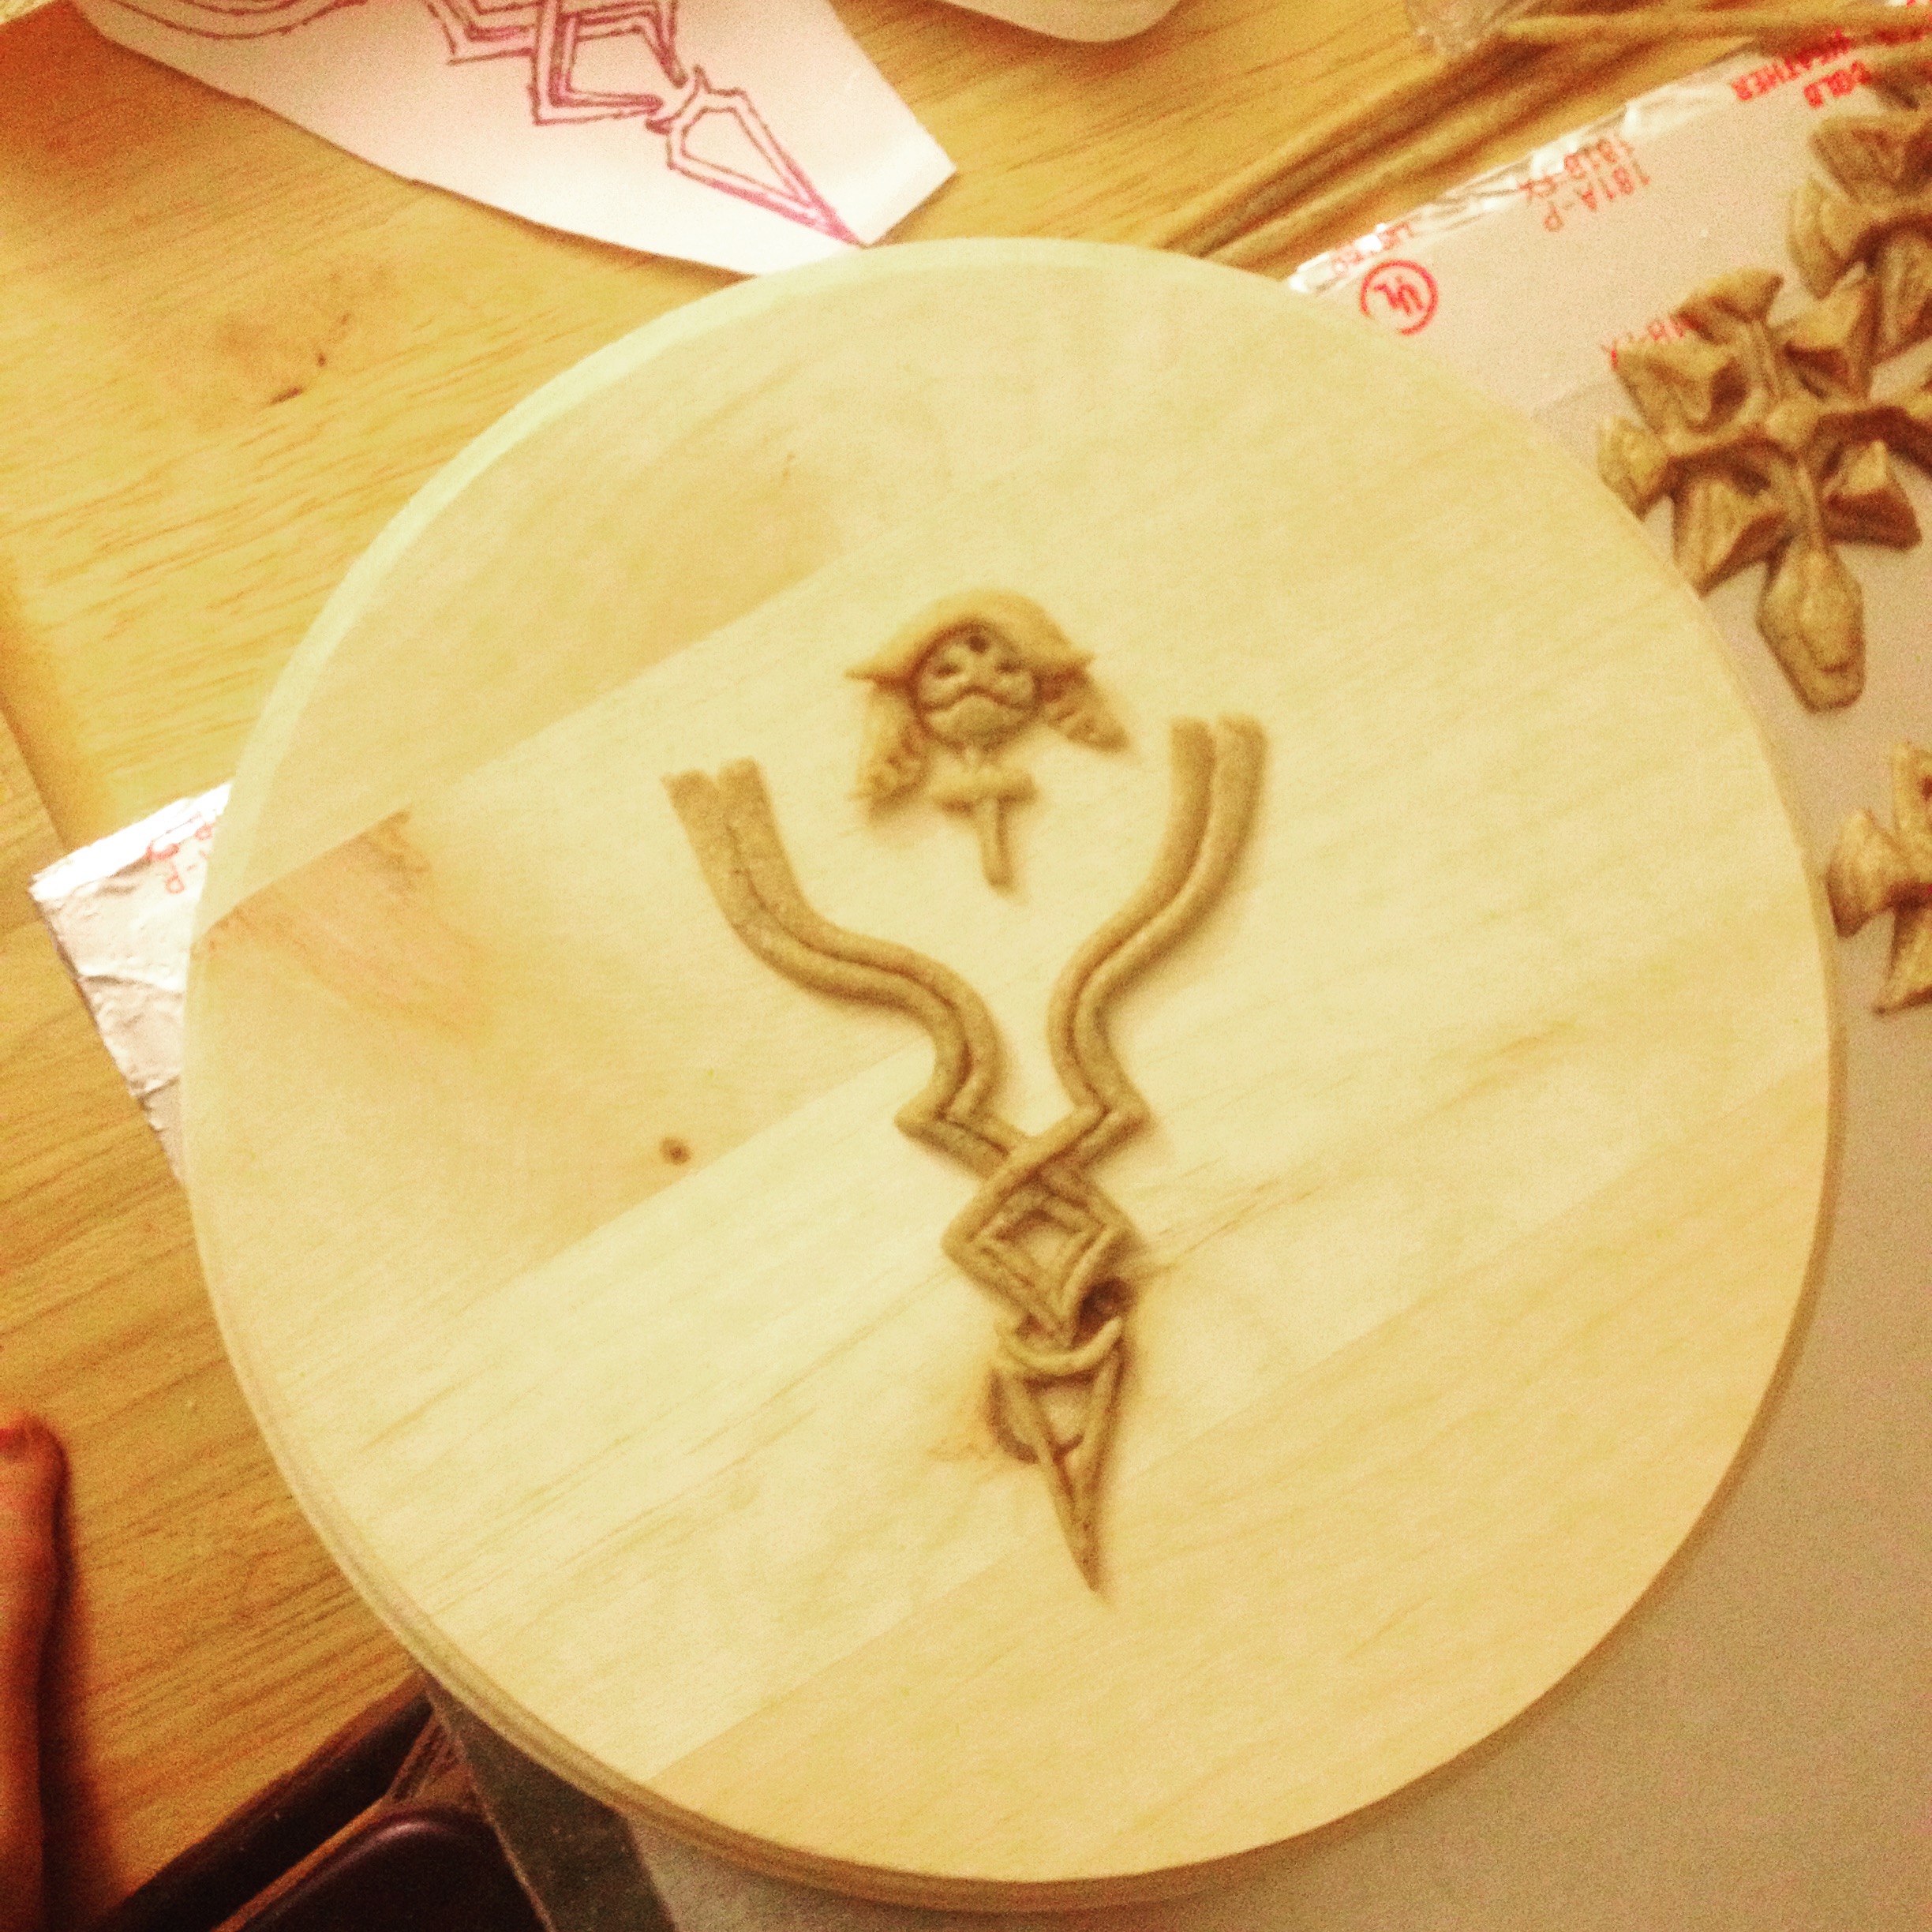
For the shield I found a nice pine plaque at work! I was originally going to build it up to get that domed effect that Three’s shield has– I was thinking of dremeling EVA foam– but I ran out of time. I also didn’t have time to add rivets along the edge. For the detail in the middle, I quickly drew out a pattern on paper, eyeballing it based on the reference photos. My past in illustration definitely came in handy for that! Then I sculpted/molded the Worbla, comparing it to and occasionally forming it on the paper pattern to make sure it was the right size. It ended up looking pretty cool!
The finished Worbla design was glued onto the plaque with E6000. To get it to stay onto my arm I cut a piece of elastic, glued each end to the back of the plaque with a generous amount of hot glue, and had my dad drill a couple of tiny screws through said ends. Surprisingly, it made a very sturdy strap! It lasted all con and still doesn’t show any signs of fraying or giving up. The elastic also made it easy to pull on over those weird 3D straps at the end of each gauntlet.

Hotel room painting. You can see my scissors! I sketched the pattern for one side on paper until I was happy with the shape. The finished blades were cut out of two layers of masonite with a scroll saw, filed and sanded to the right shape, and then glued together. Next time I’ll try screwing them together so they’ll actually open/close, and they are very fragile and definitely need to be remade.
Since I had pulled an all nighter the day before the con to finish my armor, I felt quite horrible the next day. Alas, most of my armor was still unpainted! So my friend and I did a super quick paint job with cheap acrylic. The worbla was unprimed so the paint did chip and rub off a good deal during the con, and absolutely needs to be redone whenever I’m brave enough to dig the costume out again. But the silver parts were done with Rub n Buff so they stayed shiny and beautiful. That stuff is magical.
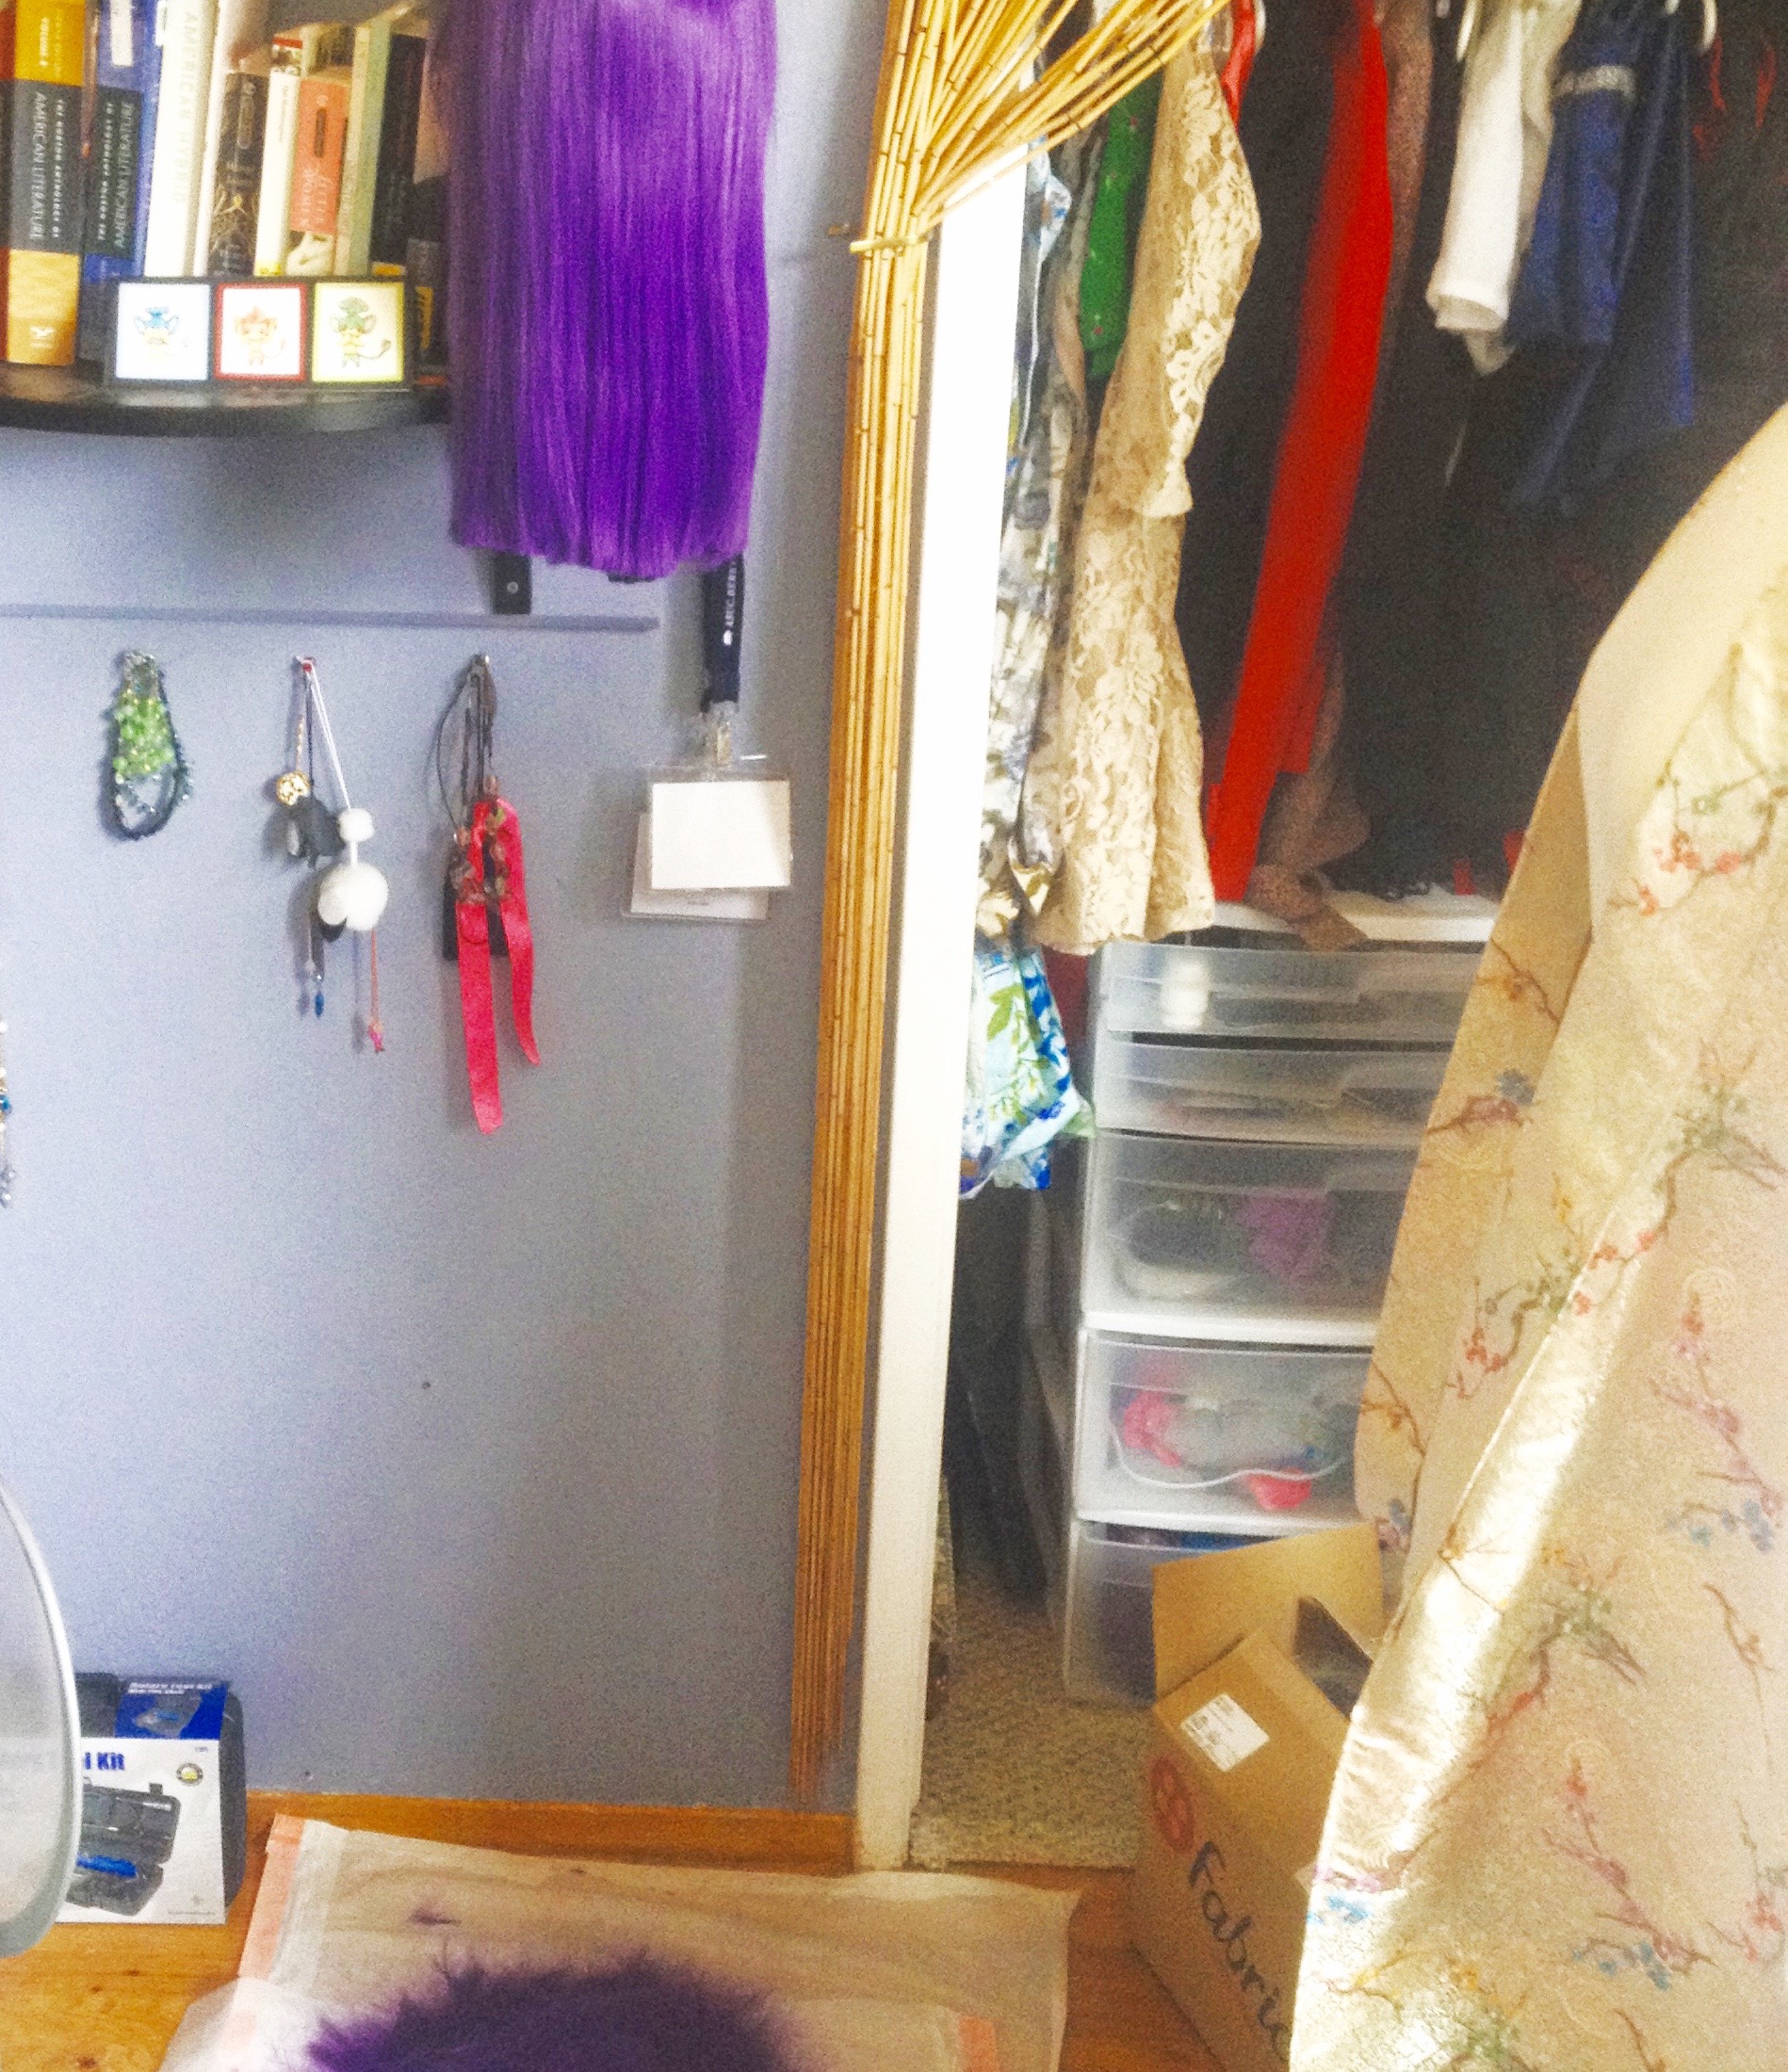
My wig is this wig from Lucaille, a nice Fate/stay Night one. Though the shipping took aaaaages, the wig is silky, soft, and doesn’t tangle easily. Unfortunately, it is a much brighter grape-y purple and not the lovely grey-purple that was shown in the stock photo. I borrowed my dad’s clippers to trim it, and you can see I had to cut an awful lot off (I’m 5’9″/175 cm, and it came down well past my rear). I would have purchased a shorter one, but the color seemed so perfect! Alas, all lies.

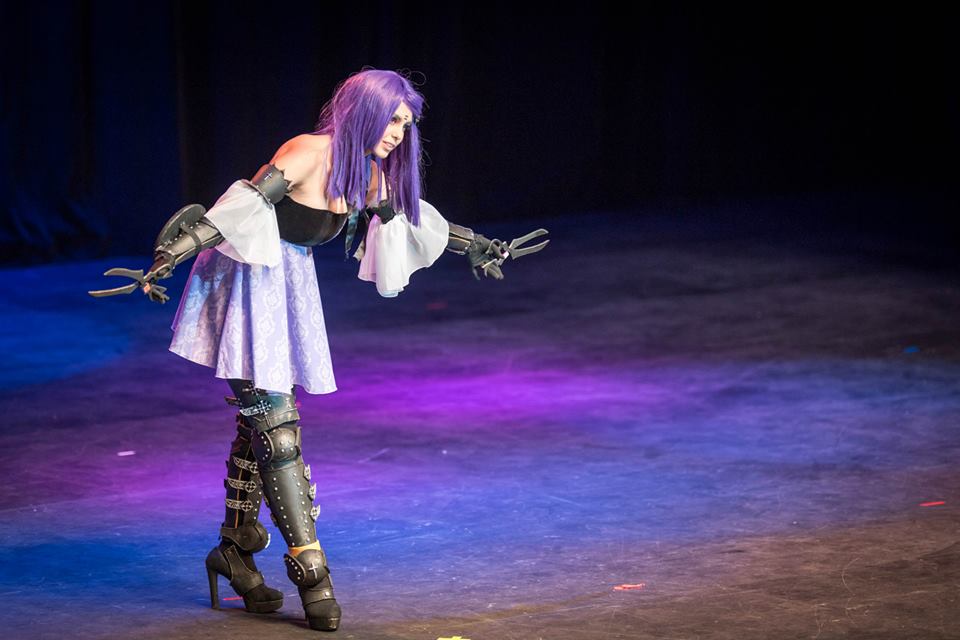
These photos were taken by Wayne of ACParadise during the craftsmanship judging! Please forgive my apparently mismatched eyes, one of my false lashes was actually drooping a bit. I fixed it later!
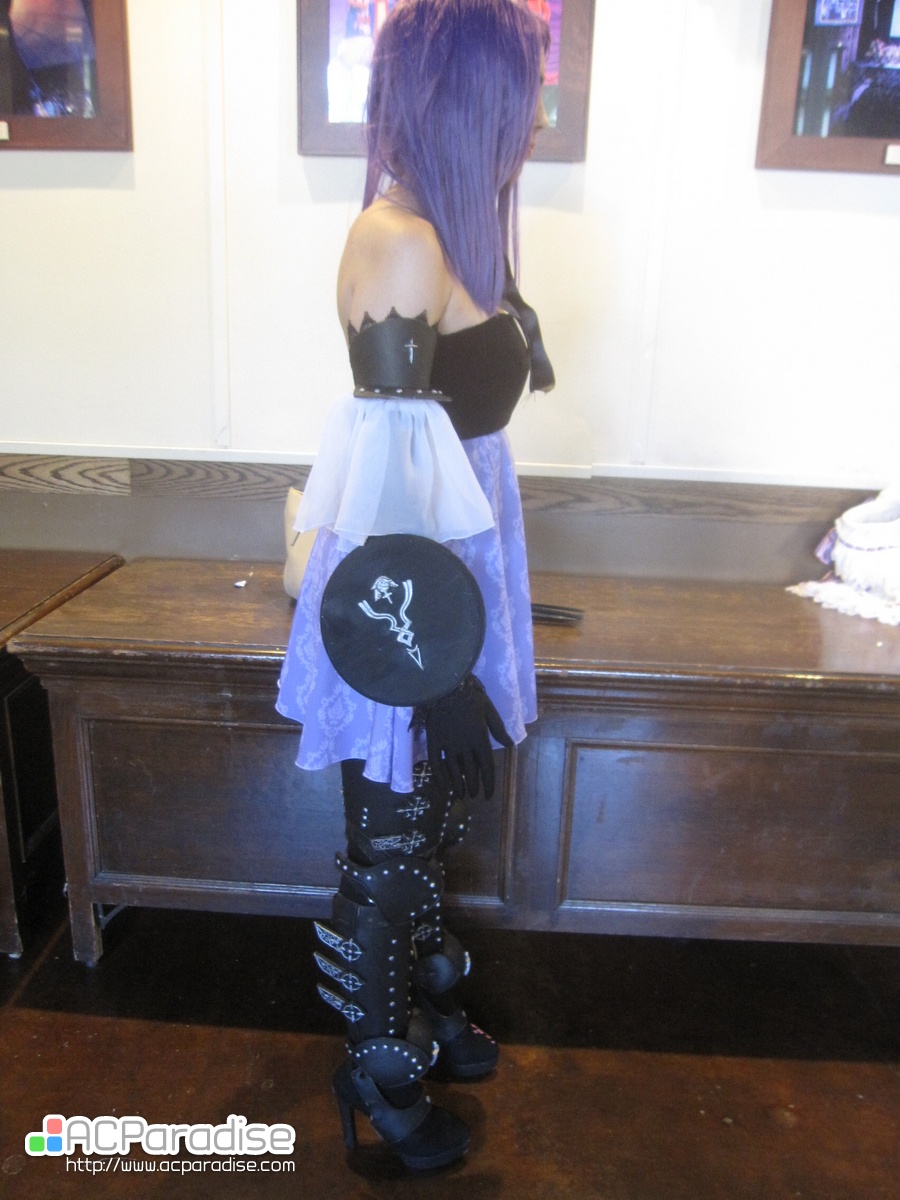
A side view, and thus far the best photo I have of my leg armor! You can see how my thigh armor is rotating inward in an incredibly irritating fashion. It was also too big (I lost some weight due to stress before and during the con), so it was drooping and supported only by my knee armor, which in turn made me walk like an awkward marionette– which explains a lot about Three!
Also, my feet hurt so badly I wanted to die. PSA– please take care of your feet. The gel pads that were saving my feet from the hard sole of the shoe were also cramming my toes in the toe box until they felt like they were burning. I had numbness for weeks afterwards and I feel like I came off as rude or apathetic to some people because my feet hurt so much! Sorry everyone ; _ ; However, I am very pleased with the way the armor and shoes look in photographs, so I suppose they were worth it after all!


And here’s a photo, taken by the incredible Toshi Studios, of the Drakengard 3 group I met up with after the masquerade! Dito and Lady Zero are Bacon-Flavored Cosplay, and Lady Two is Nutmeg Cosplay, and Lady Five is Mayhem Cosplay! They were incredibly sweet and everyone’s costumes were absolutely gorgeous. Five and Dito were awesomely in character and made me laugh way too often during photos.
Speaking of the masquerade…
I won Novice Craftsmanship! The judges apparently liked my embroidery, which I had actually forgotten about in my armor angst. I was so surprised and pleased– but more than winning, I was super happy to meet everyone backstage! It was my first masquerade experience, and my entire group had pulled out the morning of, so I didn’t really know what I was doing, but people like @_anna_greenwood and @identivitycosplay (on Instagram) were incredibly sweet and friendly, even though I was sort of in awe of their costumes and didn’t really know what to say at first. But the masquerade organizers got me a music clip, helped me choreograph a walk on, and did the lighting, so I ended up having a blast! It was also an amazing opportunity to creep on all of the amazing costumes backstage and ask people about techniques and such. I’m definitely planning to do more masquerades in the future– I’ve been bitten by the competition bug.
Here’s a video of my walk on, filmed by ACParadise!
An awesome stage photo by Chad Cosplay!
And, as proof that my feet were actually completely dead…

… I accepted my award entirely without footwear. I am a terrible train wreck of a cosplayer. 8D
Well, after over 3.5k words (as of the end of this post) I think I’ve said everything that needs to be said about this costume! It was my baby for months– but I’m ready to let it go and start something new. I’m excited to revamp it, of course, and Three will be making another appearance at SacAnime 2015, but I’m definitely looking forward to applying all the skills I’ve learned– and learn even more. Currently, my cosplay partner and I are working on 1860s inspired ballgowns and secret cosplays for the SacAnime masquerade (which require silk painting), so hopefully we’ll only improve from here on out! I still need to learn more about planning, both financially and temporally, for larger costumes, but this was a very solid beginning, and really taught me a lot. For those of you who want to make Three, I hope this was helpful! Feel free to ask me any questions you might have!
Happy sewing,
Lady Licorice

Thank you thank you!!! This is going to help my lady three cosplay improve by spades! I love everything you did! I made my first armor with felt/fabric rather than worbla or foam as I couldn’t get proper amounts of either and I’m poor. But can’t wait to remake it better!
LikeLike
(;_;)THANK YOU!!! I didn’t know if anyone would ever read it, but I really wanted to write this post just in case it could possibly help somebody someday!!! I’m absolutely delighted that you found it useful, and your very kind comment has just made my week ♡ (And oh my gosh, worbla is definitely expensive! I saved up for it for a while, but it was worth it in the end ; v 😉
LikeLike
I might be able to do the armor with leather, so we’ll see. I know a place. And I fell in love with Lady Three after watching her DLC side story for some reason and just can’t stop thinking about how to make her outfit better. I only had about two weeks to polish her up for my first run but I can’t wait to make her more awesome. But all the tips here I’m totally going to put to good use. I can’t thank you enough. (Gonna be learning how to embroider too now)
LikeLike
This is super useful! I’m trying to cosplay Lady Three for this summer, and I found this to be super useful, including all the side notes about the time, and the burns… also I was wondering if you could reupload the embroidery reference, because it’s missing ><
LikeLike